So you have a new electric mountain bike, a powerful machine ready for incredible adventures. But with great power comes a learning curve. You might be wondering how to get the most out of the motor, manage the battery, or just how to get started. It can feel like there is a lot to learn, and you want to use your new bike safely and effectively. Don’t worry, it’s easier than you think.
Using an electric mountain bike is all about blending your own power with the bike’s motor. The key is to start with a pre-ride safety check, understand the display and assist levels, and practice coordinating your gears and the motor’s power. Mastering basic techniques for starting, stopping, climbing, and descending will give you the confidence to tackle any trail.
This guide will walk you through everything you need to know, from your very first ride to post-ride care. Let’s get started.
1. What Should You Do Before Your First Ride?
Before hitting the trails, a few simple checks will ensure your first ride is safe and enjoyable. Taking a few minutes to prepare your bike can prevent problems down the road.
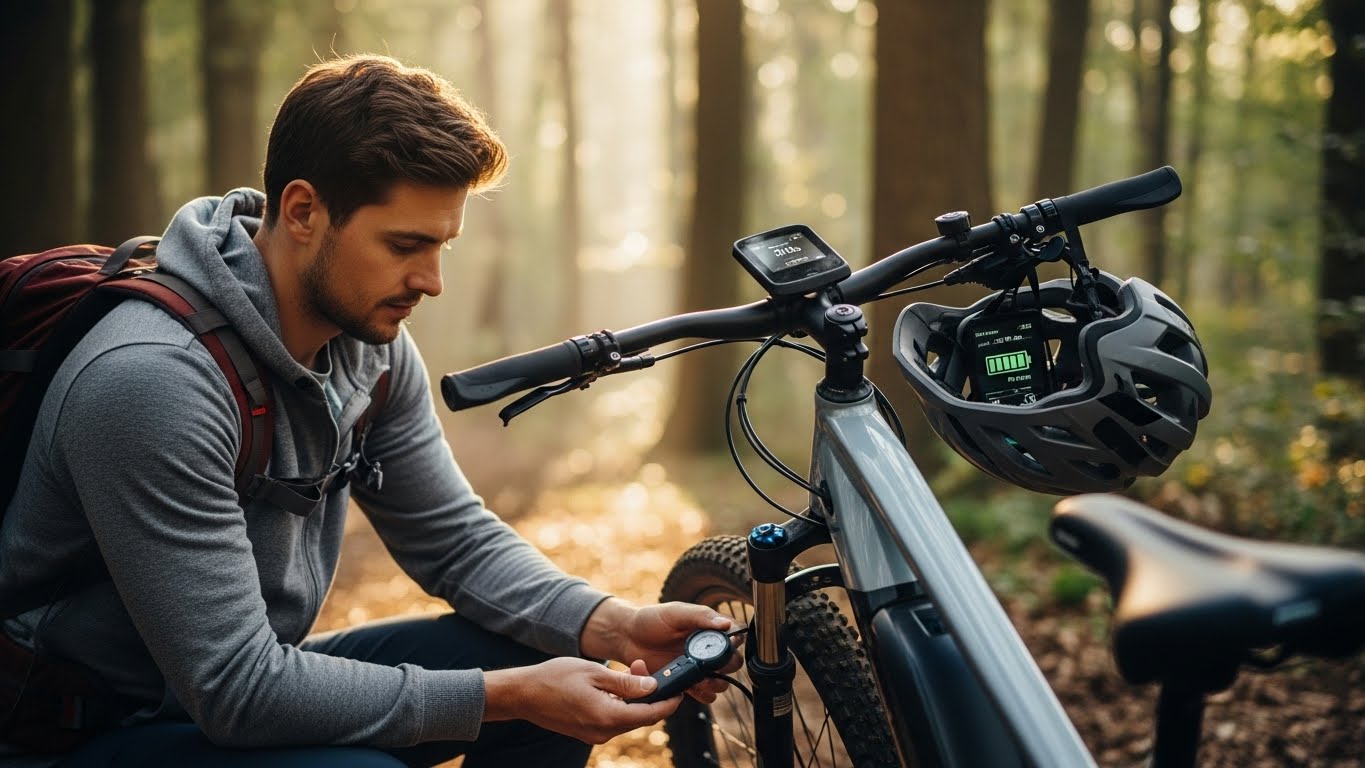
A pre-ride safety check is essential. Here’s why it matters… it helps you catch potential issues before they become a danger. Check your brakes to make sure they are firm and responsive. Check your tire pressure. Properly inflated tires provide better traction and prevent flats. Give your chain a quick check to make sure it is clean and lubricated.
Next, make sure your battery is fully charged. Most e-bike batteries have an indicator light showing charge status. A full charge gives you maximum range.
Proper bike fit is crucial for comfort and control. Adjust the saddle height so your leg is almost fully extended when the pedal is at its lowest point. Adjust the handlebar position so you can ride with a slight bend in your elbows.
| Pre-Ride Check | What to Look For | Why It’s Important |
| Brakes | Firm levers, no rubbing | Essential for safe stopping |
| Tire Pressure | Within recommended range | Better traction, prevents flats |
| Battery | Fully charged | Maximum range for your ride |
| Bike Fit | Proper saddle height | Comfort, control, and efficiency |
Once you have gone through these steps, you are ready to turn on your bike and get familiar with controls.
2. How Do You Turn On and Use the Display?
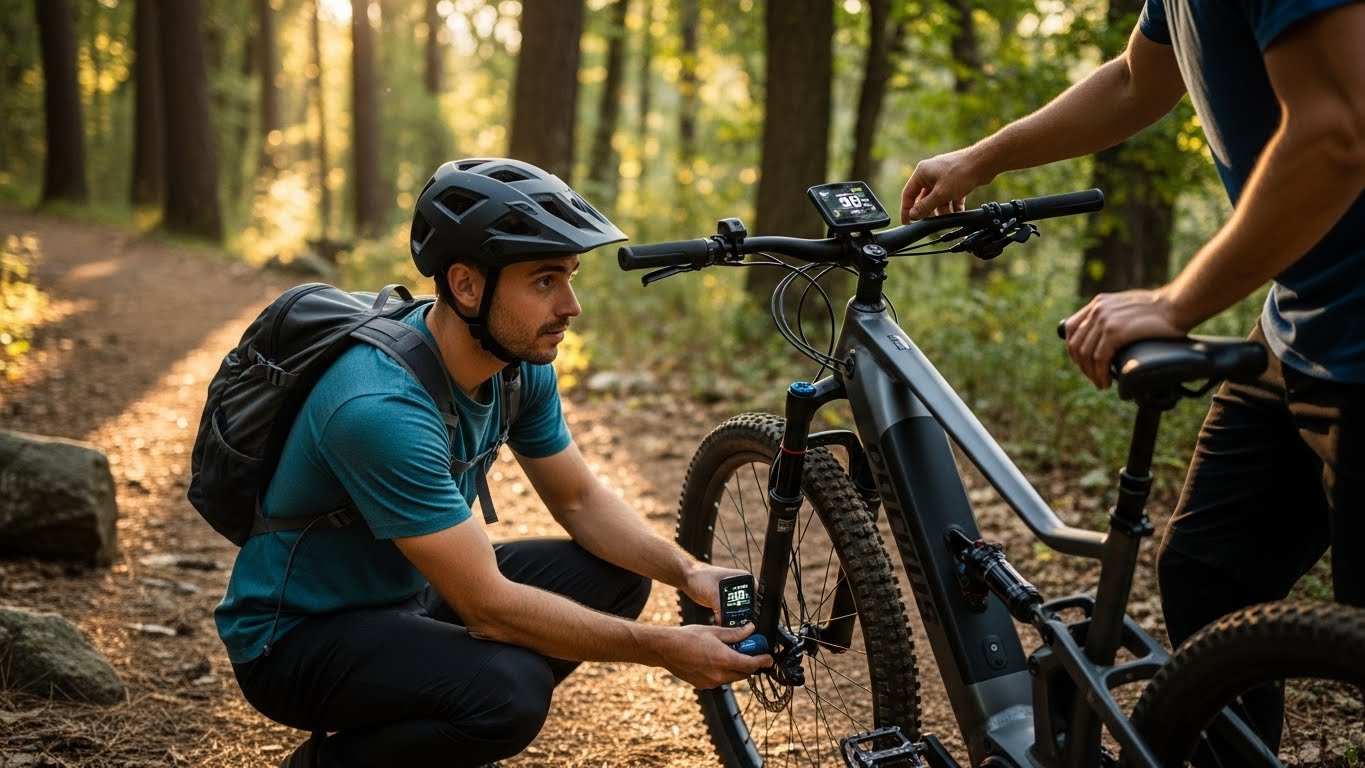
The display is the command center of your e-MTB. It is where you will see all key information about your ride. Getting to know your display is the first step in controlling your e-bike’s power.
First, you need to turn the system on. The power button is usually located on the display itself or on a separate control pad on the handlebar. Press and hold the power button for a few seconds, and the display will light up. The best part? This simple action brings your e-bike to life.
Once the display is on, you will see a variety of information. The most important things are your current speed, battery level, and selected pedal-assist (PAS) level. Most displays also show trip distance and average speed.
Many displays have multiple screens you can cycle through. There is usually a button on the control pad that lets you switch between screens.
| Display Information | What It Tells You | Why It’s Useful |
| Speed | Your current speed in mph or km/h | Helps you manage your pace |
| Battery Level | Remaining battery life | Crucial for planning your ride |
| Assist Level | The current motor assistance level | Shows how much power you are using |
| Trip Distance | Distance covered on your current ride | Helps you track your progress |
Understanding your display is key to using your e-bike effectively. It provides real-time feedback you need to make smart decisions about your speed, effort, and battery management.
3. How Do You Use the Pedal-Assist System (PAS)?
The pedal-assist system is the heart of your electric mountain bike. It gives you that superhuman feeling when climbing a steep hill. Learning how to use the different assist levels effectively gets the most from your bike.
Most e-bikes have several assist levels, typically ranging from three to five. These levels determine how much power the motor provides. But here’s the thing… a lower level, often called “Eco,” provides a small amount of assistance. It is great for conserving battery life on flat ground or for getting a good workout. A higher level, often called “Boost” or “Turbo,” provides maximum power for tackling the steepest climbs.
You can change the assist level using the controls on your handlebar. There are usually up and down arrow buttons that let you easily switch between levels as you ride. Practice changing levels so it becomes second nature.
Knowing when to use each level is an art you will develop with practice. Use Eco mode on flat or slightly downhill sections to save battery. Switch to a medium level for rolling terrain. Save the highest assist level for steep, technical climbs.
| Assist Level | Typical Name | Best Use Case | Battery Consumption |
| Low | Eco, Economy | Flat ground, long rides, fitness | Lowest |
| Medium | Trail, Normal | Rolling hills, general trail riding | Moderate |
| High | Boost, Turbo | Steep climbs, strong headwinds | Highest |
By matching the assist level to the terrain, you can ride more efficiently and have more fun. It allows you to smooth out the hills and maintain consistent speed and effort.
4. What Is the Right Way to Start and Stop?
Starting and stopping on an e-MTB is a little different than on a traditional bike. The extra weight and motor power require more care. Mastering a smooth start and controlled stop is fundamental to riding safely.
When you are ready to start, mount the bike and get your feet on the pedals. Before you start pedaling, make sure you are in an easy gear. Now, you might be wondering… why is this important? Starting in a hard gear can cause the motor to engage abruptly. A smooth pedal stroke in an easy gear allows the motor to engage gently.
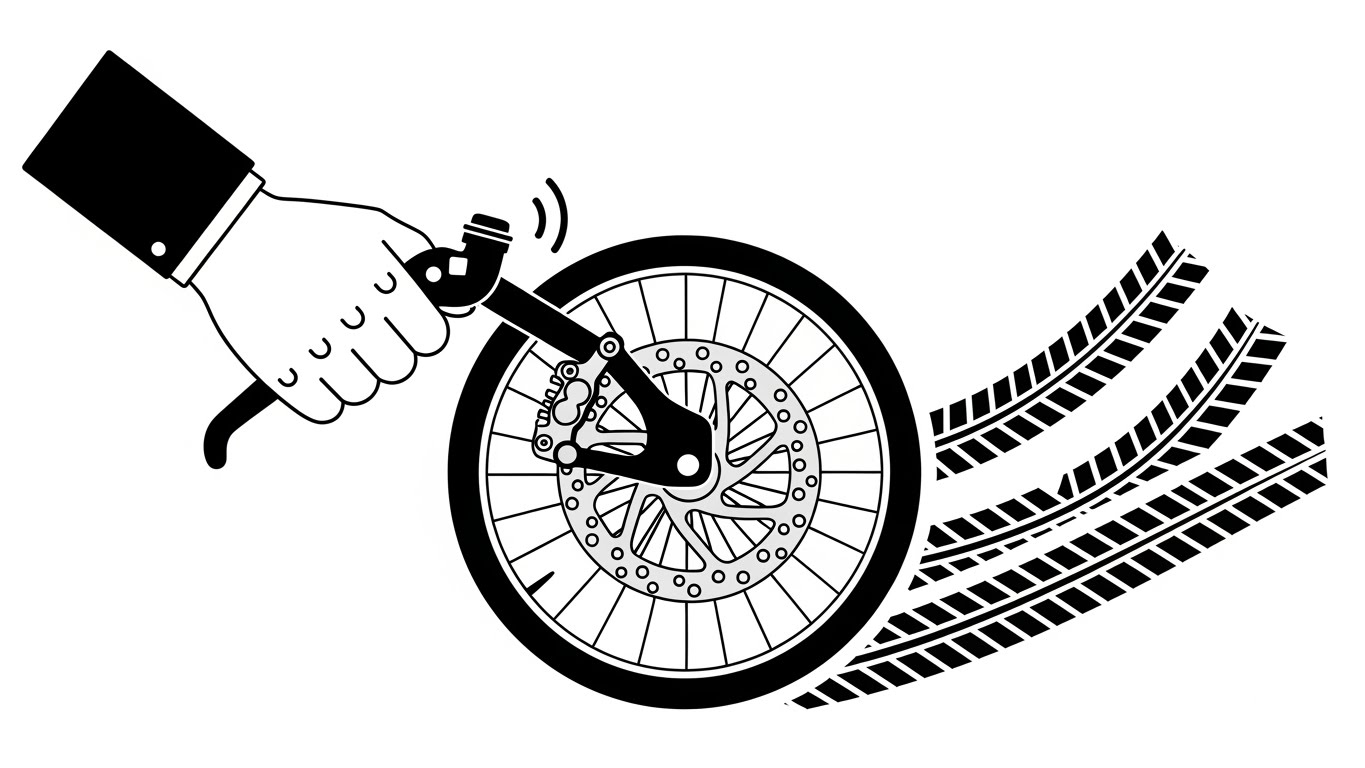
When you are ready to stop, brake early and evenly. E-bikes are heavier than traditional bikes, so they take longer to slow down. Use both your front and rear brakes. Apply steady pressure rather than grabbing them suddenly.
Many e-bikes, like the Dynamic Scooter Q5, are equipped with hydraulic disc brakes. These provide excellent stopping power. As soon as you touch the brakes, the motor disengages.
| Action | Technique | Why It’s Important |
| Starting | Start in an easy gear, pedal smoothly | Prevents a sudden jolt from the motor |
| Stopping | Brake early and use both brakes | Safely manages the bike’s extra weight |
| Braking | Apply steady, even pressure | Provides a controlled and predictable stop |
Practicing these basic skills in a safe area will help you build confidence. A smooth start and controlled stop are the foundation of good electric mountain bike riding.
5. How Should You Use Gears with the Motor?
One of the most common mistakes new e-MTB riders make is forgetting to use their gears. They rely too much on the motor and end up in the wrong gear. Using your gears correctly is just as important on an e-bike as on a traditional bike.
The motor and your gears are designed to work together. The motor provides the power, but the gears help you apply that power effectively. Let me explain… shifting to a lower gear on a climb allows the motor to spin at a higher, more efficient RPM. This prevents the motor from getting bogged down and conserves battery life.
Think of it like driving a car. You would not start from a stop in fifth gear. The same principle applies to your e-bike. You need to shift to an easier gear for starting, climbing, and slow speeds. Shift to a harder gear as you pick up speed.
A good goal is to maintain a comfortable and consistent pedaling speed, or cadence. A cadence of around 70-90 RPM is ideal. If you find yourself pedaling too slowly, shift to an easier gear. If spinning too fast, shift to a harder gear.
| Situation | Ideal Gear | Ideal Assist Level | Goal |
| Starting from a stop | Easy gear | Low | Smooth, controlled start |
| Climbing a steep hill | Easy gear | High | Maintain cadence, high torque |
| Riding on flat ground | Medium to hard gear | Low to medium | Efficiency, battery conservation |
Coordinating your gears and the motor’s assist levels will make you a better rider. It will help you climb more easily, extend battery range, and reduce strain on your drivetrain.
6. What Are the Best Techniques for Climbing Hills?
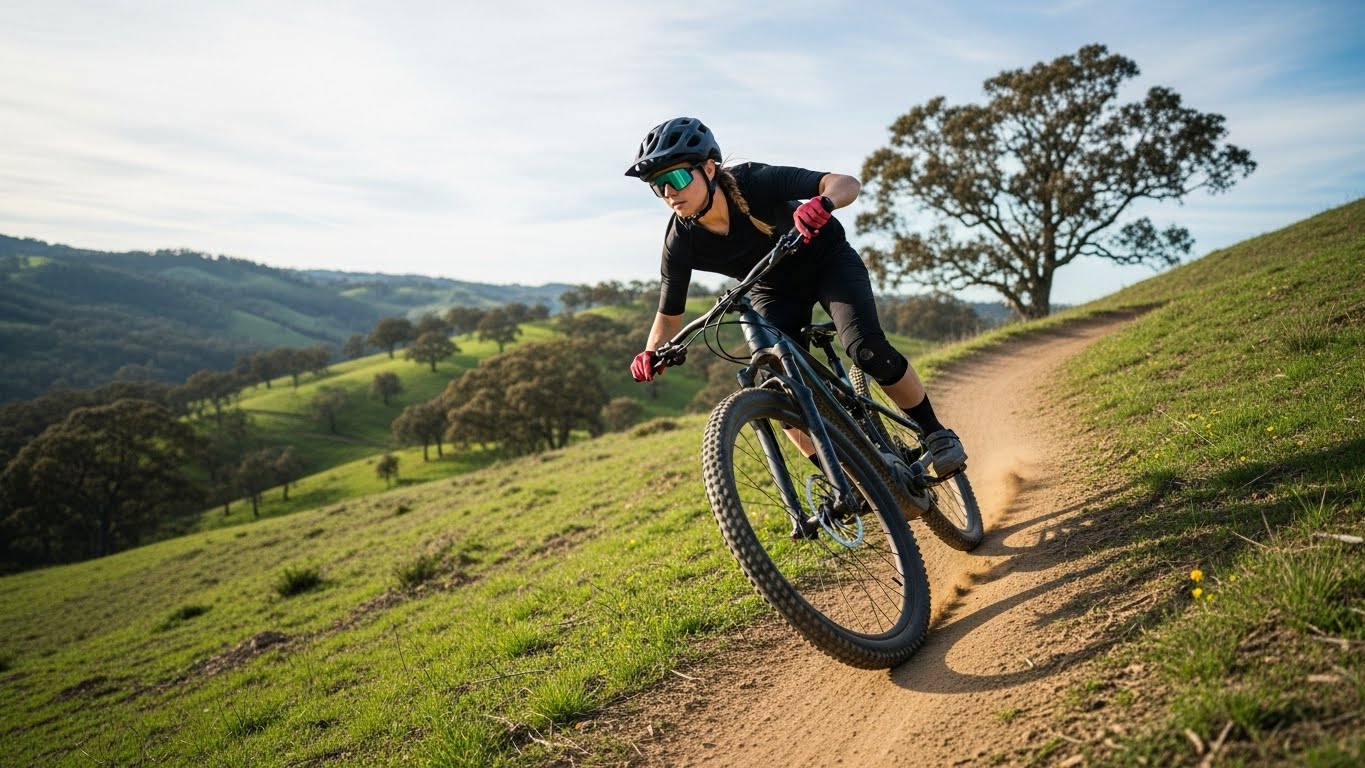
Climbing is where an electric mountain bike truly shines. The motor gives you the power to conquer hills that would be impossible on a traditional bike. However, good technique is still essential for getting up steep climbs with control.
Body position is the first thing to focus on. As the trail gets steeper, shift your weight forward. This is important because… it helps keep your front wheel planted on the ground and prevents it from lifting or wandering. Do this by sliding forward on your saddle and lowering your chest towards the handlebars.
Next, choose the right combination of gear and assist level. Before you hit the steep section, shift into an easier gear and a higher assist level. This allows you to maintain a smooth pedal stroke, which is key for maintaining traction.
A consistent cadence is more effective than trying to mash a hard gear. Spinning the pedals smoothly provides constant power to the rear wheel. This helps prevent the tire from breaking loose on steep or slippery sections.
| Climbing Challenge | Technique | Why It Works |
| Front wheel lifting | Shift weight forward | Keeps the front wheel on the ground |
| Rear wheel spinning | Smooth pedal stroke | Maintains traction and control |
| Losing momentum | Anticipate the climb | Shift to an easier gear and higher assist early |
Mastering these climbing techniques will allow you to get the most out of your e-MTB. You will clean technical climbs with confidence.
7. How Do You Descend Safely on an E-MTB?
What goes up must come down. Descending on an e-MTB can be a lot of fun, but it requires a different approach than on a lighter bike. The extra weight means you need to be more deliberate with braking and body position.
Effective braking is the most important skill for safe descending. Here’s the deal… you need to brake earlier and more smoothly than you would on a lighter bike. Use both your front and rear brakes, but rely more on the powerful front brake for stopping power. Look for an e-MTB with large hydraulic disc brakes, like the ones on the Dynamic Scooter Q5, for maximum control.
Your body position should be low and centered on the bike. Stand up on your pedals with your knees and elbows bent. This allows the bike to move underneath you and absorb bumps. It also lowers your center of gravity, making you more stable.
Look ahead and choose a smooth line. Do not get fixated on the trail directly in front of your wheel. Look as far down the trail as you can. This gives you more time to react to obstacles.
| Descending Skill | Technique | Benefit |
| Braking | Brake early, use both brakes | Controlled speed, safe stopping |
| Body Position | Low and centered, stand on pedals | Stability, shock absorption |
| Looking Ahead | Scan the trail far ahead | More time to react, smoother lines |
Descending on an e-MTB is a blast. By practicing these techniques, you can do it safely. You will enjoy the thrill while staying in control.

8. How Do You Manage Battery Life During a Ride?
Battery management is a key skill for any electric mountain bike rider. Running out of battery mid-ride can turn a fun adventure into a long slog. By understanding what affects battery life and how to conserve power, you can maximize your range.
Your choice of assist level has the biggest impact on battery life. Want to know the secret? Riding in the highest assist level can use two to three times more power than the lowest level. The key is to use the lowest assist level you can for the given terrain. Save the high-power modes for steep climbs.
There are many ways to conserve power during a ride. On flat sections or slight downhills, shift into a lower assist level or turn the motor off. Try to maintain a smooth and steady pace rather than constantly accelerating and decelerating. Every time you brake, you waste energy you will have to use the motor to regain.
The terrain and rider weight also play a big role. Hilly routes use more battery than flat ones. A heavier rider will also use more battery. Take these factors into account when planning your ride.
| Factor | Impact on Battery | How to Manage It |
| Assist Level | High impact | Use the lowest level possible |
| Terrain | High impact | Plan your route, be mindful of hills |
| Rider Weight | Moderate impact | Heavier riders should be more conservative |
| Riding Style | Moderate impact | Ride smoothly, avoid hard accelerations |
Good battery management is all about being smart and strategic. By paying attention to your assist levels and riding style, you can extend your range and get the most out of every charge.
9. What Are Basic E-MTB Trail Etiquette Rules?
As an e-MTB rider, you are an ambassador for the sport. How you behave on the trail impacts how e-bikes are perceived by other users. Following a few simple rules of etiquette ensures everyone has a safe and enjoyable experience.
The golden rule of trail etiquette is to be courteous and yield to other trail users. The bottom line? E-bikes are faster and quieter than traditional bikes, so you need to be extra aware of your surroundings. Always yield to hikers, trail runners, and equestrians. When approaching from behind, slow down, announce your presence, and wait for them to let you pass.
Manage your speed, especially on busy or multi-use trails. You should always be able to stop safely within your line of sight. Slow down for blind corners and be prepared for unexpected encounters.
By being a responsible rider, you help keep trails open for e-bikes. Land managers are more likely to allow e-bikes if they see that e-bike riders are respectful and safe. Every positive interaction helps build a good reputation for the e-MTB community.
| Etiquette Rule | Why It’s Important | How to Practice It |
| Yield to Others | Safety and courtesy | Slow down, announce your presence, and pass with care |
| Control Your Speed | Prevents accidents and conflict | Ride within your limits, slow down for corners |
| Be an Ambassador | Promotes a positive image of e-biking | Be friendly, respectful, and follow the rules |
Good trail etiquette is simple. It is all about being aware, being courteous, and sharing the trail. It makes a big difference.
10. What Should You Do After Your Ride?
Your electric mountain bike experience does not end when the ride is over. A few simple post-ride tasks will keep your bike in great shape and ready for your next adventure.
First, clean your bike, especially if it was a muddy ride. What does this mean for you? A clean bike is easier to inspect for damage. Use a low-pressure hose, soapy water, and brushes to gently clean the frame and components. Avoid using a high-pressure washer, as it can force water into sensitive electronic parts.
Next, take care of your battery. If you have a removable battery, take it off the bike for charging. This also allows you to clean the battery contacts. Charge your battery after every ride so it is ready for the next one. For long-term storage, store the battery in a cool, dry place with a charge level of around 40-60%.
Finally, do a quick post-ride inspection. Check for any new scratches or dings. Check your tire pressure. Lube your chain if needed. This is a great time to catch small maintenance issues before they become big problems.
| Post-Ride Task | Why It’s Important | Best Practice |
| Cleaning | Prevents dirt buildup, allows for inspection | Use low-pressure water, avoid electronics |
| Battery Care | Extends battery life, ensures readiness | Charge after each ride, store properly |
| Inspection | Catches maintenance issues early | Check for damage, lube the chain |
A consistent post-ride routine will keep your electric mountain bike running smoothly for years. It is a small investment of time that pays off in reliability and performance.
Conclusion
Using an electric mountain bike is a fun and rewarding experience. We have covered everything from pre-ride check to post-ride care. By understanding how to use the pedal-assist system, coordinate your gears, and apply the right techniques for climbing and descending, you can ride with confidence. The key is to practice these skills and make them a habit. The real benefit of mastering your e-MTB is the freedom to discover new trails and have more fun.
Ready to put these skills to the test? The team at Dynamic Scooter can help you choose the perfect e-MTB, like our user-friendly Q5 model, and answer any questions. Contact us today and start your e-bike adventure.
FAQ
Q1: Do I need to pedal an electric mountain bike?
Yes. Most e-MTBs, especially Class 1 models like the Dynamic Scooter Q5, are pedal-assist. The motor only provides power when you are pedaling. Class 2 models have a throttle, but using it will drain the battery much faster.
Q2: What happens if the battery dies mid-ride?
If the battery dies, the motor assistance will stop. You can still pedal the bike like a normal bicycle, but it will be much harder because e-bikes are significantly heavier than their non-electric counterparts.
Q3: How do I clean my e-MTB?
You can clean it much like a regular bike, but you should avoid using a high-pressure washer, as it can force water into sensitive electronic components. Use a low-pressure hose, a bucket of soapy water, and brushes. Make sure the battery is removed or the system is off.
Q4: Is it okay to shift gears while the motor is running?
Yes, you can and should shift gears while the motor is running. However, it is good practice to slightly ease off your pedaling pressure for a split second as you shift. This reduces strain on the drivetrain and results in a smoother shift.
Q5: How often should I charge the battery?
It is best to charge the battery after each ride to ensure it is ready for the next one. For long-term storage, it is recommended to keep the battery at a charge level of around 40-60% and store it in a cool, dry place.