

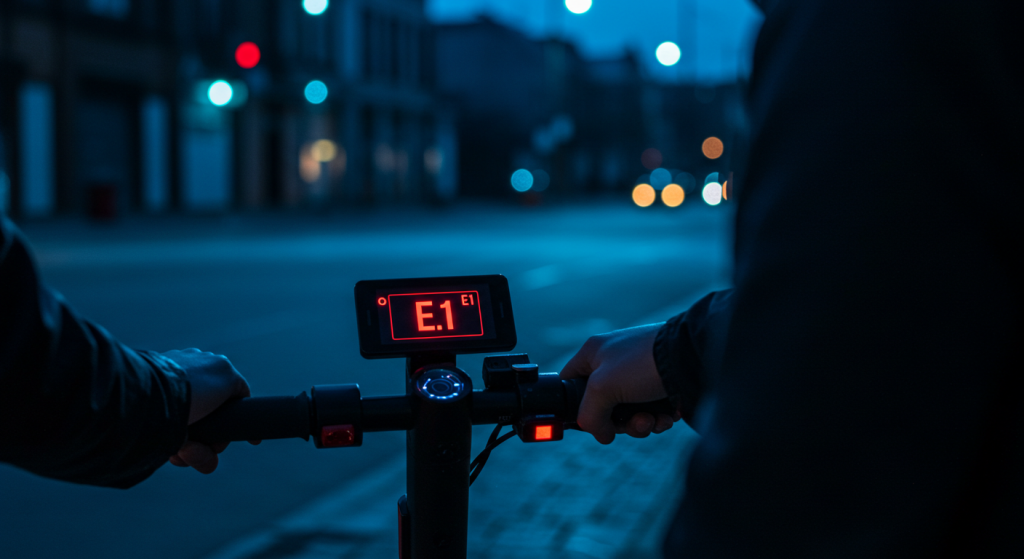
How Do You Fix E1 Error on Your Electric Scooter? Step-by-Step Guide
E1 error codes frustrate electric scooter riders worldwide. Your scooter stops working suddenly without warning. Ignoring this error can damage expensive components and leave you stranded miles from home. Quick diagnosis and proper repair get you back on the road safely. E1 error on electric scooters typically indicates throttle or controller communication problems. Fix it by checking throttle connections, cleaning contacts, resetting the controller, or replacing faulty components. Most E1 errors can be resolved with basic tools and simple troubleshooting steps within 30 minutes. But here’s the thing – not all E1 errors have the same cause or solution. 1. What Does E1 Error Mean on Electric Scooters? E1 error codes signal communication breakdowns between your scooter’s throttle and controller. The controller can’t read throttle input properly. This safety feature prevents uncontrolled acceleration that could cause accidents. Modern electric scooters use sophisticated diagnostic systems. These systems monitor dozens of components every millisecond. The controller checks throttle position, motor temperature, battery voltage, and brake status continuously. Here’s why it matters – error codes protect both rider and equipment. Without proper communication, your scooter might accelerate unexpectedly. The E1 error forces the system into safe mode immediately. Different manufacturers use varying error code systems for their models. Xiaomi scooters show E1 specifically for throttle communication failures. Segway models display similar codes for controller malfunctions. Razor scooters use E1 for speed sensor problems. Brand E1 Error Meaning Common Triggers Display Method Xiaomi Throttle communication failure Loose connections, water damage LCD screen Segway Controller malfunction Firmware issues, voltage problems LED indicators Razor Speed sensor error Magnetic sensor misalignment Beeping pattern Ninebot Brake system fault Brake lever issues App notification The diagnostic system runs continuous self-checks during operation. It monitors throttle position accuracy within 0.1 degrees. Motor speed sensors track rotation within 1 RPM precision. Battery voltage monitoring detects fluctuations above 0.5 volts. E1 errors appear on your scooter’s display screen immediately when detected. Some models flash LED lights in specific red patterns. Others beep repeatedly with distinct sound codes. Advanced models send notifications to smartphone apps. Error logging helps technicians diagnose intermittent problems later. Controllers store the last 50 error events with timestamps. This data reveals patterns that point to root causes. 2. What Are the Main Causes of E1 Error? Throttle connection problems cause approximately 40% of all E1 errors. Loose wire connections create intermittent signals that confuse controllers. Corroded contacts block electrical flow completely. Water damage shorts circuits and triggers false readings. Vibration from riding gradually loosens electrical connections over time. Poor manufacturing quality creates weak solder joints that fail early. Rough handling during transport damages delicate throttle assemblies. The best part? Most throttle-related E1 causes are fixable with basic maintenance. Regular cleaning prevents corrosion buildup. Proper storage in dry locations avoids water damage. Gentle handling protects delicate electronic connections. Controller malfunctions rank as the second leading cause at 25% frequency. Firmware bugs create communication errors between components. Overheating damages internal circuits permanently. Power surges from faulty chargers corrupt controller memory. Cause Category Frequency Difficulty to Fix Typical Cost Time Required Loose connections 40% Easy $0-20 15 minutes Water damage 25% Medium $50-150 1-2 hours Controller failure 20% Hard $100-300 2-4 hours Wiring problems 15% Medium $30-100 1 hour Wiring harness issues develop gradually through normal use. Constant flexing stresses wire insulation until it cracks. Sharp turns create stress concentrations at connection points. Poor cable management allows wires to rub against sharp edges. Battery voltage irregularities confuse sensitive controller circuits. Low voltage below 32V triggers protection modes automatically. Unbalanced lithium cells create unstable power delivery. Aging batteries lose capacity and voltage stability over time. Temperature extremes affect all electronic components significantly. Cold weather below 32°F reduces battery performance by 30%. Hot conditions above 100°F overheat controllers and trigger thermal shutdowns. Rapid temperature changes stress solder joints until they crack. Manufacturing defects account for 10% of E1 errors in new scooters. Poor quality control allows defective components to reach customers. Inadequate testing misses intermittent problems that appear later. Cost-cutting measures use substandard materials that fail prematurely. 3. How Do You Diagnose E1 Error Step by Step? Start with visual inspection of all visible connections and components. Look for loose plugs, damaged wires, or green corrosion signs. Check the throttle assembly for cracks, water intrusion, or physical damage. Power off your scooter completely before beginning any inspection work. Remove the battery if possible to prevent accidental activation. Wait 5 minutes for capacitors to discharge safely. Now, you might be wondering about proper testing procedures. Use a systematic approach that checks obvious problems before complex diagnostics. Simple fixes solve 70% of E1 errors quickly. Document your findings with photos before making any changes. This helps track what you’ve tried and provides reference for reassembly. Note any unusual smells, sounds, or visual abnormalities. Test throttle connections by unplugging and reconnecting each connector carefully. Clean contacts with electrical contact cleaner and soft brushes. Wiggle wires gently to find loose connections that cause intermittent problems. Diagnostic Step Tools Needed Time Required Success Rate Skill Level Visual inspection Eyes, flashlight 5 minutes 30% Beginner Connection check None 10 minutes 50% Beginner Voltage testing Multimeter 15 minutes 80% Intermediate Component swap Spare parts 30 minutes 95% Advanced Check controller status lights if your model includes them. Solid green lights indicate normal operation. Flashing red patterns show specific error conditions. No lights suggest complete power failure or blown fuses. Measure battery voltage with a quality digital multimeter. Healthy 36V batteries show 42V when fully charged. Readings below 35V indicate charging problems or damaged cells. Voltage that drops rapidly under load suggests internal resistance problems. Test individual wire continuity from throttle to controller. Infinite resistance indicates broken wires inside the cable. High resistance above 10 ohms suggests corroded connections. Perfect continuity near 0 ohms confirms good connections. Advanced diagnosis requires oscilloscope testing of signal quality. Throttle signals should be clean square waves without noise. Distorted signals indicate electromagnetic interference or component failure. 4. What Tools Do You Need to Fix E1 […]
How Do You Fix E1 Error on Your Electric Scooter? Step-by-Step Guide Read More »