
...

fix

How to Fix E7 Error on Electric Scooters: Complete Troubleshooting Guide

Electric scooters have become important tools for modern city commuting. But when your scooter shows an E7 error code, this convenience can suddenly stop. This problem confuses and frustrates many users. Have you ever prepared to leave home, only to find your electric scooter showing an E7 error and refusing to start? This situation is not only annoying but also disrupts your entire schedule. The E7 error on electric scooters typically indicates a Hall sensor problem in the motor. This comprehensive guide walks you through diagnosis and repair, from simple connection checks to sensor replacement. Follow our step-by-step solutions to get your scooter running again without professional help. This guide will help you understand the causes of E7 errors and provide detailed troubleshooting steps. Whether you are a technical beginner or an experienced user, the solutions here will help you quickly restore your scooter to normal use. What is an E7 Error? The E7 error is a common fault code reported by electric scooter control systems. This code usually indicates a problem with the motor Hall sensor. The Hall sensor is a key component in electric scooters, responsible for monitoring the motor’s speed and position, ensuring smooth operation. When this sensor fails, the control system cannot accurately obtain motor status information, so it displays an E7 error and stops working to prevent further damage. In high-end models, the E7 error specifically indicates a problem with the motor sensor circuit. This may be caused by various reasons, from simple loose connections to damage to the sensor itself. The Hall sensor works based on the Hall effect, which detects magnetic field changes and converts them into electrical signals. In electric scooters, these sensors are usually installed inside the motor to detect the position of the rotor. Common Causes of E7 Errors Understanding the possible causes of E7 errors is the first step to solving the problem. Here are some of the most common situations that cause E7 errors: 1. Loose or Damaged Motor Connection Wires The connection wires between the motor and controller may become loose or damaged due to long-term use or accidental collisions. This is one of the most common causes of E7 errors, and also the easiest to check and fix. Connection problems usually appear as intermittent faults, meaning the scooter sometimes works normally and sometimes shows E7 errors. This is because loose connections may temporarily restore contact during vibration or in specific positions. Case: Mr. Li’s scooter worked normally on flat surfaces, but would show an E7 error whenever passing over bumpy sections. After inspection, it was found that one of the motor connection terminals was loose, and contact would be interrupted whenever the scooter experienced significant vibration. After re-securing the terminal, the problem was solved. 2. Hall Sensor Failure The Hall sensor itself may fail due to long-term use, moisture, or manufacturing defects. This situation usually requires replacing the sensor or the entire motor assembly. Sensor failures usually appear as persistent problems, meaning the E7 error appears regardless of conditions. Once a sensor is damaged, it cannot correctly detect the motor rotor position, and the controller cannot correctly control motor operation. 3. Controller Problems Sometimes the problem is not with the motor or sensor, but with the controller. Internal circuit problems in the controller may prevent it from correctly reading Hall sensor signals, triggering E7 errors. Controller problems are usually more complex and may involve multiple components on the circuit board. Common controller problems include broken solder joints, aging capacitors, or moisture on the circuit board. Case: After using her scooter on a rainy day, Ms. Wang began to see E7 errors. Upon inspection, the motor and connections had no problems, but there were slight signs of moisture in the controller. After professional drying and cleaning, the controller resumed normal function, and the E7 error disappeared. 4. Unstable Battery Voltage Unstable or low battery voltage can also cause E7 errors. When the battery cannot provide enough power, the motor and sensors may not work properly. Battery problems usually appear as E7 errors more likely to occur when the battery is low, or in high-load situations (such as going uphill). This is because aging batteries cannot provide enough current to support normal motor operation. 5. Software or Firmware Issues In some cases, the scooter’s software or firmware may have bugs that cause the system to incorrectly report E7 faults. This situation can usually be resolved by resetting the system or updating the firmware. Software problems usually appear as irregular errors, sometimes even temporarily disappearing after shutdown and restart. These problems are more common in new models or scooters that have recently undergone firmware updates. How to Diagnose E7 Errors Before attempting to fix an E7 error, it’s important to correctly diagnose the specific cause of the problem. Here are some effective diagnostic steps: Check the Error Display Pattern First, note the display pattern of the E7 error. Is it continuously displayed or flashing? What is the frequency of flashing? Different display patterns may indicate different types of problems. Most electric scooters use LED displays or dedicated error indicator lights to show error codes. Typically, E7 errors will be displayed with specific flashing patterns, such as flashing 7 times in a row, then pausing, then repeating this pattern. Observe When the Fault Occurs Record the specific circumstances when the E7 error appears. Does it appear immediately at startup, or after riding for a while? Is it more likely to appear under specific environmental conditions, such as humid weather or high temperatures? Create a simple fault log, recording the time, environmental conditions, and usage situation each time the E7 error appears. Such records can help identify patterns, such as whether the error only appears at specific temperatures, or whether it’s related to battery level. Check for External Damage Carefully check if the scooter has signs of external damage, especially in the motor area and connection wires. Sometimes, seemingly minor damage can cause problems with internal components. Pay special attention

How to Fix E7 Error on Electric Scooters: Complete Troubleshooting Guide Read More »
How to Fix Your Electric Scooter: Step-by-Step Guide for Beginners

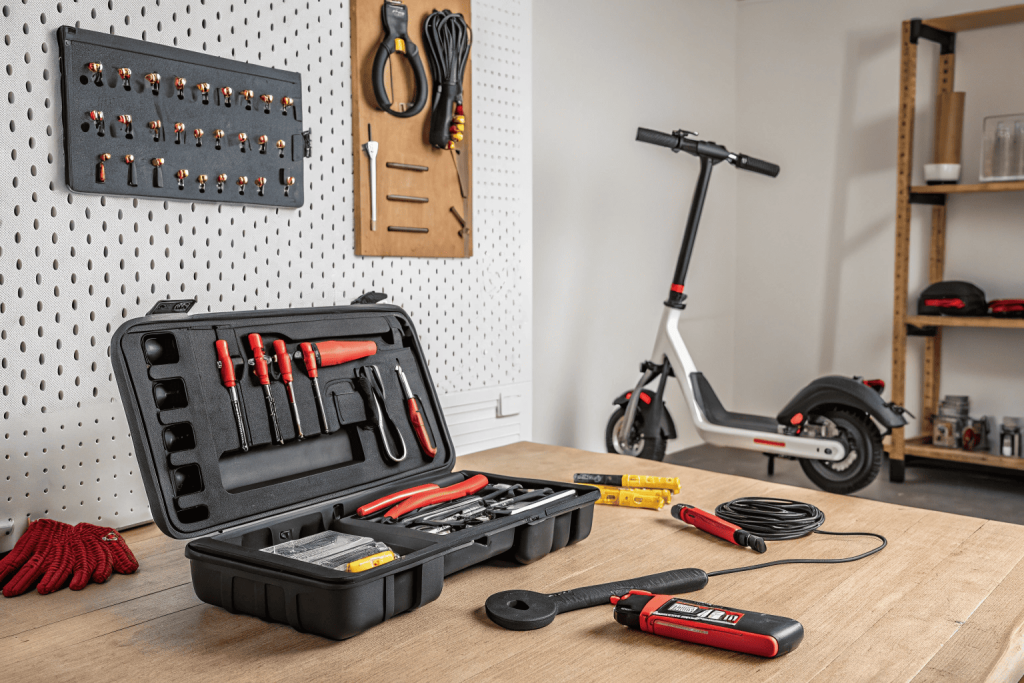
Is your trusty electric scooter suddenly acting up, leaving you stranded or frustrated? You are not the only one facing this. Electric scooters, like any transport, can develop issues. The thought of costly repairs or being without your Dynamic Scooter can be a headache. But here is good news: many common e-scooter problems can be diagnosed and fixed with know-how. We are here to guide you through troubleshooting and repairing your electric scooter, helping you get back on the road. Fix your electric scooter by first diagnosing common issues like power loss or flat tires. Gather basic tools, check battery health, adjust brakes, or patch tires. For complex problems, always consult a professional to ensure safety. 1. What Basic Tools Do I Need Before Starting Electric Scooter Repairs? Before tinkering with your electric scooter, having basic tools is essential. It is like a chef needing knives. Attempting repairs without proper equipment can cause damage or injury. Your toolkit should include a multimeter for electrical checks. Allen keys and screwdrivers are vital for disassembly. Wrenches or a socket set help with nuts. For tires, levers are a must, plus a pump with a gauge. Safety gear: gloves and safety glasses are crucial. For parts for your Dynamic Scooter Model B, like tires or batteries, start with the manufacturer or authorized dealers for compatibility. Having these ready makes repairs smoother and safer. This preparation is a small step for a big return in efficiency. 2. How Can I Diagnose Common Electric Scooter Problems? When your scooter acts up, diagnose the issue first. Knowing where to look is key. Scooter won’t turn on? Check the battery, controller, power switch, or wiring. A systematic check, starting with battery charge, is vital. No power or slow acceleration often points to battery health, motor issues, or controller faults. You might ask, what about brakes? If brakes are ineffective, diagnose if they need adjustment, pad replacement, or if there are cable problems. A flat tire is obvious; a wobbly wheel could be a puncture, tire damage, or loose bearings. Recognizing these symptoms guides troubleshooting for your Dynamic Scooter effectively. This diagnostic skill can save you time and money before diving into complex fixes. Problem Symptom Potential Causes Initial Checkpoints Scooter Won’t Turn On Dead/faulty battery, controller, power switch, wiring Battery charge, switch, visible wiring connections No Power / Slow Acceleration Battery issues, motor problems, controller fault Battery voltage, motor connections, error codes 3. What Are the First Safety Checks Before Attempting Any Repair? Safety is top priority before any Electric scooter repair. No repair is worth an injury. First, ensure the scooter is powered completely off. This prevents accidental motor engagement. Make sure the scooter is stable on a flat surface, using its kickstand or supported so it will not tip. Here is a vital tip: if working on electrical components (controller, motor), disconnect the battery. This eliminates short circuit risks. Choose your workspace wisely: well-lit, clean, and ventilated. Good lighting helps, a clean space prevents losing small parts. Ensure your workspace is free from distractions. Taking these safety checks seriously protects you and your Dynamic Scooter during repairs. This careful approach is non-negotiable for any task. 4. How Do I Check and Troubleshoot My Electric Scooter’s Battery? The battery is your e-scooter’s heart; issues are common. So, let us investigate. Visually inspect for damage, leaks, or swelling – a swollen battery is serious and needs immediate, cautious replacement. Check charge level via the display or a multimeter for precise voltage (know your battery’s correct voltage). Compare this to specs. Lower voltage than expected after a full charge indicates a problem. What signals a failing battery? Reduced range, long charge times, or not holding charge. If it cuts out under load, the battery might be unable to deliver current. Knowing when replacement is needed is key; multiple failure signs mean it is likely time. Source genuine or manufacturer-approved replacements for your Dynamic Scooter Model B for compatibility and safety. This ensures longevity and performance. 5. What Steps Are Involved in Fixing a Flat Electric Scooter Tire? A flat tire is a common, frustrating e-scooter issue. But it is often fixable! Identify your tire type: pneumatic with inner tube, tubeless, or solid. For pneumatic with inner tube , remove the wheel, then use tire levers to pry one side of the tire off the rim. Inflate the tube slightly to find the puncture (listen for air or submerge in water). Patch it or replace the inner tube. What about other types? Tubeless tires might need a plug kit or sealant. Solid tires do not puncture but are replaced if damaged, often needing special tools. After repair/replacement, remount the tire, ensuring the bead is seated, and reinflate pneumatic tires to the recommended pressure (on the sidewall). This process can save a shop visit. Tire Type Common Issue Primary Fix Method Tools Needed (Examples) Pneumatic (Inner Tube) Puncture Patch inner tube or replace inner tube Tire levers, patch kit, pump, wrenches Solid Rubber Wear, Damage Replace entire tire (often requires pressing) Heavy-duty levers, press (sometimes), wrenches 6. How Can I Adjust or Replace My Electric Scooter\’s Brakes? Effective brakes are critical for Electric scooter safety. No compromises here. If brakes feel spongy, weak, or noisy, they need attention. Identify your brake type: mechanical disc, hydraulic disc, drum, or electronic. For mechanical disc or drum brakes, adjust cable tension for responsiveness. This usually involves a barrel adjuster. Wondering about pad wear? Inspect brake pads (disc) or shoes (drum) for wear. Most have indicators, or check friction material thickness. If worn, replace them. Replacing pads involves removing the wheel or caliper, swapping pads, and readjusting. For hydraulic brakes, cleaning pistons or bleeding lines (often best for pros if inexperienced) might be needed. Consult your Dynamic Scooter’s manual for specific brake instructions. Regular checks maintain performance. 7. What Should I Do If My Electric Scooter Motor Isn\’t Working or Makes Strange Noises? Motor problems can range from failure to strange noises. This

How to Fix Your Electric Scooter: Step-by-Step Guide for Beginners Read More »

Why Does My Electric Scooter Turn On But Not Move?

I totally understand how frustrating it is when your electric scooter turns on but won’t move. This is a common problem, and it can leave you stranded in one place especially if you’re in a hurry. The good news is that there are a few things you can do to get those wheels turning again. If your electric scooter turns on, but it doesn’t go, common issues include motor issues, faulty brake sensor, weak battery, or loose wiring. The speed controller is damaged or the Hall sensor is misaligned, which may cause your electric scooter not to move. You can check these items one by one. Understanding why your electric scooter isn’t moving is the first step toward fixing the issue. In the following sections, we’ll walk you through the troubleshooting process to get your scooter back in motion. Why Does My Electric Scooter Turn On But Not Move? 1. Check Basic Setup Before you start fixing your electric scooter’s technical problems, make sure your electric scooter is not in a “lock” or “park” mode. Nowadays, many electric scooters have this safety feature which deactivates the motor if the electric scooter is in a “lock” or “park” mode. Read your display or manual carefully to make sure your electric scooter is in “move” mode. 2. Engine Damage/Overheating The motor has been working too long, and it stops working. It can happen if you are transporting a heavy rider, riding uphill, or taking a long-distance trip. The motor will cool down in 10 – 15 minutes. 3. Check Zero Start Settings Some electric scooters have a “zero-start” feature, meaning the scooter requires the throttle to be engaged before it moves. Ensure that your scooter’s zero-start feature is set properly and that you’re following the right sequence to engage the throttle. 4. Check Brake Sensor Some electric scooters have a “zero-start” feature meaning the motor doesn’t move until you push the throttle. Check to see if your zero start feature is enabled correctly and you are doing the sequence to push the throttle. 5. Check for Loose Connections Electrical connections, especially leading to and from the motor, battery and controller, may get loose. A loose or disconnected wire will cause power not to go to the motor. Inspect connections and cables to make sure they are connected. 6. Confirm Battery Health/Dead Battery Dead battery. Sometimes the electric scooter turns on but the battery doesn’t have enough current to run your scooter. See if your battery output is correct with the voltmeter. If the battery shows bad signs, it may need to be replaced. 7. Global Cut-Off Switch Some electric scooters have a global cut-off switch that prevents the scooter from running for safety. Accidental engagement of the switch will stop the motor from operating. Ensure the global cut-off switch is not engaged and reset it to run. 8. Speed Controller Failure The speed controller controls the power from the battery to the electric scooter motor. If the speed controller is bad, the scooter may turn on but not move. Visually inspect the controller for damage and check its functionality using the display screen on the scooter. 9. Throttle Issues/Hall Sensor Alignment A faulty throttle causes the scooter not to go. The Hall sensors that track throttle and motor activity may also get misaligned. The scooter will not register the throttle change if the sensors are out of alignment. Dirt may get into the sensors and cause a misalignment. Check where the sensors line up for any issues. 10. Check for Error Codes and Display Messages If your scooter has a display screen, check if there are error codes on the display. Many scooters show error codes on display that may lead to a faulty motor. You can research these error codes in the owners manual to find out what trouble code is being displayed and what part of the scooter has problem. 11. Tire Leak Issues If one of these tires is flat or leaking, this can be the reason the electric scooter does not move. Check both tires to see if they are flat. It can also be leaking slowly. You may need to inflate the tires or replace them. 12. Blown Fuse A blown fuse may prevent the battery from powering the electric scooter. Check the fuse in the controller if it powers on, but does not go. Replace your fuse and retry the scooter. 13. Overload Protection If the scooter is carrying more weight than it is supposed to, the overload protection may stop the motor from running. Look at your user manual and see if your scooter has this feature. Ensure you are not overloading it. 14. Obstacle Check Sometimes pebbles, dirt, or debris may prevent your scooter wheels from turning. Make sure nothing blocks the wheels from turning. Understanding the Basic Components of Your Electric Scooter If you’re unfamiliar with the faults mentioned above, I believe educating yourself about these components will help you troubleshoot your e-scooter. Motor The motor is responsible for driving the wheels of the scooter. If the motor is faulty, your scooter will not move, even if it turns on. Regular maintenance and inspection can help keep the motor in good working order. Battery The motor drives the wheels of your scooter. If the motor is defective, your scooter will not drive, even though it turns on. Perform regular maintenance and inspections to keep the motor operational. Controller The controller is the brain of your electric scooter. It controls the speed and power sent to your motor. If the controller is damaged, your scooter may not drive, even though it is powered on. Make sure to inspect and maintain the controller regularly. Sensors Your scooter has several sensors, such as brake sensors and Hall sensors, that monitor your scooter. If a sensor is defective, it can prevent your scooter from starting or running. Make sure to check and calibrate sensors regularly. Braking System The braking system is integral to keeping ebike riders

Why Does My Electric Scooter Turn On But Not Move? Read More »

Shopping Cart
Scroll to Top