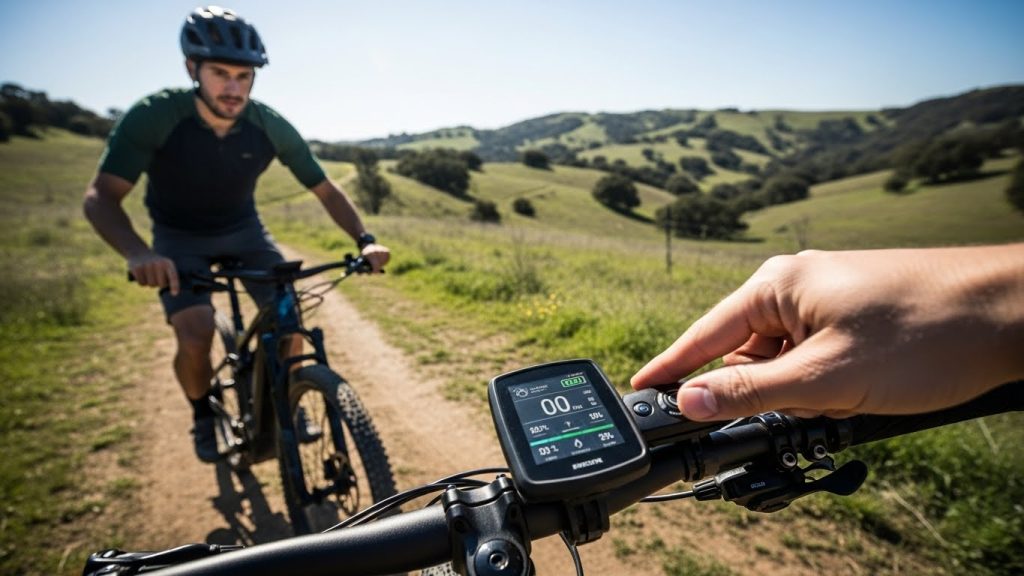
How to Use an Electric Mountain Bike? Step-by-Step Riding Guide
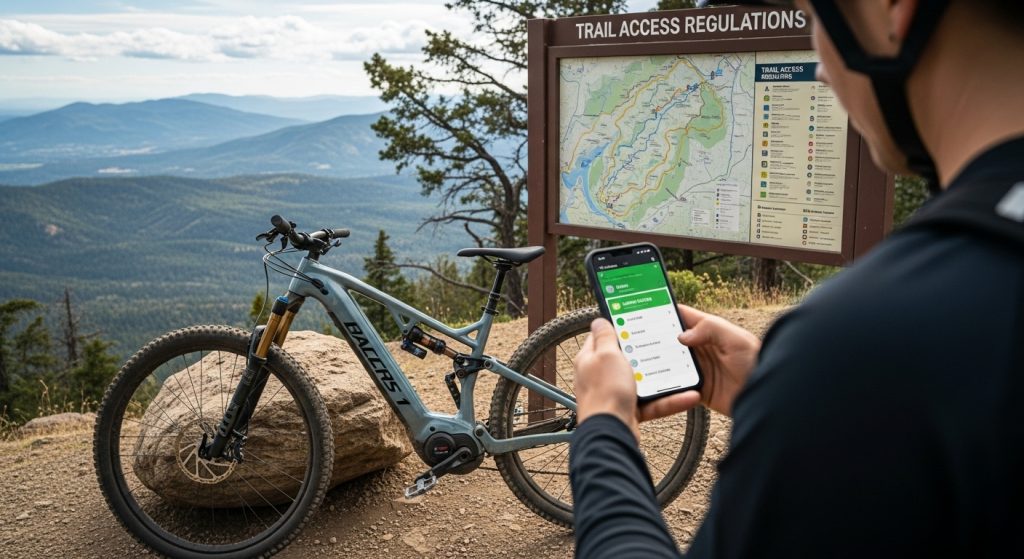
So you have a new electric mountain bike, a powerful machine ready for incredible adventures. But with great power comes a learning curve. You might be wondering how to get the most out of the motor, manage the battery, or just how to get started. It can feel like there is a lot to learn, and you want to use your new bike safely and effectively. Don’t worry, it’s easier than you think. Using an electric mountain bike is all about blending your own power with the bike’s motor. The key is to start with a pre-ride safety check, understand the display and assist levels, and practice coordinating your gears and the motor’s power. Mastering basic techniques for starting, stopping, climbing, and descending will give you the confidence to tackle any trail. This guide will walk you through everything you need to know, from your very first ride to post-ride care. Let’s get started. 1. What Should You Do Before Your First Ride? Before hitting the trails, a few simple checks will ensure your first ride is safe and enjoyable. Taking a few minutes to prepare your bike can prevent problems down the road. A pre-ride safety check is essential. Here’s why it matters… it helps you catch potential issues before they become a danger. Check your brakes to make sure they are firm and responsive. Check your tire pressure. Properly inflated tires provide better traction and prevent flats. Give your chain a quick check to make sure it is clean and lubricated. Next, make sure your battery is fully charged. Most e-bike batteries have an indicator light showing charge status. A full charge gives you maximum range. Proper bike fit is crucial for comfort and control. Adjust the saddle height so your leg is almost fully extended when the pedal is at its lowest point. Adjust the handlebar position so you can ride with a slight bend in your elbows. Pre-Ride Check What to Look For Why It’s Important Brakes Firm levers, no rubbing Essential for safe stopping Tire Pressure Within recommended range Better traction, prevents flats Battery Fully charged Maximum range for your ride Bike Fit Proper saddle height Comfort, control, and efficiency Once you have gone through these steps, you are ready to turn on your bike and get familiar with controls. 2. How Do You Turn On and Use the Display? The display is the command center of your e-MTB. It is where you will see all key information about your ride. Getting to know your display is the first step in controlling your e-bike’s power. First, you need to turn the system on. The power button is usually located on the display itself or on a separate control pad on the handlebar. Press and hold the power button for a few seconds, and the display will light up. The best part? This simple action brings your e-bike to life. Once the display is on, you will see a variety of information. The most important things are your current speed, battery level, and selected pedal-assist (PAS) level. Most displays also show trip distance and average speed. Many displays have multiple screens you can cycle through. There is usually a button on the control pad that lets you switch between screens. Display Information What It Tells You Why It’s Useful Speed Your current speed in mph or km/h Helps you manage your pace Battery Level Remaining battery life Crucial for planning your ride Assist Level The current motor assistance level Shows how much power you are using Trip Distance Distance covered on your current ride Helps you track your progress Understanding your display is key to using your e-bike effectively. It provides real-time feedback you need to make smart decisions about your speed, effort, and battery management. 3. How Do You Use the Pedal-Assist System (PAS)? The pedal-assist system is the heart of your electric mountain bike. It gives you that superhuman feeling when climbing a steep hill. Learning how to use the different assist levels effectively gets the most from your bike. Most e-bikes have several assist levels, typically ranging from three to five. These levels determine how much power the motor provides. But here’s the thing… a lower level, often called “Eco,” provides a small amount of assistance. It is great for conserving battery life on flat ground or for getting a good workout. A higher level, often called “Boost” or “Turbo,” provides maximum power for tackling the steepest climbs. You can change the assist level using the controls on your handlebar. There are usually up and down arrow buttons that let you easily switch between levels as you ride. Practice changing levels so it becomes second nature. Knowing when to use each level is an art you will develop with practice. Use Eco mode on flat or slightly downhill sections to save battery. Switch to a medium level for rolling terrain. Save the highest assist level for steep, technical climbs. Assist Level Typical Name Best Use Case Battery Consumption Low Eco, Economy Flat ground, long rides, fitness Lowest Medium Trail, Normal Rolling hills, general trail riding Moderate High Boost, Turbo Steep climbs, strong headwinds Highest By matching the assist level to the terrain, you can ride more efficiently and have more fun. It allows you to smooth out the hills and maintain consistent speed and effort. 4. What Is the Right Way to Start and Stop? Starting and stopping on an e-MTB is a little different than on a traditional bike. The extra weight and motor power require more care. Mastering a smooth start and controlled stop is fundamental to riding safely. When you are ready to start, mount the bike and get your feet on the pedals. Before you start pedaling, make sure you are in an easy gear. Now, you might be wondering… why is this important? Starting in a hard gear can cause the motor to engage abruptly. A smooth pedal stroke in an easy gear allows the motor to […]
How to Use an Electric Mountain Bike? Step-by-Step Riding Guide Read More »