You can fix most common electric scooter problems right at home using simple diagnostic techniques like resetting the circuit breaker, testing safety switches, or calibrating brake tension. There is nothing worse than preparing for your daily commute only to discover that your vehicle is completely lifeless or struggling to move forward.
This unexpected issue can disrupt your entire schedule, leave you stranded, and make you worry about expensive repair shop bills. Fortunately, understanding the root cause of these electric scooter problems lets you troubleshoot like a pro and get back on the road safely.
Why Do Electric Scooter Problems Cause Sudden Cutouts?

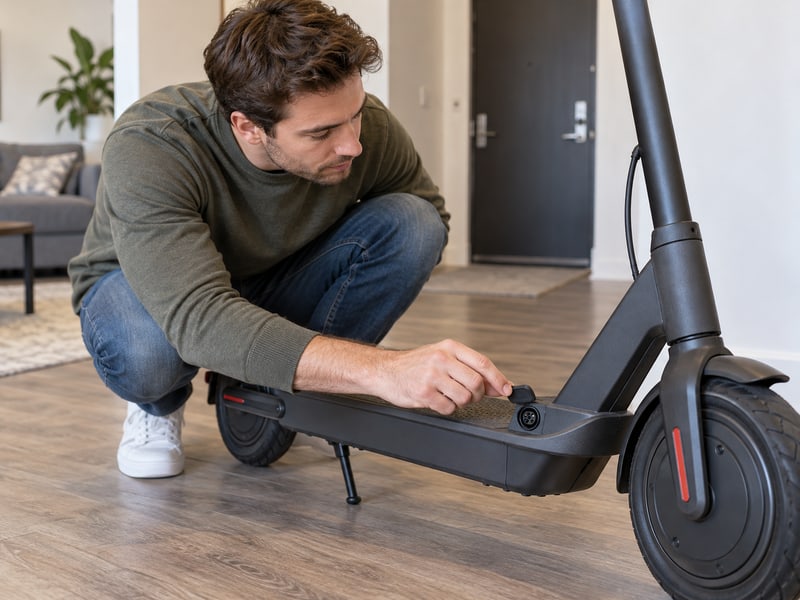
Sudden cutouts during a ride typically occur because your vehicle’s safety circuit breaker has tripped or a wire connector inside the deck has vibrated loose. These physical disconnects disrupt the constant flow of energy, leading to common electric scooter problems that halt your journey.
When your vehicle carries heavy loads or climbs steep slopes, the internal electrical temperature rises rapidly. Letting the system cool down for a few minutes is crucial before you attempt to reset the physical breaker button inside your deck.
Is Your Circuit Breaker Tripping?
A tripped circuit breaker is designed to act as an immediate electrical shield for your motor and speed controller. When the electrical current spikes beyond safe parameters, the breaker cuts the power supply instantly.
Let’s face it:
- Heavy rider loads increase structural and electrical strain.
- Steep city hills force the motor to draw excess amperage.
- Hot weather reduces the heat dissipation capacity of the deck.
If your deck feels excessively warm, do not force the vehicle to turn back on immediately. Let the components cool down to prevent permanent wire damage.
Check for Loose or Hot Wiring
High vibrations from riding on rough pavement can gradually wiggle your internal wiring harnesses loose over time. This loose connection creates high electrical resistance, generating dangerous heat inside the battery compartment.
Look at this:
- Look for melted plastic housing on key wire connectors.
- Check for black soot marks indicating a minor electrical short.
- Ensure the metal pins inside connectors are seated tightly.
Regularly checking the tightness of these connection points will prevent sudden electrical disconnects while riding. Secure them with electrical tape or heat-shrink tubing to keep them stable.
| Diagnostic Check | Primary Cause | Recommended Solution |
|---|---|---|
| Sudden Power Cutout | Tripped Circuit Breaker | Cool down and reset the breaker |
| Intermittent Shutdowns | Loose Wiring Connectors | Tighten and secure wire harness terminals |
| Hot Control Deck | Excess Engine Strain | Reduce load and avoid steep inclines |
Reviewing these diagnostic indicators helps you quickly pinpoint whether your cutoff issue is thermal or mechanical.
Key Takeaway: Thermal protection is vital; always allow a tripped breaker to cool completely before restarting your ride.
How to Solve Electric Scooter Problems When It Won’t Move?

When your vehicle refuses to move forward, the most common culprit is a safety feature like a kick-to-start setting or a stuck brake lever sensor. These safety systems prevent accidental acceleration, but they can easily be confused with actual electric scooter problems.
Before you assume that your motor has suffered a catastrophic failure, it is best to check the basic external components. Many modern commuter models like the Model B utilize smart safety systems that are incredibly easy to troubleshoot.
Is It a Kick-to-Start Mechanism?
Many modern scooters are programmed to not engage the motor from a complete standstill to prevent accidental throttle twists. This means you must manually push the vehicle forward before the motor kicks in.
Here is the deal:
- Push off with your foot to reach a slow walking speed.
- Gently press the throttle once you match that minimum velocity.
- Check your user settings to see if this feature can be disabled.
If the motor suddenly springs to life once you start rolling, your vehicle is operating exactly as designed. This simple safety test saves countless riders from unnecessary repairs.
How to Test the Brake Lever Switch?
The brake lever switch acts as an automatic safety kill switch that instantly cuts power to the motor whenever you pull the brake. If this physical switch becomes dirty, misaligned, or stuck in the closed position, your motor will refuse to run.
Here is the kicker:
- Locate the thin sensor wire running out of your brake lever.
- Carefully disconnect this plug from the main speed controller.
- Test the throttle to see if the rear wheel now spins.
If the motor runs normally with the brake switch disconnected, you know the brake lever sensor is the faulty part. Clean the switch housing or replace the sensor to restore safe riding.
| Part Inspected | Common Fault | Diagnostic Test |
|---|---|---|
| Kick-to-Start | Normal safety configuration | Push-start scooter to 3 km/h |
| Fuse | Blown or loose connection | Check filament or replace fuse |
| Brake Switch | Stuck or faulty sensor | Disconnect controller wire to test |
This basic physical checklist isolates external safety triggers from internal hardware failures.
Key Takeaway: Always check simple physical switches and fuses before assuming your motor is dead.
Are Battery Faults Behind Your Electric Scooter Problems?

Weak batteries are often the primary driver of most power-related electric scooter problems because their capacity degrades over time. When your battery cells wear down, they fail to maintain a steady voltage under the stress of acceleration.
Identifying battery health is highly important before you replace other expensive components. If you suspect your power pack is declining, our specialized support page can guide you through the process.
Diagnosing Voltage Drop Under Load
A failing battery pack might show a fully charged status on your handlebar display while resting, but plummet instantly once you stand on the deck. This is a classic symptom of high internal cell resistance.
Think about it:
- Hook up a digital voltmeter to the battery terminals.
- Prop the scooter up and carefully apply the throttle.
- Watch for a major, sudden drop in the voltage numbers.
A sudden drop of several volts indicates that one or more cells inside the pack are degraded. In this situation, the entire pack will eventually need to be rebuilt or replaced.
Why Does the Power Cycle On and Off?
When your battery voltage drops below a certain safe threshold under load, the speed controller activates its low-voltage cutoff. This safety feature cuts power immediately to protect the cells from deep discharge damage.
But wait, there is more:
- Voltage drops below the safe limit, triggering the motor shutdown.
- Without the load, the resting voltage naturally bounces back up.
- The controller turns back on, starting a frustrating power cycle.
This continuous cycling will make riding virtually impossible and highly annoying. Charging the pack deeply or replacing the worn cells is the only way to break this loop.
| Battery Symptom | Underlying Cause | Corrective Action |
|---|---|---|
| Voltage Drops Under Load | High cell resistance | Perform deep charge or replace pack |
| Cycling On and Off | Low Voltage Cutoff (LVC) | Recharge battery fully; check cells |
| Zero Voltage Output | Melted internal fuse | Replace fuse or check BMS |
Comparing these electrical characteristics reveals whether your battery is simply depleted or physically worn out.
Key Takeaway: A battery that drops voltage under load is often worn out and requires professional replacement.
What Is Causing Sluggish Electric Scooter Problems on Hills?

A sudden loss of climbing power is usually triggered by a degraded battery pack or internal motor overheating. These internal issues manifest as frustrating electric scooter problems whenever you face steep city terrain.
As your scooter ages, natural wear on the components makes it harder to maintain high torque. Understanding these signs helps you address motor and battery wear before they lead to complete failure.
Why Is Your Vehicle Running Slowly?
When your vehicle struggles to reach its top speed, the battery chemistry may no longer be able to supply the maximum amperage your motor demands. Underinflated tires can also increase rolling resistance and slow you down.
Here is the deal:
- Inflate your tires to the exact recommended manufacturer pressure.
- Clean any dirt or debris away from the wheel axles.
- Perform a battery capacity check to ensure full output.
Keeping your mechanical parts clean and well-lubricated reduces rolling drag significantly. This ensures your motor does not have to work twice as hard to maintain your speed.
How Does Motor Wear Affect Speed?
Running your hub motor at full throttle up long, steep hills can cause extreme heat buildup inside the motor casing. This excessive heat can melt the thin insulation on the internal copper windings.
Let’s face it:
- Melted insulation creates micro-shorts inside the motor.
- The magnetic field loses its efficiency and reduces overall torque.
- The motor draws excess current while running sluggishly.
If your motor casing feels extremely hot to the touch or smells burnt, avoid riding it. Replacing the hub motor or repairing the windings is required to restore original climbing strength.
| Speed Issue | Root Cause | Best Fix |
|---|---|---|
| Sluggish Performance | Degraded battery cells | Replace battery pack |
| Motor Running Slow | Melted copper windings | Replace or repair the hub motor |
| Reduced Hill Climb | Underinflated tires | Inflate tires to specified PSI |
Evaluating these climbing factors helps isolate simple tire maintenance issues from severe motor damage.
Key Takeaway: Sluggishness on hills is almost always a battery capacity issue rather than a motor failure.
Why Do Electric Scooter Problems Lock Your Motor to On?

A motor that runs continuously without throttle input is caused by a failed speed controller or a short-circuited throttle connection. This dangerous symptom is one of the most critical electric scooter problems that requires immediate action.
Defective Speed Controllers Explained
The speed controller acts as the brain of your electric vehicle, translating throttle signals into motor power. When its internal components burn out from excessive heat or moisture, they fail in a fully open state.
Here is the crazy part:
- Moisture ingress can create a short circuit on the board.
- Burnt components often release a distinct chemical odor.
- Loose wires can bridge connections and bypass safety controls.
Unplugging the throttle is the fastest way to check if the issue is with the controller itself. If the motor keeps spinning without the throttle attached, the controller is definitely defective.
What Is MOSFET Transistor Burnout?
MOSFET transistors are heavy-duty switches that rapidly pulse power to control the speed of your motor. If these transistors overheat due to steep climbs or heavy loads, they can physically fuse together inside.
Truth be told:
- Fused transistors allow unrestricted current to flow straight to the motor.
- The physical throttle can no longer control or slow down the speed.
- Only disconnecting the battery or flipping the breaker will stop it.
Replacing the entire speed controller is the safest and most reliable solution when a MOSFET fails. Do not attempt to ride the vehicle until this critical motherboard component has been swapped.
| Component Failure | Symptom | Immediate Resolution |
|---|---|---|
| MOSFET Transistor Burnout | Motor runs at full speed constantly | Replace speed controller assembly |
| Shorted Throttle Cable | Continuous throttle input signal | Replace throttle and wiring harness |
| Scorched Controller | Visible heat damage on board | Swap controller and verify motor load |
Understanding these controller faults helps you safely manage unexpected acceleration issues.
Key Takeaway: A motor that runs constantly is highly dangerous; disconnect the battery immediately to prevent accidents.
How Do You Fix Electric Scooter Problems Involving Brakes?

Resolving poor braking response requires either replacing worn brake pads or adjusting the mechanical cable tension to remove excess play. Maintaining stopping power is essential to avoid severe safety-related electric scooter problems.
Regular brake maintenance is simple and should never be ignored. Taking a few minutes to inspect your calipers and discs will ensure a safer daily commute.
When Should You Replace Brake Pads?
Brake pads naturally wear down over time as they frictionally grip the rotating disc rotor to slow you down. If you notice a harsh metallic grinding sound when stopping, your pads are likely depleted.
You might be wondering:
- Check the remaining thickness of the pad friction material.
- Replace pads immediately if they are under one millimeter thick.
- Look for uneven wear patterns across the pad surfaces.
Swapping out worn pads prevents permanent damage to your expensive steel brake disc rotors. Always use high-quality compound pads for consistent, reliable stopping power.
Adjusting Cable Tension for Safety
Mechanical brake cables will naturally stretch slightly after months of repeated, hard stops. This stretching creates an uncomfortably loose, spongy feeling when you pull the handlebar lever.
Here is the deal:
- Locate the silver barrel adjuster near your brake caliper.
- Turn the barrel clockwise to tighten the cable slack.
- Ensure the wheels can still spin freely without pad drag.
Fine-tuning your cable tension restores that crisp, immediate braking feeling you need for emergency stops. Be sure to lock the adjustment ring in place once you find the perfect balance.
| Brake Symptom | Probable Cause | Action Step |
|---|---|---|
| Squealing Brakes | Worn pads or dirty rotor | Replace pads; clean disc surface |
| Loose Brake Lever | Stretched brake cable | Tighten cable barrel adjuster |
| Spongy Braking | Air in hydraulic lines | Bleed the hydraulic brake system |
Regular mechanical adjustments ensure your braking system operates at its peak safety margin.
Key Takeaway: Never ride with compromised brakes; clean the rotors and adjust cable tension at the first sign of slack.
Can Loose Wires Trigger Electric Scooter Problems?
Loose internal connections or melted wire insulation are common causes of sudden power failure and intermittent motor cutouts. Vibrations from daily commuting on bumpy streets can loosen terminals, creating major electric scooter problems over time.
Inspecting these wire pathways is a smart first step before replacing more expensive components like controllers. For more tips on maintenance, visit our about us page to learn about our high manufacturing standards.
Inspecting Melted Connectors
Excessively high electrical current creates high heat that can physically melt plastic connectors inside your scooter’s deck. Once melted, the internal copper wires can easily touch, causing a major short circuit.
Look at this:
- Open the deck casing and inspect the plastic connectors.
- Look for distorted shapes, discoloration, or a burnt smell.
- Check if the copper terminal pins are securely locked inside.
If you find any damaged plastic connectors, they must be snipped off and replaced. Using premium insulated connectors prevents moisture and heat from ruining your electronics again.
What Causes Wire Insulation to Melt?
Forcing your vehicle to climb incredibly steep slopes or carry weight beyond its rated limits draws heavy current from the battery. This heavy amperage exceeds the thermal threshold of standard wiring.
Let’s face it:
- Overloading forces the wires to heat up like elements.
- The protective plastic insulation melts off the wire core.
- Exposed copper can ground against the metal scooter frame.
Running your scooter within its designed capacity keeps internal temperatures safe. Protecting your wiring is the best way to prevent dangerous controller failures down the road.
| Wiring Defect | Cause | Solution |
|---|---|---|
| Melted Connectors | Excessive amperage draw | Replace connector and check motor load |
| Loose Terminals | High vibration riding | Tighten pins and wrap with heat shrink |
| Exposed Wire | Rubbing against metal frame | Insulate with heat shrink or electrical tape |
Spotting melted insulation early prevents costly damage to the rest of your electrical system.
Key Takeaway: Protect your electronics by wrapping connection points and securing cables away from sharp metal edges.
Do Electric Scooter Problems Stop the Battery Charging?

A battery that refuses to charge usually indicates a blown internal charging fuse, a damaged charging port, or an over-discharged battery pack. Diagnosing this system step-by-step is crucial to resolving charging-related electric scooter problems efficiently.
When your battery will not take a charge, the issue could rest in either the charger or the vehicle. If you need answers to specific charging questions, our extensive FAQ part offers valuable support.
Is the Smart Charger Light Staying Green?
Most modern chargers feature smart safety circuits that check your battery pack’s general condition before sending power. If the battery voltage is too low, the charger refuses to send current and remains green.
Here is the deal:
- A solid green light on an empty battery indicates zero charging current.
- This safety block prevents charging a short-circuited or damaged pack.
- Check the charger plug and port for bent pins or debris.
If the smart charger light stays green, inspect the inline fuse under your deck. Replacing a cheap blown fuse often resolves the problem immediately.
Recovering an Over-discharged Battery
Storing your scooter with an empty battery for months will cause the cell voltage to drop below its minimum threshold. When this occurs, standard chargers will not initiate the charge cycle.
Look at this:
- Leaving the power switch on for days drains cells completely.
- The battery management system locks down to protect the cells.
- A professional deep charge may be required to wake up the pack.
Always charge your scooter battery at least once a month when it is in storage. Keeping a residual charge preserves the cell chemistry and prevents premature battery death.
| Charger Indicator | Likely Problem | Troubleshooting Action |
|---|---|---|
| Solid Green (Empty Battery) | Blown fuse or dead battery cells | Replace the inline fuse; test voltage |
| No Light at All | Faulty wall outlet or dead charger | Try another outlet; replace charger |
| Flashing Red | Battery temperature or voltage error | Cool down battery; perform deep charge |
Isolating the physical charging components makes it easy to pinpoint where the electrical flow is blocked.
Key Takeaway: Never store your scooter empty; charge it at least once a month to prevent deep discharge issues.
How Can a Flowchart Solve Electric Scooter Problems?
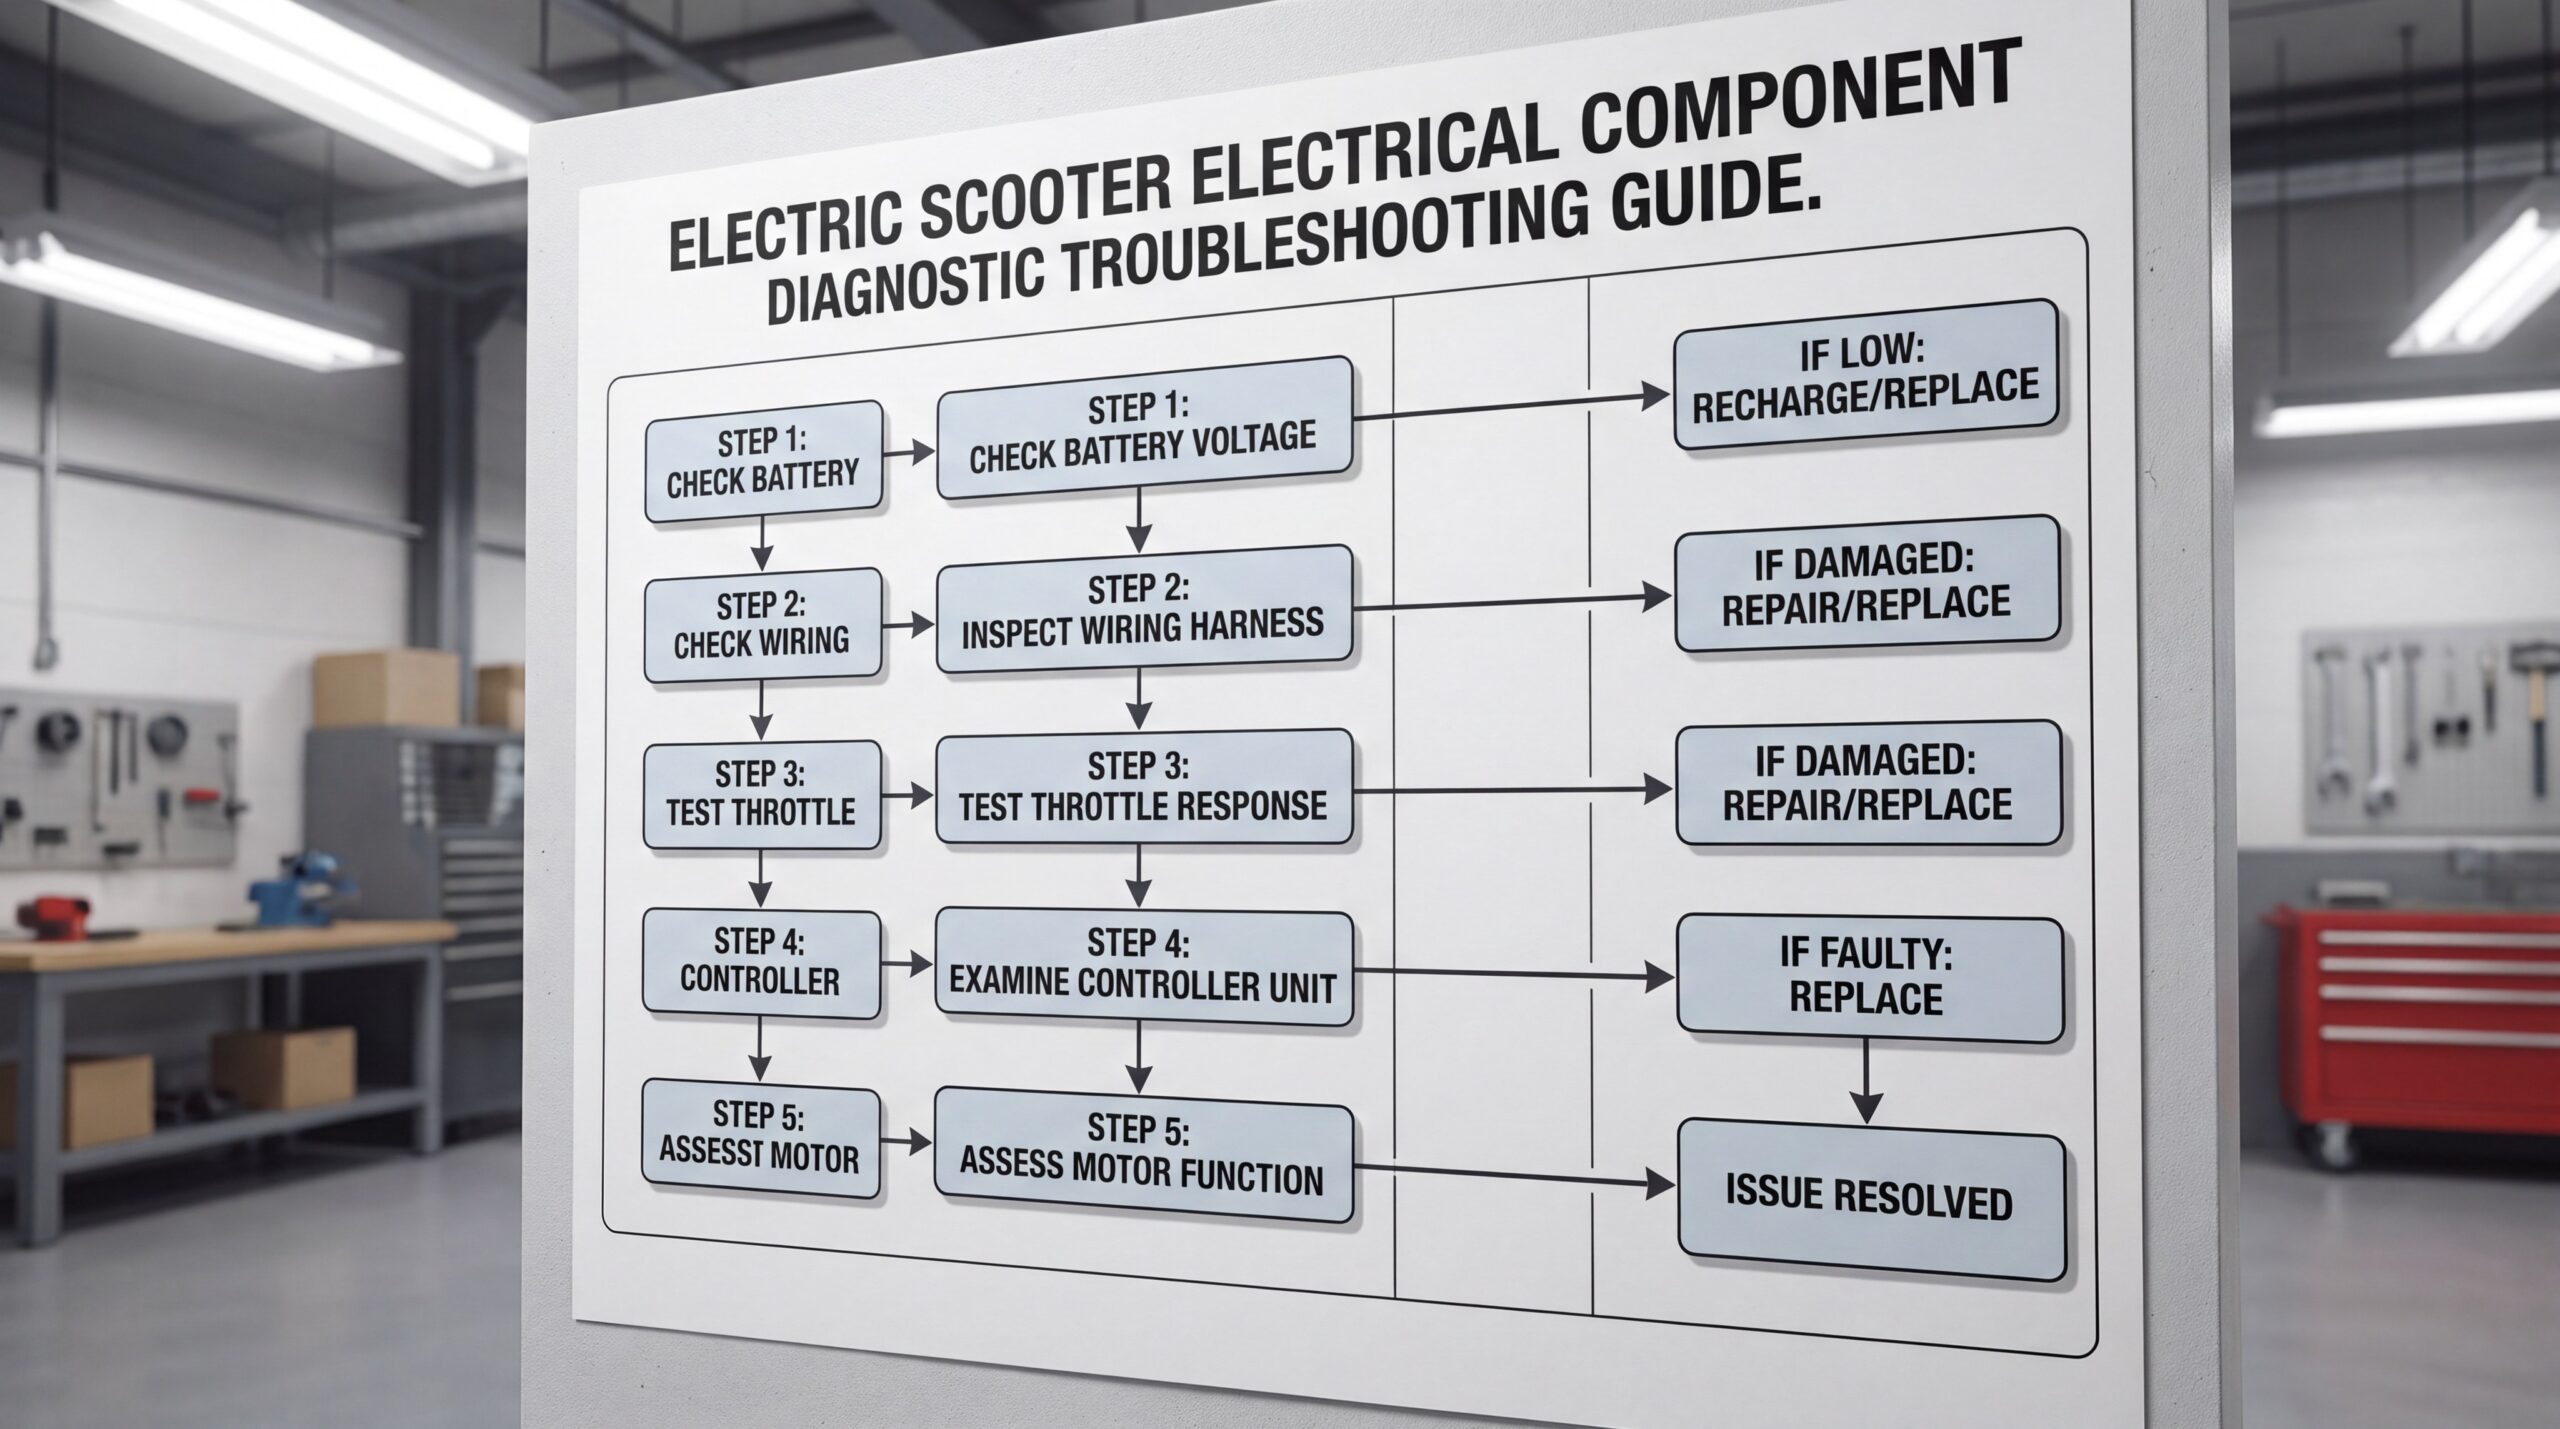
A diagnostic flowchart simplifies your home repairs by guiding you through a logical, step-by-step troubleshooting sequence. Using a visual guide prevents you from guessing and helps resolve complex electric scooter problems with absolute precision.
Systematically checking each system ensures you do not waste money replacing perfectly good parts. Let’s see how structured diagnostics save you both time and money.
Visualizing Step-by-Step Diagnostics
A troubleshooting flowchart starts with the easiest physical checks before moving on to complex electrical testing. This ensures you rule out simple issues, like a flipped switch, before buying a new motor.
As you can see:
- Check the battery charge and master power switch first.
- Test physical safety sensors like brake levers next.
- Inspect the fuses, controller, and motor wiring last.
Following this structure makes home repairs incredibly simple and highly efficient. You will gain a much better understanding of how your scooter operates with every test.
When to Consult a Professional Mechanic?
While many common adjustments are easy to complete at home, some complex repairs require professional diagnostic gear. If your tests point to a damaged internal battery pack or burnt windings, seek expert assistance.
Truth be told:
- Internal battery pack repairs require precise cell balancing.
- Rewinding or replacing a hub motor needs specialized tools.
- Handling high-voltage electronics requires formal safety gear.
Certified technicians have the experience and equipment to solve advanced problems safely and quickly. Knowing your limits prevents accidental damage and keeps your warranty intact.
| Diagnostic Step | Target Component | Desired Result |
|---|---|---|
| Step 1: Check Power | Fuse / Battery Switch | Scooter turns on successfully |
| Step 2: Test Throttle | Speed Controller | Motor responds to acceleration |
| Step 3: Test Brakes | Brake Switch Sensor | Motor disengages when stopping |
Adopting a methodical testing strategy takes the frustration out of scooter maintenance.
Key Takeaway: Systematically rule out simple switches and fuses before moving to advanced controller diagnostics.
Conclusion
At Dynamic Scooter, we believe your daily commute should be smooth, dependable, and entirely stress-free. While minor technical setbacks can occasionally occur, most issues can be easily managed with basic home diagnostics and routine maintenance. If you face a complex electrical issue or simply need professional guidance, we encourage you to contact us today to connect directly with our expert team.
Our company vision is built on providing accessible, high-quality, and incredibly reliable transport—including our ultra-affordable Dynamic Scooter Model B for just $392.17—backed by unparalleled support. Upgrade your daily routine and experience the peace of mind that comes with a vehicle built for long-term reliability!

FAQ
FAQ 1: Can I ride my electric scooter when the battery charger light stays green?
No, you should not ride it because a solid green light on an empty battery indicates a critical charging fault. This is usually caused by a blown inline fuse, a damaged charging port, or an over-discharged battery pack. The charger stays green because its smart safety circuits have blocked power transfer.
FAQ 2: What’s the best way to prevent flat tires on a daily commute?
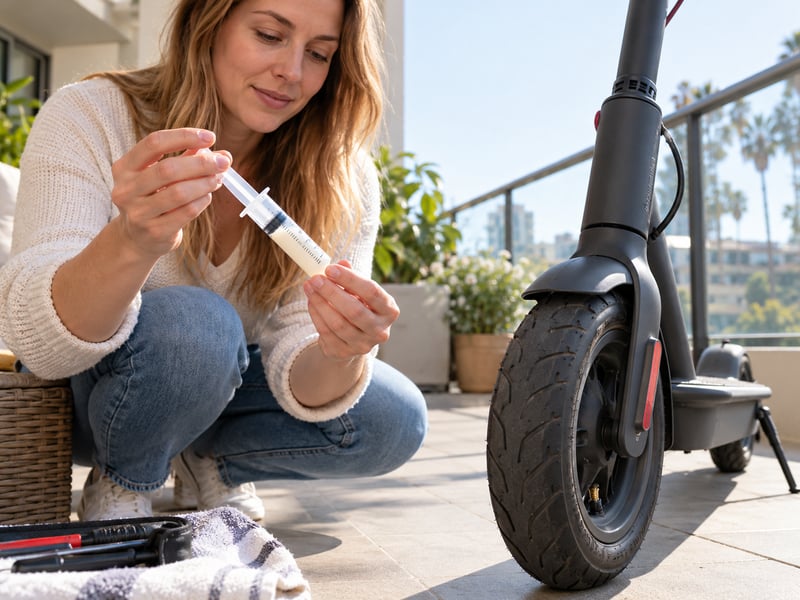
Weekly tire pressure checks are the absolute best way to prevent flat tires. Maintaining your tires at the manufacturer’s specified PSI prevents pinch flats, which occur when underinflated tubes are crushed against the wheel rim over curbs. Adding liquid tire sealant inside your inner tubes will also automatically seal micro-punctures on the fly.
FAQ 3: How do I know if my speed controller is completely burned out?
You can identify a burned-out controller if your scooter’s motor runs at full speed constantly without throttle input. This occurs when the internal MOSFET transistors overheat and fuse into an open-current position. Other signs include visible melted wire insulation and a heavy burnt plastic odor inside the deck cavity.
FAQ 4: Can I replace my electric scooter’s battery with a different voltage rating?
No, you must never install a battery with a different voltage rating than your original manufacturer specifications. Using a higher voltage can instantly fry your speed controller and melt the motor’s copper windings. A lower voltage battery will trigger the low-voltage cutoff immediately, preventing the scooter from operating.
FAQ 5: How do I know if my brake lever safety switch is stuck?
You can determine if the brake safety switch is stuck by unplugging the brake lever sensor cable from the speed controller. If your scooter suddenly accelerates normally when the throttle is pressed while this wire is disconnected, your brake switch is faulty. Replace or clean the physical lever switch mechanism to restore safe operation.