How Can You Safely Ride an Electric Scooter? Must-Know Tips for 2026
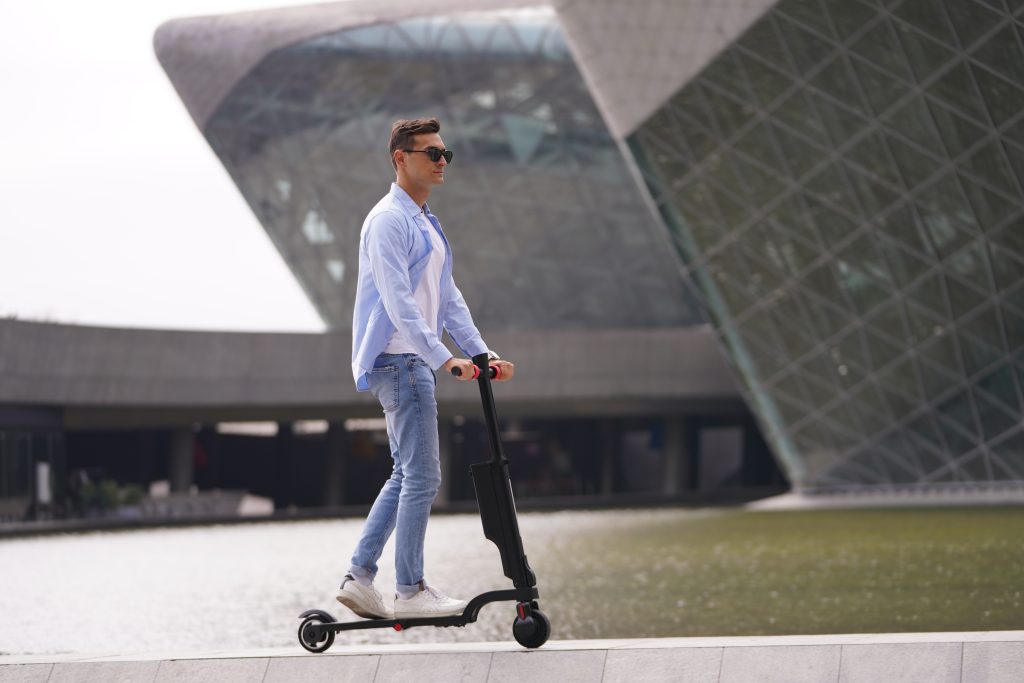
Want to ride an electric scooter? Many people hop on without knowing the basics. This can lead to falls and injuries. The good news? Learning to ride safely is easy. This guide shows you what you need to know. 1. What Safety Gear Do You Need Before Riding an Electric Scooter? Safety gear is your first defense when riding. Want to know the truth? Most scooter injuries could be avoided with the right gear. Helmets are a must. For scooters that go 15-20 mph, a bike helmet works well. For faster scooters, get a full-face helmet. Look for helmets with safety marks like CPSC or ASTM. Your helmet should fit snug but not tight. It should sit level and cover your forehead. The chin strap should allow just one finger between the strap and your chin. Helmet Type Best For Key Features Bike Helmet Speeds under 20 mph Light, good air flow Skate Helmet City riding More back-of-head coverage Full-Face Helmet Speeds over 20 mph Complete head protection Smart Helmet Tech fans Built-in lights, signals Don’t forget to protect your joints. Knee and elbow pads prevent scrapes if you fall. Wrist guards help prevent sprains. Gloves improve your grip. They also protect your skin if you fall. Being seen is being safe. This is true day and night. Here’s the deal: cars can’t avoid you if they can’t see you. Wear bright or reflective clothing. Add reflective strips to your helmet or scooter. Most scooters have built-in lights. Extra lights make you even more visible. Don’t overlook your shoes. Avoid flip-flops, heels, or loose shoes. Closed-toe shoes with good grip give you the best control. Weather What to Wear What to Avoid Hot, Sunny Light clothes, sunglasses Dark, heavy clothing Cold Layers, windproof jacket Cotton (stays wet when sweaty) Rain Waterproof jacket and pants Loose clothes that can get caught Night Reflective gear, extra lights Dark clothing Windy Fitted clothing, eye protection Loose scarves Many new riders skip safety gear for short trips. The bottom line? Even a quick ride needs basic safety gear. A helmet takes seconds to put on but can save your life. 2. How Do You Prepare an Electric Scooter Before Your First Ride? Before your first ride, check your scooter. Let me tell you something important: a quick pre-ride check can prevent many problems. Start by checking that all parts are tight and secure. Pay close attention to the folding mechanism. It should lock firmly with no wobbling. Set your handlebar at the right height. Most scooters let you adjust this. The handlebar should be at about waist height. Your arms should be slightly bent when holding the grips. Part What to Check Warning Signs Frame Cracks, dents Visible damage, strange noises Folding Mechanism Locks securely Looseness, hard to lock Handlebars Tight grips, centered Moves during riding, loose Stem Firmly attached to deck Movement or creaking Deck Clean surface, good grip Cracks, peeling grip tape Charge your battery fully before your first ride. This gives you maximum range. Most scooters take 3-8 hours to charge fully. Always test your brakes. Here’s a fact: brake failure is very dangerous. Most scooters have two types of brakes. There’s an electronic brake (thumb lever) and a mechanical brake (disc, drum, or foot brake). Test both while walking beside the scooter. Brakes should work smoothly without locking up. Never ride with bad brakes. Check your tires too. If your scooter has air-filled tires, check the pressure. The right pressure is usually printed on the tire or in the manual. Find a safe place for your first ride. The reality is you’ll need time to get used to how your scooter handles. An empty parking lot or quiet park path works well. Avoid busy roads until you’re comfortable with the basics. Before heading out, check local rules about where you can legally ride. 3. What Are the Basic Techniques for Riding an Electric Scooter? Learning proper riding technique creates the foundation for safe rides. You might be surprised how much technique matters. Start with the right foot position. Put your dominant foot at the front of the deck. Put your other foot behind it. Keep your feet about shoulder-width apart. This stance gives you the best balance and control. Keep your weight centered or slightly forward. Keep your knees slightly bent to absorb bumps. Stand up straight with relaxed shoulders. Keep your elbows slightly bent. Hunching over might feel natural at first. But it will hurt your back and block your view. Body Part Good Position Common Mistakes Feet Shoulder-width apart Too close together Knees Slightly bent Locked straight, too bent Hips Centered over deck Leaning too far forward/backward Back Straight, natural posture Hunched over Arms Slightly bent at elbows Locked straight, too tense Hands Firm but relaxed grip Death grip, one-handed riding To start safely, first turn on the scooter while standing still. Put your dominant foot on the deck. Use your other foot to push off gently, like a regular kick scooter. Once moving, put your second foot on the deck. Then gently press the throttle. The truth is, many beginners make the mistake of standing still and applying full throttle right away. This sudden speed can make you lose balance. The push-start method gives you stability before using the motor. Speed up gradually. Most scooters have sensitive throttles. To keep your balance, look ahead about 15-20 feet. Don’t stare at the deck or front wheel. Looking ahead helps you spot obstacles and maintain balance. Turning works differently depending on your speed. At low speeds, just steer the handlebars. At higher speeds, combine steering with a slight lean in the turn direction, like on a bicycle. Avoid sharp turns at high speeds. Speed How to Turn Tips Walking Speed Direct handlebar steering Make wider turns, go slowly Medium Speed Lean slightly into turns Slow down before turning Higher Speed Counter-steering + body lean Start turn earlier, wider arc Emergency Weight shift + handlebar Be ready to put […]
How Can You Safely Ride an Electric Scooter? Must-Know Tips for 2026 Read More »