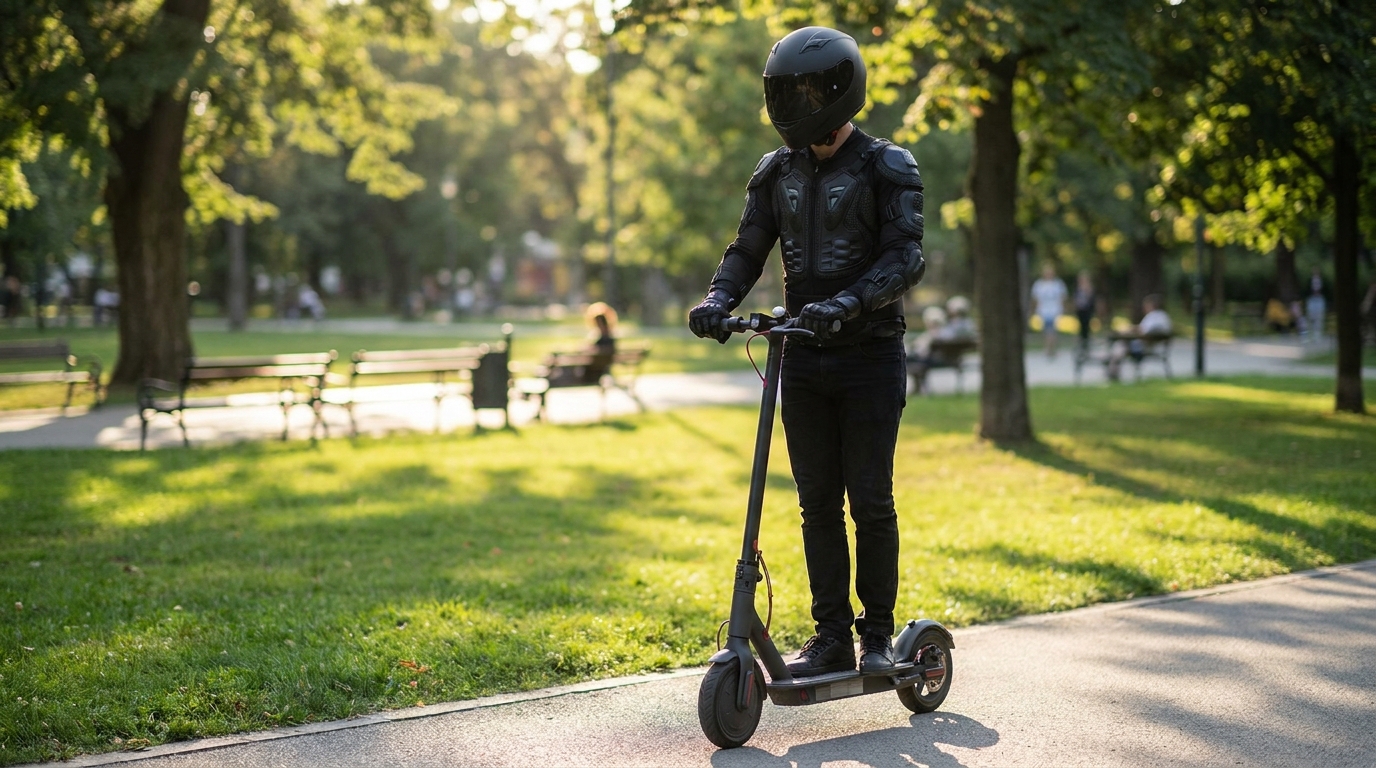
An E3 error on your electric scooter is frustrating. It signals a brake problem that stops you. Ignoring it risks your safety and can lead to costly repairs. This guide has the answers you need.
The E3 error on an electric scooter indicates a fault within the braking system. This is most commonly caused by a malfunctioning brake handle, a disconnected or faulty sensor, a damaged brake cable, or an issue with the scooter’s main controller. To resolve it, you must diagnose the specific component that is failing and then repair or replace it. Continuing to ride with an E3 error is unsafe.
But where do you even begin? Here’s the deal… This article will walk you through everything, from identifying the cause to fixing it yourself.
1. What Is the E3 Error Code on an Electric Scooter?
Error codes are how your scooter communicates problems. An E3 error signals a critical brake system issue. This safety feature stops you from riding a scooter that can’t brake properly. It’s a direct alert for owners to address a potential problem before it becomes dangerous.
The E3 error means the controller has detected a fault in the brake lever’s sensor circuit. This could involve the hall sensor, the wiring, or the controller itself. This is important because… the scooter’s motor will not engage while this error is active. It’s a failsafe designed to protect you from riding a vehicle that cannot reliably stop.
Understanding this error is the first step. The scooter is protecting you from a dangerous situation by disabling the motor. This prevents acceleration when the brakes are malfunctioning. The next sections will explore the common culprits behind this error, helping you diagnose and fix the problem efficiently.
| Error Code Component | Function | Common Failure Point |
| Brake Lever Sensor | Detects when you pull the brake lever | Sensor misalignment or failure |
| Wiring Harness | Connects the sensor to the controller | Frayed wires or loose connectors |
| Controller | Processes the signal from the sensor | Internal circuit damage |

2. What Are the Common Causes of an E3 Error?
The E3 error code is triggered by several issues within the brake system. The most frequent cause is a problem with the brake handle’s hall effect sensor. This tiny component tells the controller when you pull the brake lever. If it gets stuck or damaged, the controller thinks the brake is permanently engaged.
Another common culprit is the physical connection. The wiring between the brake handle and the controller can become loose or damaged, especially near the handlebars. Now, you might be wondering… could it be more serious? Yes, sometimes the fault lies within the scooter’s main controller. A power surge or water damage can cause it to misread the brake sensor’s signals.
Physical damage is also a frequent source of the E3 error. If the scooter was dropped, the sensor or its magnet could be knocked out of place. Water ingress is another enemy of scooter electronics. If moisture gets into the brake lever or controller, it can short-circuit sensitive components and lead to the E3 fault. Checking for these common causes is the first step in troubleshooting.
3. How Can I Diagnose the Source of the E3 Error?
Diagnosing the E3 error is a process of elimination. Start with a visual inspection. Look at the brake lever, cable, and visible wiring. Check for obvious damage like bent parts, frayed wires, or disconnected plugs. Often, the problem is something you can spot right away.
Next, focus on the brake lever. Pull and release it several times. Does it move smoothly, or does it feel sticky? A lever that doesn’t return to its resting position can cause the sensor to send a continuous signal. Let me explain… this tells the controller the brake is always on. Try gently wiggling the handle to see if the error code disappears, which suggests a loose connection.
If the lever seems fine, trace the brake cable from the handlebar to the controller. Check for loose connections where the sensor plugs into the main wiring harness. Unplug and replug the connector to ensure it is secure. If you are comfortable, you can also inspect the controller for burn marks or water damage, which indicate a more serious problem.
| Diagnostic Step | What to Look For | Action if Problem is Found |
| Visual Inspection | Obvious damage, frayed wires, bent lever | Proceed to specific component repair |
| Brake Lever Test | Sticking, lack of smooth movement | Lubricate or replace the brake lever |
| Connection Check | Loose or disconnected plugs | Unplug and securely reconnect |
4. What Are the Initial Steps to Fix an E3 Error?
Before complex repairs, try a few simple steps. First, perform a full power cycle. Turn the scooter off, wait a minute, and then turn it back on. This can sometimes clear temporary system glitches.
If a restart doesn’t work, adjust the brake handle. A loose screw can cause the lever to sit at an angle and improperly activate the sensor. Also, check the brake cable tension. Here’s why it matters… a cable that is too tight can pull on the lever just enough to trigger the sensor. Loosening it slightly might resolve the issue.
Another simple fix is to reset the scooter’s electronic system. Some models have a specific reset procedure in the user manual, often involving a combination of buttons. This can clear persistent error codes. These initial steps are quick and can often save you a trip to a repair shop. If the error persists, you will need to investigate the components more deeply.

5. How Do I Address a Faulty Brake Lever or Sensor?
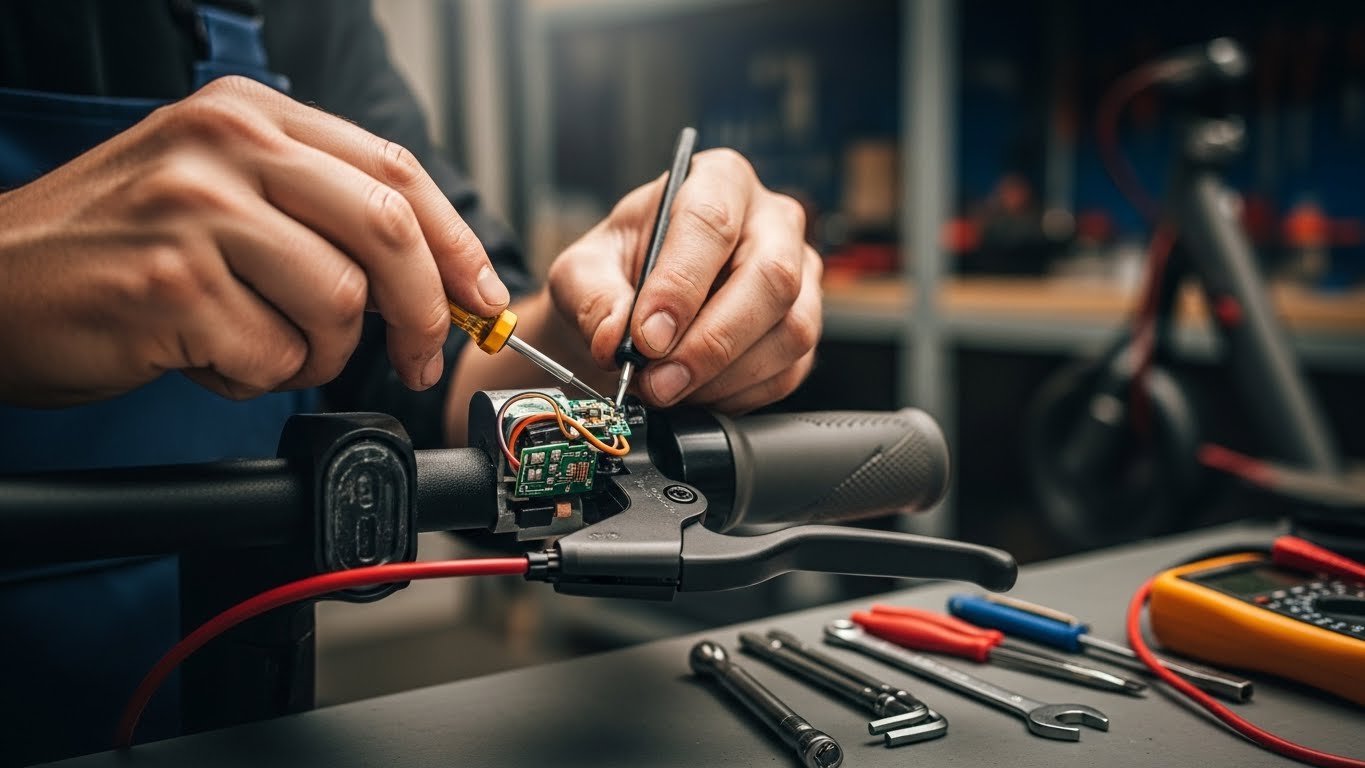
If the E3 error comes from the brake lever, you may need to replace it. A faulty lever or sensor is a very common cause. You can identify a bad lever if it feels loose, fails to spring back, or if the error appears when you wiggle the handle.
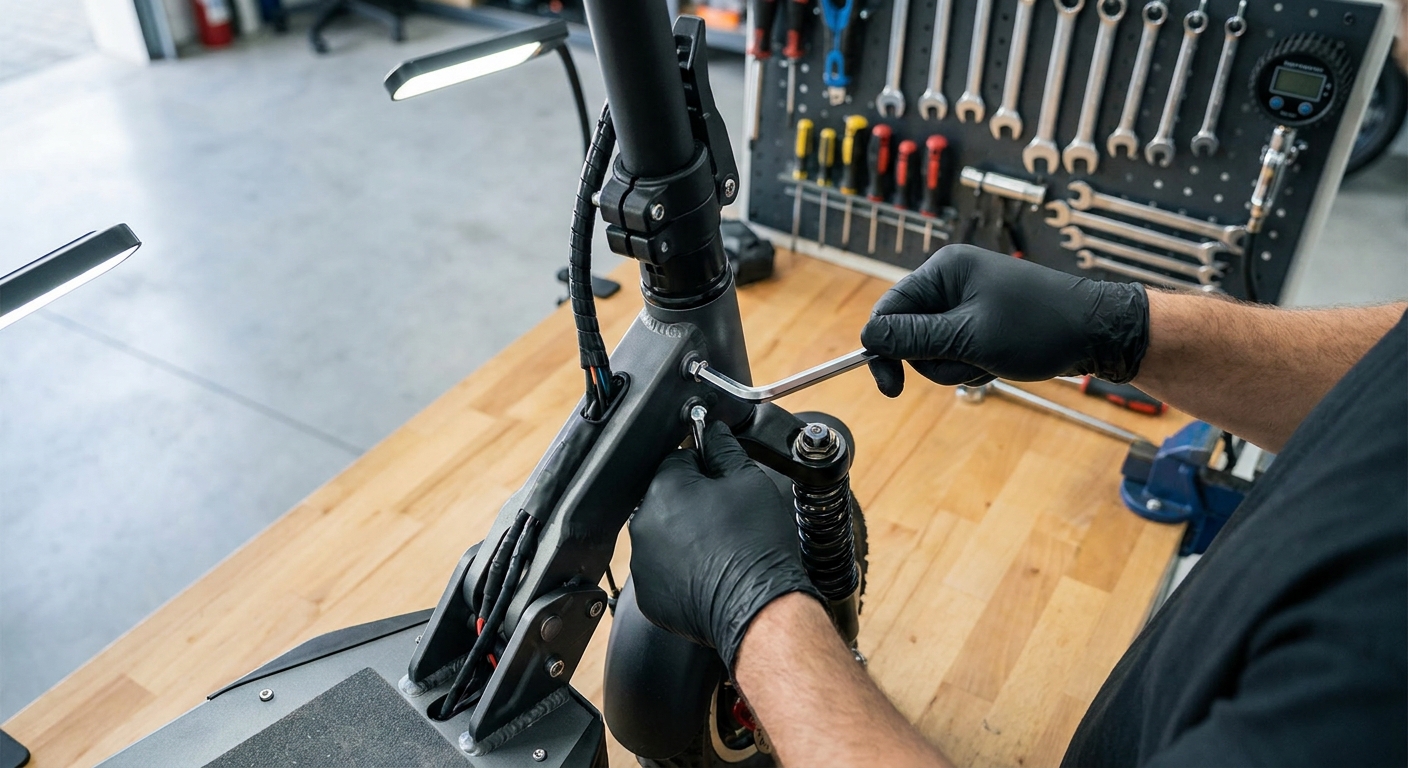
Replacing the brake handle assembly is straightforward on most scooters. You will need Allen keys and possibly a screwdriver. First, disconnect the brake cable and the sensor wire. The best part? Most replacement levers come as a complete assembly with a new sensor pre-installed, simplifying the repair. After removing the old lever, slide the new one on and secure it.
After installing the new lever, reconnect the brake cable and sensor wire. Power on the scooter to see if the E3 error has disappeared. If it is gone, adjust the brake cable tension and ensure the lever feels responsive. If the error remains, the problem may lie in the wiring or the controller, and you may need professional help.
| Tool Needed | Purpose | Estimated Cost (USD) |
| Allen Key Set | To remove the old brake lever | $10 – $20 |
| Screwdriver | For housing screws on some models | $5 – $15 |
| New Brake Lever | Replacement part with sensor | $25 – $50 |
6. What If the E3 Error Is Caused by the Controller?
A persistent E3 error may point to a faulty controller. The controller is the brain of your scooter. If its internal circuits for the brake sensor are damaged, it will need to be replaced. Symptoms include the error appearing intermittently or being constantly present.
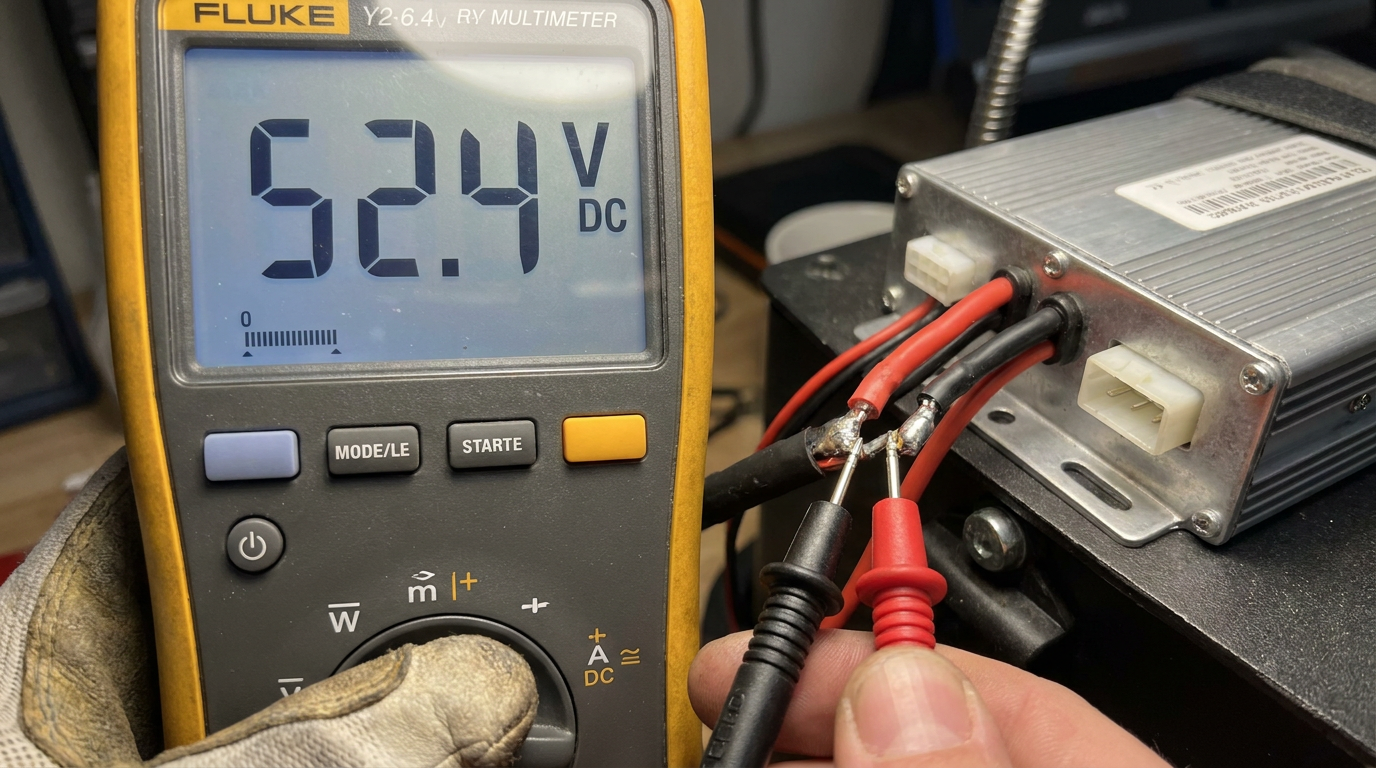
Locating the controller usually involves opening the scooter’s deck. It is a rectangular metal box with many wires connected to it. But here’s the thing… DIY repair on the controller itself is not recommended without electronics experience. The internal components are sensitive, and you could cause more damage. Replacement is almost always the better option.
Replacing the controller involves carefully unplugging all connectors, removing the old unit, and installing the new one. It is crucial to label each wire before you disconnect it. A mistake here could damage the new controller. Given the risks, this is a job many riders prefer to leave to a professional.
| Controller Issue Symptom | Likely Cause | Recommended Action |
| E3 error is constant | Internal controller fault | Replace the controller |
| Error appears with vibration | Damaged solder joint | Replace the controller |
| Scooter is completely dead | Major controller failure | Replace the controller |
7. Can I Fix a Damaged Brake Cable Myself?
Yes, fixing a damaged or improperly tensioned brake cable is a task many scooter owners can handle. The E3 error can be caused by a cable that is too tight or frayed. You will need basic tools like pliers and an Allen key set.
First, remove the old cable. This involves loosening the clamp at the brake caliper and detaching it from the brake lever. Here’s the deal… pay close attention to how the cable is routed. Taking photos before you start can be a huge help when installing the new one. Once the old cable is out, you can thread the new one through.
Properly tensioning the new cable is the most critical step. The cable should be tight enough for effective braking but have enough slack so it does not pull on the lever at rest. After setting the tension, test the brake lever to ensure it moves freely. Power on the scooter to confirm the E3 error is gone. A successful cable replacement is a satisfying and cost-effective repair.
| Step | Description | Key Tip |
| 1. Gather Tools | Allen keys, pliers, new brake cable | Ensure the new cable is the correct length |
| 2. Remove Old Cable | Detach from caliper and lever | Photograph the cable routing first |
| 3. Install New Cable | Thread it through the frame | Lubricate the cable for smooth operation |
| 4. Set Tension | Adjust for proper brake engagement | Leave a tiny amount of slack at the lever |
8. How Can I Prevent the E3 Error from Happening?
Preventative maintenance is the best way to avoid the E3 error. Regularly inspect your brake system. Check that the brake lever moves smoothly and that the cable is not frayed. These simple visual checks can help you spot a potential issue before it triggers an error code.
Protecting your scooter from the elements is also crucial. What does this mean for you? Avoid riding in heavy rain and never use a pressure washer to clean your scooter. Water can penetrate the brake lever housing and controller, leading to corrosion and short circuits. If you get caught in the rain, wipe the scooter down and let it dry thoroughly.
Proper storage and handling also play a big role. Avoid dropping your scooter, as impacts can damage the sensitive sensor in the brake lever. When storing your scooter, keep it in a dry place. Finally, if you make repairs, always use genuine parts. They are designed to work perfectly with your scooter’s system, reducing the risk of errors like E3.
| Preventative Action | Frequency | Benefit |
| Inspect Brake System | Monthly | Catches wear and tear early |
| Avoid Water Exposure | Always | Prevents short circuits and corrosion |
| Handle with Care | Always | Avoids impact damage to sensors |
| Use Genuine Parts | For all repairs | Ensures compatibility and reliability |

9. Are There Other Error Codes Related to the E3 Fault?
Yes, the E3 error is part of a family of codes for your scooter’s control systems. While E3 is tied to the brake sensor, you might see related codes. For example, an E2 error often indicates a problem with the throttle, a similar hall sensor-based component.
Understanding how these errors can be linked is helpful. Let me explain… a fault in one area can cause a cascade of errors. A damaged wire in the main harness could affect both the brake and throttle sensors, causing both E2 and E3 errors. Multiple error codes often point to a central problem, like wiring or a faulty controller.
When you see a combination of errors, check the shared components. This includes the main wiring harness and the controller itself. A scooter displaying multiple error codes is more likely to have a problem that requires professional diagnosis. Trying to fix multiple issues without a clear understanding of the root cause can be difficult.
| Error Code | Common Meaning | Potential Link to E3 |
| E1 | Motor Fault | Can be triggered by controller issues |
| E2 | Throttle Fault | Shares similar sensor technology |
| E4 | Controller Fault | A faulty controller can cause a false E3 error |
10. When Should I Contact a Professional for an E3 Error?
While many E3 issues can be resolved with DIY troubleshooting, sometimes it is best to call a professional. If you have tried all the initial steps and the error persists, it may be time to seek expert help. This is especially true if you are not comfortable accessing the controller.
One of the biggest benefits of a professional service is access to diagnostic tools. A technician can test the controller and sensors to pinpoint the exact source of the failure, saving you time and money. The bottom line? If you suspect the problem is the controller, a professional repair is the safest and most reliable option.
If your scooter is under warranty, contact the manufacturer or dealer first. A DIY repair could void your coverage. For example, Dynamic Scooter offers comprehensive warranty support, and our technicians can handle issues like the E3 error efficiently. When in doubt, letting an expert handle the repair ensures it is done safely and correctly.
| DIY vs. Professional | When to Choose | Key Advantage |
| DIY Repair | Simple issues (loose cable, sticky lever) | Cost-effective and educational |
| Professional Repair | Persistent error, suspected controller issue | Accurate diagnosis and safe repair |
| Warranty Service | If the scooter is still under warranty | Often free and uses genuine parts |
Conclusion
An E3 error on your electric scooter is a solvable problem. By systematically diagnosing the issue, from the brake lever to the controller, you can identify the root cause. Simple fixes often resolve the issue, while complex problems may require professional help. Understanding what the E3 error means is the key to a safe repair. The benefit to you is the confidence that comes from knowing your scooter’s braking system is reliable.
Ready to ride with peace of mind? The Dynamic Scooter team is here to support you with expert advice and reliable parts. Connect with our support team today for any repair assistance you need.

FAQ
Q1: Is it safe to ride my scooter with an E3 error?
No, it is not safe. The E3 error indicates a fault in the brake system, which is critical for your safety. Riding with a compromised braking system significantly increases the risk of accidents. You should resolve the error before riding again.
Q2: How much does it typically cost to fix an E3 error?
The cost can vary widely. A simple fix like adjusting a loose cable might cost nothing. However, if you need to replace the brake lever or the entire controller, costs can range from $25 to over $150, depending on your scooter model and labor charges.
Q3: Will my scooter’s warranty cover the E3 error?
It depends on the cause of the error and the terms of your warranty. If the fault is due to a manufacturing defect, it will likely be covered. However, if the error resulted from an accident, water damage, or unauthorized modifications, it may not be covered. Always check your warranty policy, like the one provided with every Dynamic Scooter.
Q4: Can I reset the E3 error code without fixing the problem?
While you can often clear an error code by restarting the scooter, it will reappear if the underlying hardware problem is not fixed. Ignoring the root cause is dangerous, as the brake system will remain faulty. Always address the source of the problem.
Q5: Does the E3 error mean the same thing on all scooter brands?
While the E3 error commonly points to a brake system issue across many brands, the exact definition can vary. Some manufacturers may use it for a different fault. It is always best to consult your user manual or the manufacturer’s website for the specific error code definitions for your model.