A broken electric scooter throttle leaves you stranded. You press the lever, but nothing happens. This common problem can ruin your commute and, if left unfixed, could point to deeper electrical issues. Finding a clear, step-by-step guide can be a challenge, leaving you frustrated and without a ride.
To change the throttle on an electric scooter, you must first power off the scooter and disconnect the battery. Then, remove the handlebar grip and the old throttle assembly, unplug its wiring connector, and install the new throttle. After connecting the new throttle’s wiring, you must test it for proper function before fully reassembling the components. This process requires basic tools and careful attention to the wiring.
But what if the wires don’t match? Let me explain… This guide will cover every step in detail, from choosing the right part to troubleshooting common issues.
1. Why Would You Need to Change an Electric Scooter Throttle?
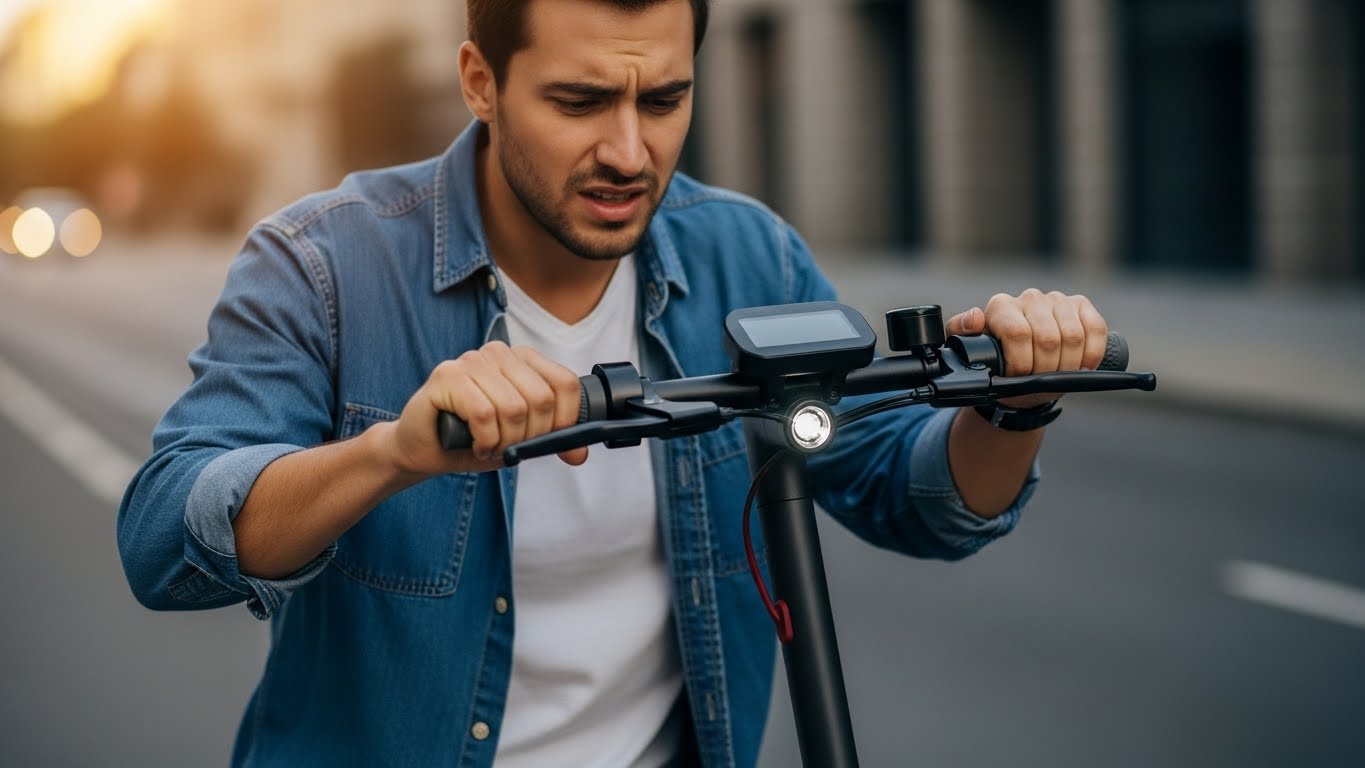
An electric scooter throttle is your connection to the motor, but it doesn’t last forever. The most common reason for replacement is simple wear and tear. Over time, the internal components, like the hall sensor or the spring mechanism, can fail. You might notice the throttle becoming unresponsive, feeling sticky, or not springing back to its original position. These are clear signs that it is time for a change.
Safety and performance are also major factors. A faulty throttle can cause jerky acceleration or a complete loss of power, which is dangerous in traffic. This is important because… a malfunctioning throttle might also send incorrect signals to the controller, leading to error codes on your display or even damaging the scooter’s electronic system over time. Differentiating a throttle issue from a controller or motor problem is key. If the scooter powers on but doesn’t move, and you’ve ruled out brake sensor issues, the throttle is the next logical component to inspect.
Sometimes, the need for a change is about upgrading. Some riders prefer a different style of throttle, like switching from a thumb lever to a twist grip for better control. An upgrade can improve your riding experience and provide more precise acceleration. Whether for repair or an upgrade, changing the throttle is a manageable DIY task that can get your scooter running like new again.
| Symptom | Possible Cause | Recommended Action |
| Unresponsive Throttle | Failed hall sensor or broken wire | Replace throttle assembly |
| Sticky or Slow Return | Worn out spring or physical damage | Replace throttle assembly |
| Jerky Acceleration | Intermittent sensor signal | Check wiring, then replace throttle |
2. What Tools and Materials Are Required for the Job?
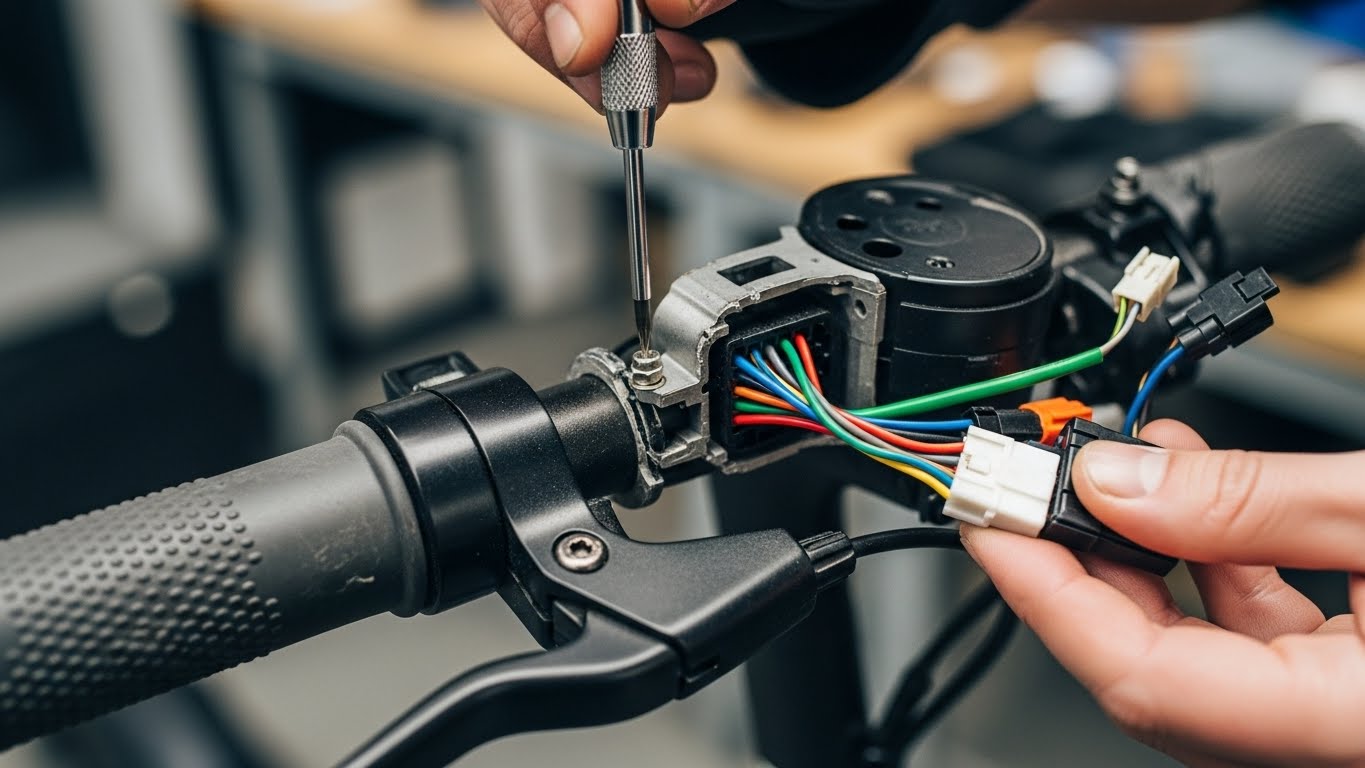
Before you start, gathering the right tools will make the job much smoother. You don’t need a professional workshop, but a few essential items are necessary. The most important tools are a set of Allen keys (hex wrenches) and a Phillips head screwdriver. These will be used to remove the handlebar grips, the old throttle housing, and any other panels you might need to open.
Wire cutters and strippers are also on the essential list. You may need to cut zip ties holding the throttle cable, and if your new throttle doesn’t have a matching plug, you will need to splice wires. Here’s the deal… having a multimeter is also extremely helpful. It allows you to test the wiring and confirm that the new throttle is sending the correct voltage signals before you put everything back together. It’s a great tool for diagnosing electrical issues with confidence.
Finally, you will need the replacement throttle itself and some zip ties to secure the new cable neatly to the scooter’s frame. Make sure you have purchased the correct throttle for your specific scooter model. This is the most critical part of the preparation. Having all your tools and materials ready before you begin will save you time and prevent frustration during the process.
| Tool/Material | Purpose | Essential/Optional |
| Allen Key Set | Removing throttle housing and grips | Essential |
| Screwdriver | Opening display panels or housing | Essential |
| Wire Cutters/Strippers | Cutting zip ties and preparing wires | Essential |
| Multimeter | Testing voltage and connections | Optional (but recommended) |
| Zip Ties | Securing the new throttle cable | Essential |
3. How Do You Select the Right Replacement Throttle?
Choosing the correct replacement throttle is the most important step to ensure a successful repair. Not all throttles are created equal. The first thing to consider is the type of throttle your scooter uses. The most common types are thumb throttles, twist throttles (like on a motorcycle), and trigger or finger throttles. You should generally stick with the same type your scooter came with to ensure compatibility with your handlebars and display.
Next, you must check the technical specifications. The voltage of the throttle must match your scooter’s system voltage (e.g., 36V, 48V, 52V). Using a throttle with the wrong voltage rating can damage your controller. Now, you might be wondering… what about the wiring? You need to check the connector. Throttles come with various multi-pin connectors. The easiest replacement is one with the exact same plug as your old throttle. If you can’t find an exact match, you will have to cut the wires and splice them, which requires more work.
Finally, decide whether to buy a genuine part from the original manufacturer (OEM) or an aftermarket option. OEM parts are guaranteed to be compatible and are the safest choice, especially for scooters under warranty. Aftermarket parts can be cheaper but may require modifications to the wiring. For a reliable repair, especially on a premium scooter like a Dynamic Scooter, we always recommend using genuine parts to ensure safety and performance.
| Throttle Type | Description | Common On |
| Thumb Throttle | A small lever pressed by the thumb | Most commuter scooters |
| Twist Throttle | A grip that you twist to accelerate | High-performance scooters |
| Trigger Throttle | A small trigger pulled by the index finger | Some compact and lightweight scooters |
4. What Safety Precautions Must Be Taken Before Starting?
Safety should always be your top priority when working on any electric vehicle. Before you even pick up a tool, you must ensure the scooter is completely powered off. This seems obvious, but it is a critical first step that is sometimes overlooked. A simple press of the power button is not enough. You need to make sure the entire electrical system is inactive.
The most important safety precaution is to disconnect the battery. Here’s why it matters… the battery is the heart of the scooter’s electrical system, and leaving it connected while you work on wiring is extremely dangerous. It creates a risk of electric shock and can cause short circuits that could permanently damage the controller or the new throttle. Accessing the battery usually involves opening a compartment in the scooter’s deck. Once you locate the battery, unplug its main connector.
Finally, prepare your workspace. Work in a well-lit area so you can clearly see the small wires and connectors you will be dealing with. Keep your tools organized and have a container for any screws or small parts you remove. A clean and organized workspace not only makes the job easier but also prevents you from losing crucial components. Taking these simple safety steps will ensure your repair process is smooth and hazard-free.
| Safety Step | Why It’s Important | How to Do It |
| Power Off Scooter | Prevents accidental motor engagement | Press and hold the power button until the display is off |
| Disconnect Battery | Prevents electric shock and short circuits | Open the deck and unplug the main battery connector |
| Organize Workspace | Prevents losing parts and improves efficiency | Work in a well-lit area with tools laid out |
5. How Do You Remove the Old Throttle Assembly?
With the scooter powered off and the battery disconnected, you can begin removing the old throttle. The first step is usually to take off the handlebar grip on the same side as the throttle. Most grips are simply held on by friction and can be twisted and pulled off. If it is stubborn, you can try spraying a little hairspray or isopropyl alcohol underneath it to act as a lubricant.
Next, you will need to open the throttle housing. This is typically held together by a few small screws, which you can remove with your Allen keys or a screwdriver. The best part? Once the housing is open, you will have access to the throttle’s wiring. Carefully observe how the wire is routed and connected. It usually runs from the throttle, along the handlebars, and down the steering tube into the scooter’s main body.
The final step is to disconnect the throttle’s wiring harness. Trace the cable from the throttle down to where it plugs into the main controller or a wiring junction. You may need to open the scooter’s deck to access this connection. The connector will have a small clip that you need to press to release it. Once it is unplugged, you can fully remove the old throttle assembly from the handlebars.
| Removal Step | Tool Needed | Pro Tip |
| Remove Handlebar Grip | None (or lubricant) | Twist and pull simultaneously |
| Open Throttle Housing | Allen keys or screwdriver | Keep screws in a magnetic tray |
| Disconnect Wiring | Fingers | Take a photo of the connection first |
6. What Is the Process for Installing the New Throttle?
Installing the new throttle is essentially the reverse of the removal process. Start by sliding the new throttle assembly onto the handlebars. Position it so that it is comfortable for you to reach with your thumb or fingers. Don’t tighten it completely just yet; you may want to make small adjustments to its position later.
Next, secure the housing. If your new throttle has a two-part housing, fit them together around the handlebar and insert the screws. Tighten them enough to hold the throttle in place, but avoid over-tightening, as this can crack the plastic. But here’s the thing… you need to make sure the throttle moves freely and doesn’t bind against the handlebar grip or brake lever. Check that it has a smooth action and springs back properly when you release it.
Now you can route the new throttle wire. Follow the same path that the old wire took. This is important for keeping the wire safe from being pinched or damaged during steering. Use zip ties to neatly secure the wire to the handlebar and the steering tube. A clean wiring job not only looks better but also prevents future problems.
| Installation Step | Key Action | Goal |
| Mount New Throttle | Slide onto the handlebar | Position for comfortable reach |
| Secure Housing | Tighten screws evenly | Hold throttle in place without binding |
| Route Wire | Follow the original path | Keep wire safe and secure |
7. How Do You Correctly Connect the Throttle Wiring?
Connecting the wiring is the most critical part of the installation. If your new throttle has the same connector as the old one, this step is simple: just plug it in. The connector is designed to fit only one way, so you can’t get it wrong. Make sure you hear a click to confirm it is securely seated.
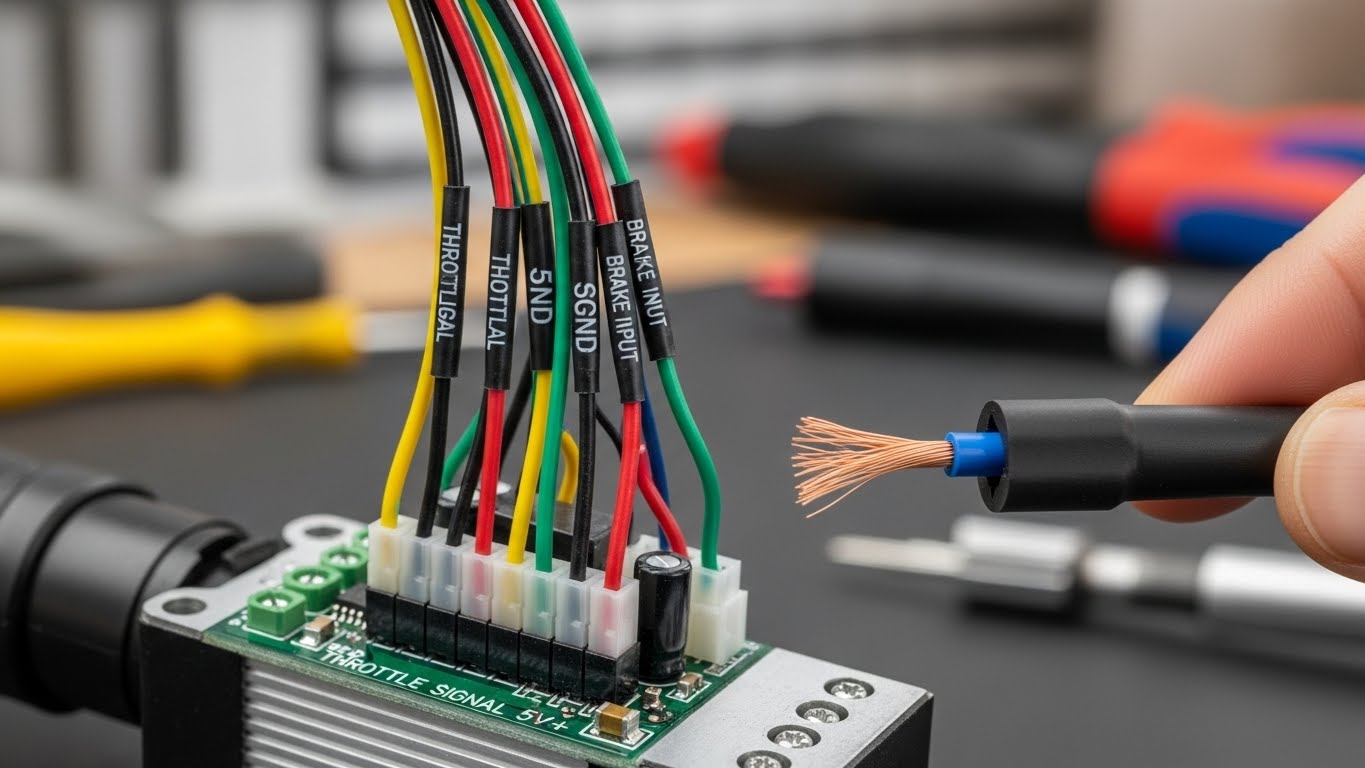
However, if the connectors do not match, you will need to splice the wires. This is where things can get tricky. Most throttles use a three-wire system: a positive wire (usually red), a negative wire (usually black), and a signal wire (often green, blue, or white). Want to know the secret? You need to match these functions, not just the colors. Cut the connector off the old throttle and the new one, strip a small amount of insulation from each wire, and connect them function by function.
If the wire colors do not match, you may need a multimeter or your scooter’s wiring diagram to identify each wire’s function. The positive wire will typically carry around 5 volts, the negative wire is ground, and the signal wire’s voltage will change as you press the throttle. Once you have correctly matched and connected the wires, be sure to insulate each connection individually with electrical tape or heat-shrink tubing to prevent any short circuits.
| Wire Color (Standard) | Function | Voltage (Approx.) |
| Red | Positive | 5V |
| Black | Negative (Ground) | 0V |
| Green/Blue/White | Signal | 0.8V – 4.2V |
8. How Should You Test the New Throttle After Installation?
Testing the new throttle before you fully reassemble everything is a crucial step that can save you a lot of time. Once the new throttle is wired in, it is time to reconnect the battery. With the scooter’s wheels off the ground (you can prop it up on a block), power on the scooter.
First, check the display for any error codes. If the wiring is correct, there should be no errors. If you see an error code, power off the scooter, disconnect the battery, and double-check your wiring connections. What does this mean for you? An error code at this stage almost always indicates a wiring problem. It is much easier to fix it now than after you have put everything back together.
If there are no error codes, you can proceed with a functional test. Very gently and slowly, press the throttle. The rear wheel should begin to spin. Check that the speed increases smoothly as you press the throttle further and decreases as you release it. Also, confirm that the motor stops completely when the throttle is fully released. If everything works as it should, you can power off the scooter, disconnect the battery one last time, and finish reassembling your handlebars.
| Test Step | What to Check | What to Do if it Fails |
| Power On | Check for error codes on the display | Re-check wiring connections |
| Gentle Throttle Press | Wheel should spin slowly and smoothly | Re-check signal wire connection |
| Full Throttle Range | Speed should increase and decrease properly | Check for binding or incorrect voltage |

9. What Are the Most Common Mistakes to Avoid?
While changing a throttle is a manageable task, there are a few common mistakes that can trip you up. The most frequent error is ordering the wrong replacement part. Double-checking the voltage and connector type of your scooter’s throttle before you buy can save you a major headache. There is nothing more frustrating than getting halfway through a repair only to realize your new part won’t fit.
Incorrect wiring is another major pitfall. Connecting the positive wire to the signal port or mixing up other connections can instantly fry your new throttle or, even worse, your scooter’s controller. The bottom line? Take your time with the wiring. If you are not 100% sure, consult a wiring diagram for your scooter model or use a multimeter to identify the wires correctly. Always insulate your connections properly.
Finally, avoid the temptation to over-tighten screws. The components on your handlebars, like the throttle and brake lever housings, are often made of plastic or soft aluminum. Cranking down on the screws too hard can crack the housing, leaving you with a bigger problem than you started with. Tighten screws until they are snug, but do not use excessive force. By avoiding these common mistakes, you can ensure your repair is a success.
| Mistake | How to Avoid It | Consequence if Not Avoided |
| Wrong Part | Verify voltage and connector before ordering | Wasted time and money |
| Incorrect Wiring | Triple-check wire functions; use a diagram | Damaged throttle or controller |
| Over-tightening | Tighten screws until snug, not forced | Cracked housing or stripped threads |
10. When Is It Better to Contact a Professional for Help?
DIY repairs can be rewarding, but there are times when calling a professional is the smarter choice. If you open up your scooter and find a complex mess of undocumented, non-standard wiring, it might be time to pause. If you can’t confidently identify the throttle wires, proceeding is a gamble that could lead to costly damage.
Another sign you might need help is if a new throttle doesn’t solve the problem. If you have correctly installed a compatible throttle and the scooter still won’t go, the issue likely lies with the controller or another part of the electrical system. Let me explain… a professional technician has the diagnostic tools to trace the problem to its source, saving you from buying more unnecessary parts.
Finally, consider your warranty. If your scooter is still under warranty, performing a DIY repair could void it. Manufacturers like Dynamic Scooter have authorized service centers with technicians who are trained to perform these repairs correctly and ensure your warranty remains valid. If you lack the confidence, the tools, or the time to do the job right, there is no shame in turning to an expert. It ensures the repair is safe, reliable, and gets you back on the road faster.
| Situation | Reason to Call a Pro | Benefit of Professional Help |
| Complex Wiring | High risk of causing a short circuit | Prevents damage to the controller |
| New Throttle Fails | The problem is likely the controller | Accurate diagnosis with proper tools |
| Under Warranty | DIY repair may void the warranty | Repair is often covered and guaranteed |
Conclusion
Changing your electric scooter’s throttle is a completely achievable DIY project that can restore your scooter’s performance and save you a trip to the repair shop. By following a careful, step-by-step process—from selecting the right part and taking safety precautions to correctly wiring and testing the new throttle—you can confidently complete the job. The key is to be patient, double-check your connections, and know when to ask for help. The clear benefit is a scooter that accelerates smoothly and reliably, giving you back your freedom to ride.
Ready to get the right parts for the job? The Dynamic Scooter team offers genuine replacement parts and expert support to help you every step of the way. Visit our website to find the exact throttle for your model and ride with confidence.

FAQ
Q1: How long does it typically take to replace an electric scooter throttle?
For someone with basic mechanical skills, the process usually takes between 30 to 60 minutes. This includes gathering tools, removing the old throttle, installing the new one, and testing.
Q2: Can I use any throttle on my electric scooter?
No. Throttles are not universal. You must use a replacement that is compatible with your scooter’s voltage (e.g., 36V, 48V) and has the correct wiring connector. Using an incompatible throttle can damage your scooter’s controller.
Q3: What should I do if the new throttle doesn’t work after installation?
First, double-check all your wiring connections to ensure they are secure and correctly matched. Confirm the battery is reconnected properly. If it still doesn’t work, the issue might be with the controller or a different part of the electrical system, and you may need professional help.
Q4: Will changing the throttle myself void my scooter’s warranty?
This depends on the manufacturer’s policy. Some companies may void the warranty if you perform unauthorized repairs. It is always best to check your warranty terms. For Dynamic Scooter owners, we recommend contacting our support team to ensure your warranty remains intact.
Q5: How much does a replacement electric scooter throttle cost?
The cost of a replacement throttle typically ranges from $15 to $50, depending on the brand and model of your scooter. More advanced throttles with integrated displays will be at the higher end of that range.