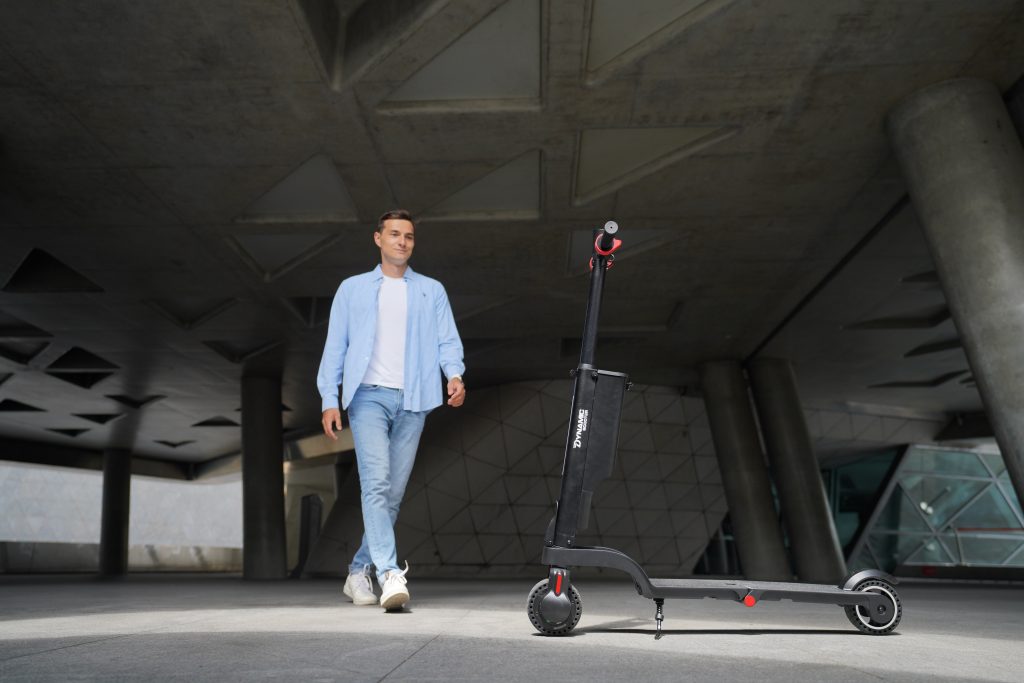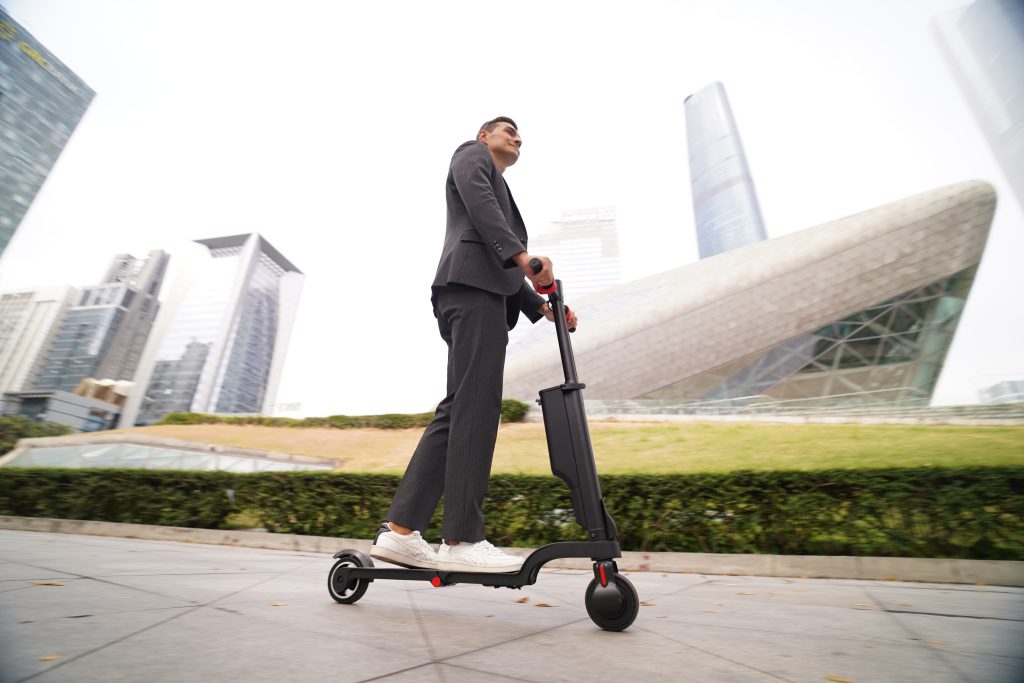
Which Low-Cost Electric Scooter Should Americans Buy? Top Picks for 2026
Buying the wrong electric scooter wastes your money and leaves you stranded. Cheap models break quickly, while expensive ones drain your budget. Finding the right balance between price and quality saves money and gets you reliable transportation. The best low-cost electric scooters for Americans cost $300-$600 and offer 15-25 mile range, 15-20 mph speeds, and solid build quality. Key features include pneumatic tires, dual braking systems, and removable batteries. Top budget brands include Dynamic Scooter, Razor, Gotrax, and Hiboy. Consider your daily commute distance, local laws, and maintenance costs when choosing. Always prioritize safety features over speed or fancy extras. Ready to find your perfect budget ride? Let’s start shopping smart. 1. What Makes a Low-Cost Electric Scooter Worth Buying? Low-cost electric scooters range from $200 to $600, but not all budget options deliver good value. The cheapest models often use poor materials and lack basic safety features. Smart buyers focus on scooters that balance price with reliability and performance. You want a scooter that lasts more than a few months. Price alone does not determine value. A $300 scooter with quality components beats a $200 model that breaks after 100 miles. Here’s the deal… look for scooters with aluminum frames, name-brand batteries, and proven motors. These cost more upfront but save money over time through better reliability and lower repair costs. Key features matter more than flashy extras. Focus on range, speed, and build quality rather than LED strips or smartphone apps. A scooter that gets you to work reliably is worth more than one with Bluetooth speakers that dies halfway through your commute. Practical features like folding mechanisms and carrying handles add real value. Long-term costs include maintenance, repairs, and battery replacement. Budget scooters with proprietary parts cost more to fix than models using standard components. Check if replacement parts are available and reasonably priced. A slightly more expensive scooter with better parts availability often costs less over its lifetime. Price Range What You Get Best For $200-$300 Basic features, shorter range Occasional short trips $300-$450 Better build quality, decent range Daily commuting under 10 miles $450-$600 Good performance, reliable components Regular use, longer commutes 2. How Do You Choose the Right Motor Power for Your Needs? Motor power determines how fast your scooter accelerates and climbs hills. Most budget scooters use 250W to 500W motors. Higher wattage means better performance but also higher cost and shorter battery life. Choose motor power based on your weight, terrain, and speed needs. A 250W motor works for flat terrain and riders under 150 pounds. These motors struggle with hills and heavier riders but offer good battery life. This is important because… underpowered motors work harder and wear out faster when overloaded. Match motor power to your actual needs, not your wishes. 350W to 500W motors handle most American riding conditions well. They climb moderate hills and work for riders up to 220 pounds. These motors provide good acceleration from stops and maintain speed on inclines. Most quality budget scooters use motors in this range. Consider your local terrain when choosing motor power. Flat cities like Miami need less power than hilly areas like San Francisco. Check the scooter’s maximum grade rating, usually expressed as a percentage. A 15% grade rating handles most urban hills, while 20% or higher works for steeper terrain. Speed limits also affect motor choice. Many states limit electric scooters to 15-20 mph. A powerful motor reaches these speeds quickly but does not provide higher top speeds due to legal restrictions. Focus on acceleration and hill climbing rather than maximum speed when comparing motors. Motor Power Best For Typical Performance 250W Flat terrain, light riders 12-15 mph, 10% grades 350W Mixed terrain, average riders 15-18 mph, 15% grades 500W Hills, heavier riders 18-20 mph, 20% grades 3. What Battery Specifications Should American Riders Prioritize? Battery capacity determines how far your scooter travels on a single charge. Measured in amp-hours (Ah) or watt-hours (Wh), larger batteries provide longer range but add weight and cost. Most budget scooters use 7-15 Ah batteries, providing 15-30 miles of range under ideal conditions. Real-world range is always less than advertised. Manufacturers test under perfect conditions with lightweight riders on flat terrain. Now, you might be wondering… how much less? Expect 60-80% of advertised range in normal use. Hills, headwinds, and cold weather reduce range further. Charging time affects daily usability. Most budget scooter batteries take 4-8 hours to fully charge. Fast-charging models reduce this to 2-4 hours but cost more. Consider your daily routine when evaluating charging time. Overnight charging works for most people, but longer commutes may need faster charging. Battery lifespan impacts long-term costs. Lithium-ion batteries last 300-500 charge cycles before losing significant capacity. Daily charging means replacement every 1-2 years. Replacement batteries cost $100-$300, so factor this into your budget. Some scooters have removable batteries, making replacement easier. Temperature affects battery performance significantly. Cold weather reduces range by 20-40%, while extreme heat damages batteries. Store your scooter indoors when possible and avoid leaving it in hot cars. Battery management systems in better scooters protect against temperature damage. Battery Size Typical Range Charging Time Best For 7-10 Ah 15-20 miles 4-6 hours Short commutes 10-13 Ah 20-25 miles 5-7 hours Medium commutes 13-15 Ah 25-30 miles 6-8 hours Long commutes 4. Which Safety Features Are Non-Negotiable on Budget Scooters? Safety features protect you from accidents and injuries. Budget scooters often skimp on safety to reduce costs, but some features are too important to compromise. Prioritize braking systems, lighting, and structural integrity over cosmetic features. Your safety is worth more than saving $50. Braking systems are the most critical safety feature. Dual braking systems combine electronic and mechanical brakes for maximum stopping power. Electronic brakes provide smooth deceleration, while mechanical brakes (disc or drum) work even if electronics fail. Want to know the secret? test the brakes before buying by checking stopping distance and brake feel. Lighting keeps you visible to cars and pedestrians. Front headlights should be bright enough […]
Which Low-Cost Electric Scooter Should Americans Buy? Top Picks for 2026 Read More »