The Challenges and Solutions for Electric Scooter Parking in Cities
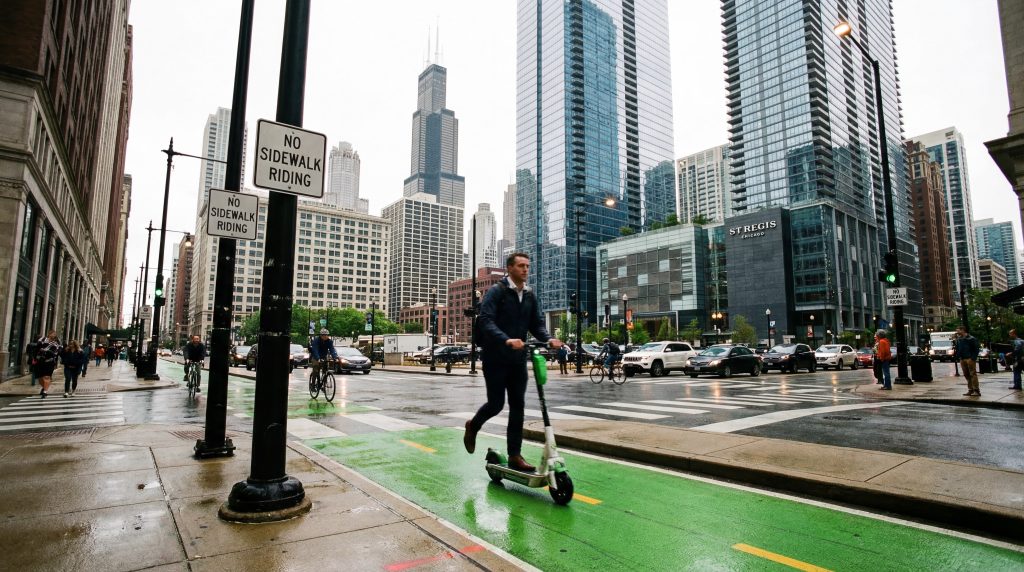
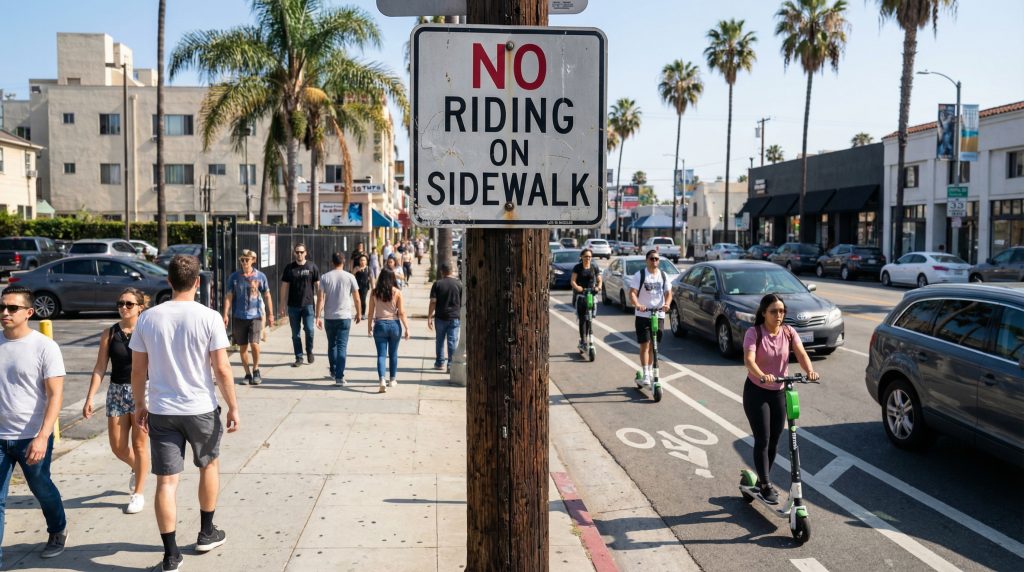
The primary challenges for electric scooter parking in cities involve sidewalk clutter and safety hazards caused by disorganized dockless models, while the most effective solutions include designated parking zones, geofencing enforcement, and a shift toward personal ownership. You have likely noticed how urban streets are becoming increasingly crowded as micromobility rises, leading to disorganized electric scooter parking that clutters sidewalks and blocks essential pathways. Improperly parked scooters aren’t just an eyesore; they are tripping hazards for the elderly and major obstacles for people with disabilities, leading to public frustration and potential city-wide bans. By implementing a mix of smart urban planning, geofencing technology, and promoting personal ownership models, cities can create a seamless, safe, and efficient transportation ecosystem. Why is electric scooter parking becoming such a major urban issue? The rapid adoption of micromobility has significantly outpaced the development of city infrastructure needed for electric scooter parking. You are seeing more riders on the street every day, but the number of designated spots remains stagnant. This lag creates a “scooter graveyard” effect in high-traffic areas. Is rapid adoption outpacing city infrastructure? Infrastructure simply hasn’t kept up with how quickly you and your neighbors have embraced two-wheeled travel. When thousands of vehicles arrive in a city overnight without a home, chaos is the natural result. And that’s not all. The mismatch between vehicle volume and available space turns every corner into a potential obstacle course. Does lack of space lead to sidewalk clutter? When you don’t have a specific place to leave your ride, the sidewalk becomes the default option. This takes away valuable real estate from pedestrians and creates a negative perception of micromobility. Key Takeaway: Rapid adoption without corresponding infrastructure leads to disorganized streets and public friction. Cause Impact on Cities Rapid Adoption Infrastructure lag and “scooter graveyards” Lack of Space Pedestrian pathway obstruction This table highlights how the disconnect between usage and planning creates a logistical nightmare for city councils. What are common problems with electric scooter parking today? Common grievances regarding electric scooter parking center on the obstruction of private driveways and the creation of dangerous tripping hazards on public walkways. You might find it frustrating when a stray vehicle blocks your entrance or makes a simple walk to the store difficult. These issues affect local businesses and resident accessibility alike. Why do riders block driveways and private property? Riders often park in haste without considering the impact on homeowners or business access. This lack of intentionality leads to blocked exits and general frustration for the community. Here is the kicker: a single poorly placed scooter can result in a complaint that threatens the entire city’s scooter program. How does improper placement cause tripping hazards? Improperly placed scooters are a major safety risk, especially at night or for those with limited mobility. When a scooter is left in the middle of a path, it becomes a liability for the city. Key Takeaway: Improper parking is a significant safety and legal liability that affects city-wide accessibility. Issue Impact Blocked Driveways Residential and business frustration Tripping Hazards Safety risks for pedestrians Managing these hazards is essential for maintaining a positive relationship between riders and the non-riding public. How does sidewalk clutter impact electric scooter parking? Sidewalk clutter is primarily driven by dockless rental models where electric scooter parking is often treated as an afterthought by temporary users. You can easily distinguish the difference between a rental left in the mud and a personal scooter handled with care. Disorganized parking patterns make our streets look messy and unmanaged. Are dockless rental models the main cause of chaos? Dockless models allow you to end a trip anywhere, which often translates to “everywhere” in practice. Without a physical dock, the incentive to park neatly is significantly lower for the average renter. But wait, there’s more. Personal ownership models usually involve more intentional parking because you want to keep your property safe. Can designated zones resolve the sidewalk mess? Designated zones provide a visual cue for where a vehicle belongs, reducing the “scatter” effect. When you see a painted box, you are much more likely to park within its boundaries. Key Takeaway: Moving away from dockless chaos toward designated zones or personal ownership significantly cleans up urban pathways. Model Type Parking Behavior Dockless Rental Higher likelihood of random placement Personal Ownership More careful and intentional parking Personal ownership naturally promotes a higher standard of care and tidiness compared to high-volume rental fleets. Can bike rack sharing improve electric scooter parking? Sharing existing bike racks can provide immediate relief for electric scooter parking demand, provided there is enough space for both cyclists and scooter riders. You have likely noticed that bike racks are often the only secure place to lock up. However, this can lead to conflict if cyclists feel their dedicated space is being invaded. Should scooters and bicycles share the same racks? Using bike racks makes sense from a resource perspective, but it requires careful management. You don’t want to find the rack full when you arrive with your bike or scooter. Believe it or not, most cities already have the blueprint for parking; they just need to adapt it. Will dedicated spots reduce conflict with cyclists? Creating scooter-specific spots next to bike racks ensures that everyone has a home. This separation reduces the friction between different types of micromobility users. Key Takeaway: Multi-modal hubs that integrate both bikes and scooters are the most efficient use of curb space. Infrastructure Strategy Benefit Shared Racks Low-cost immediate solution Dedicated Spots Reduced user conflict Strategic integration allows cities to support diverse transportation modes without favoring one over the other. What are the current tech solutions for electric scooter parking? Smart docks and sensor-based zones are the leading technological advancements helping cities manage electric scooter parking with precision. You no longer have to guess where it is acceptable to leave your ride. These systems use real-time data to guide you and ensure the street remains orderly. How does geofencing enforce parking boundaries? Geofencing uses […]
The Challenges and Solutions for Electric Scooter Parking in Cities Read More »