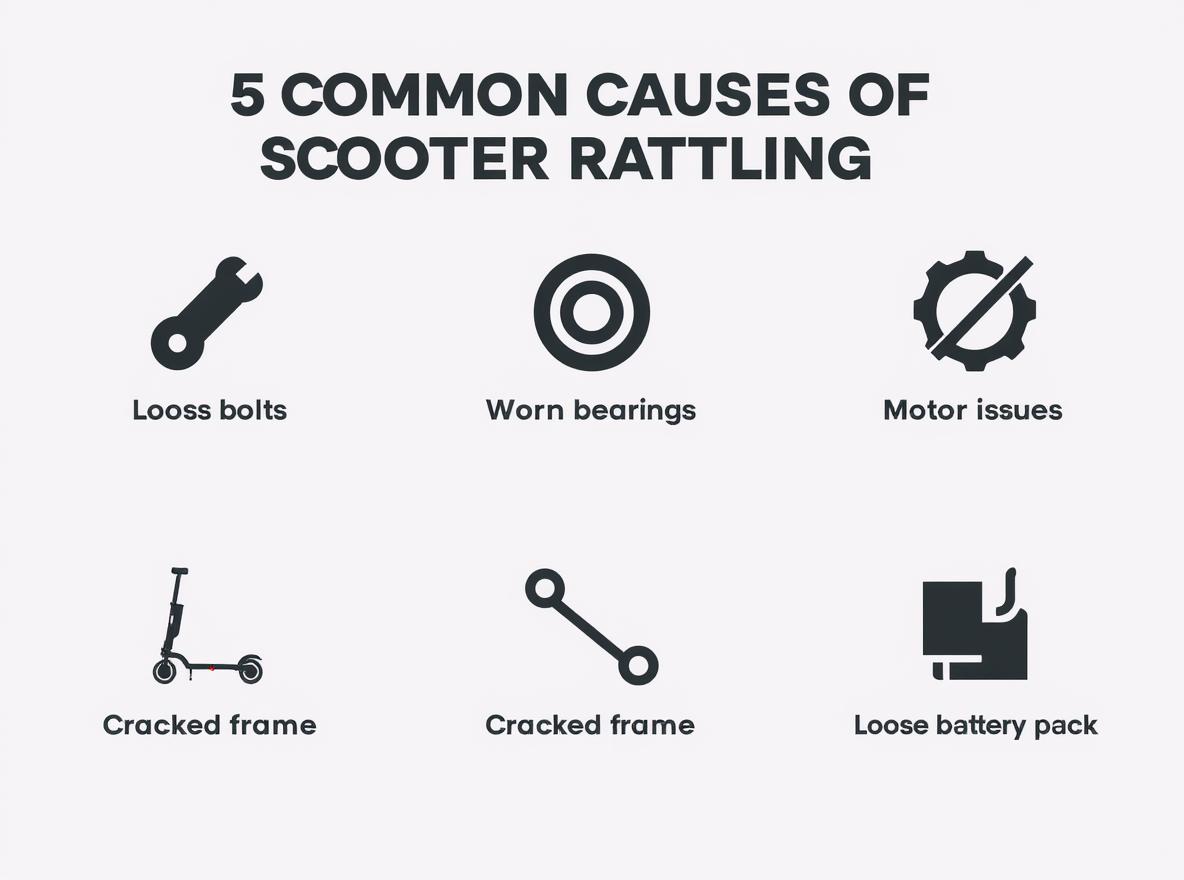
Your electric scooter starts making rattling sounds during rides. This noise can be annoying and scary. Many people think these sounds are normal. But rattling usually means something is wrong with your scooter. Loose parts, worn pieces, or broken components can cause these noises. If you ignore the problem, small issues can become big ones. You might get stuck somewhere or need expensive repairs. Small rattling problems can turn into major breakdowns. This costs a lot of money to fix.
This guide shows you what causes rattling in electric scooters. We cover loose bolts, worn bearings, motor problems, and battery issues. You will learn how to find these problems, fix them, and stop them from happening again.
1. What Are the Most Common Sources of Rattling Noises?
Loose bolts and screws create the majority of rattling sounds in electric scooters. Here’s the thing – vibration from riding gradually loosens fasteners throughout your scooter. Check all visible bolts on the handlebars, stem, deck, and wheels first.
The constant vibration from road surfaces and motor operation works against even properly tightened bolts over time. Different materials expand and contract at different rates, creating micro-movements that gradually loosen connections.
Worn bearings in wheels and steering components produce distinct rattling or grinding sounds. These critical parts wear down over time and need regular replacement. Damaged bearings affect ride quality and safety significantly.
Ball bearings develop flat spots from impact damage or contamination. Sealed bearings protect against dirt and moisture but cost more to replace. Serviceable bearings allow cleaning and relubrication but need more frequent maintenance.
Loose battery connections cause electrical rattling inside the battery compartment. Poor connections create arcing sounds and reduce power delivery. This issue requires immediate attention to prevent battery damage.
Battery packs contain multiple cells that can shift if internal supports fail. Lithium-ion cells are sensitive to physical damage and movement. Proper battery mounting prevents internal damage and maintains electrical connections.
| Common Rattle Sources | Typical Sounds | Urgency Level | Repair Cost |
| Loose bolts | Metallic clicking | Medium | $0-20 |
| Worn bearings | Grinding/rumbling | High | $20-60 |
| Battery issues | Electrical buzzing | High | $50-200 |
| Brake problems | Squealing/rattling | High | $30-100 |
Motor mount vibrations create rattling when mounting bolts loosen or rubber dampeners wear out. The motor transfers power through these mounts, so loose connections affect performance and create noise.
High-performance motors generate significant torque that stresses mounting hardware. Rubber isolation mounts absorb vibration but deteriorate from heat and age. Metal-to-metal contact creates harsh rattling sounds.
Brake component rattling occurs when brake pads wear unevenly or brake cables stretch. Loose brake assemblies create safety hazards and require immediate inspection and adjustment.

2. How Do You Identify Loose Bolts and Hardware Issues?
Visual inspection reveals most loose bolt problems quickly and effectively. Start with the most critical connection points like the steering stem and wheel axles. Look for gaps between washers and surfaces.
Develop a systematic inspection routine that covers all major connection points. Use good lighting and clean surfaces before inspection. Take photos of proper assembly for reference during maintenance.
Use appropriate tools to check bolt tightness systematically. A basic Allen key set covers most electric scooter fasteners. Tighten bolts to manufacturer specifications, not just until snug.
The best part? Most loose bolt issues take only minutes to fix with basic tools. Regular tightening prevents major problems and extends scooter life significantly.
Thread-locking compounds prevent bolts from loosening due to vibration. Blue thread locker allows removal with hand tools. Red thread locker requires heat for removal and suits permanent installations.
Check the folding mechanism bolts and pins for wear and proper tightness. These high-stress points experience constant movement and require frequent attention. Replace worn folding hardware immediately.
Folding mechanisms use precision tolerances to ensure safe operation. Worn pins create play that affects steering and stability. Lubricate folding joints regularly to prevent wear and corrosion.
| Hardware Check Points | Tools Needed | Check Frequency | Torque Spec |
| Handlebar clamp | Allen keys | Weekly | 15-20 Nm |
| Stem bolts | Torque wrench | Monthly | 20-25 Nm |
| Wheel axles | Socket set | Monthly | 25-30 Nm |
| Brake mounts | Allen keys | Weekly | 8-12 Nm |
Inspect deck mounting points where the platform connects to the frame. These joints carry rider weight and experience significant stress during use. Loose deck bolts create dangerous riding conditions.
Examine all cable routing and ensure proper securing with zip ties or clips. Loose cables rattle against the frame and wear through protective covering over time.
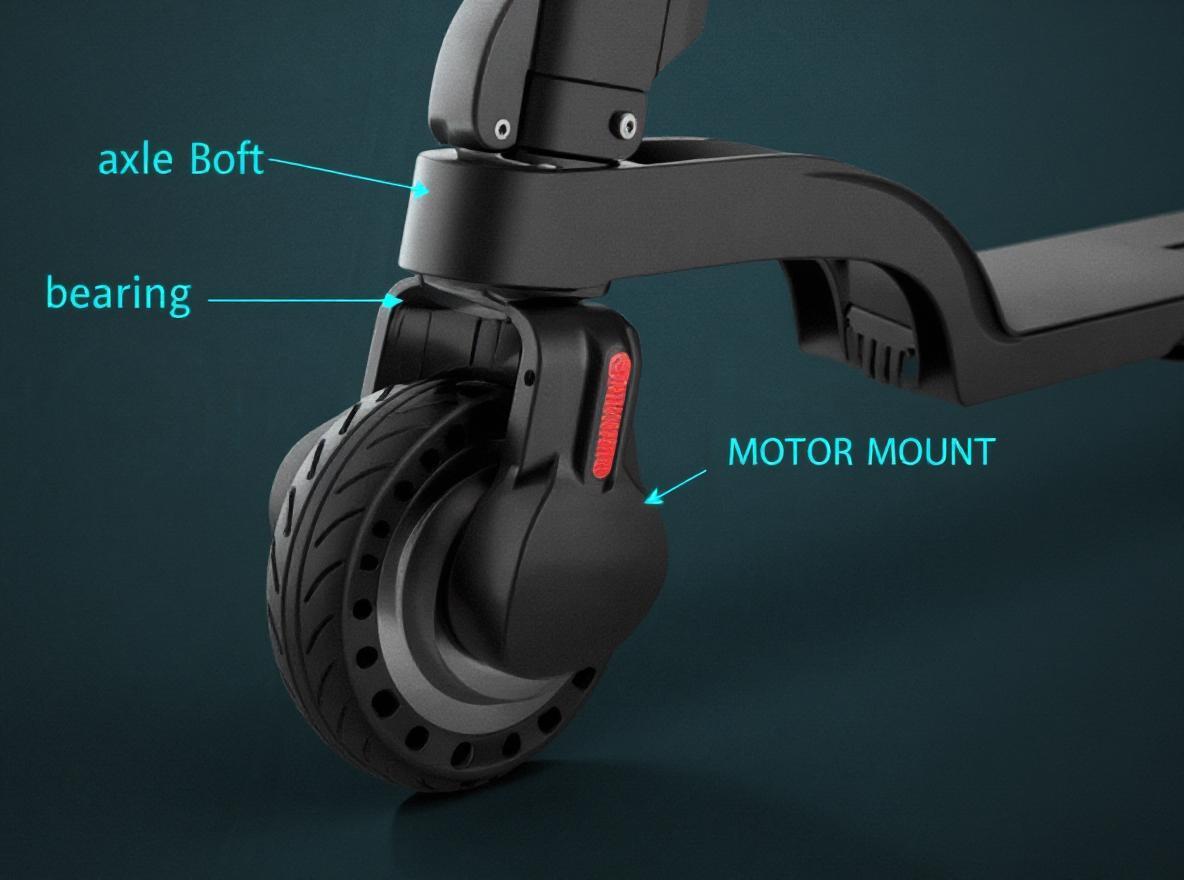
3. When Do Worn Bearings Cause Rattling Problems?
Wheel bearings develop play and create rattling when they wear beyond acceptable limits. Test bearing condition by lifting the wheel and spinning it freely. Rough or noisy rotation indicates bearing replacement needs.
Bearing wear patterns reveal riding conditions and maintenance history. Contaminated bearings show pitting and corrosion. Overloaded bearings develop flat spots and uneven wear patterns.
Steering head bearings affect handlebar movement and create rattling during turns or bumps. Now, you might be wondering how to test these bearings. Apply the front brake and rock the scooter forward and backward.
Loose steering bearings create dangerous handling characteristics. Excessive play allows the handlebars to wobble at speed. Tight bearings make steering difficult and cause premature wear.
Bearing replacement requires specific tools and mechanical knowledge. Most riders should seek professional service for bearing work to ensure proper installation and adjustment.
Different bearing types require different maintenance schedules and replacement procedures. Sealed bearings last longer but cost more to replace than serviceable ball bearings.
| Bearing Location | Symptoms | Replacement Cost | Service Life |
| Front wheel | Wobbling/noise | $20-40 | 2000-5000 miles |
| Rear wheel | Grinding sounds | $20-40 | 1500-4000 miles |
| Steering head | Loose steering | $30-60 | 3000-8000 miles |
| Folding joint | Play in mechanism | $15-30 | 1000-3000 miles |
Contaminated bearings from water or dirt exposure fail faster than clean, properly sealed units. Regular cleaning and lubrication extend bearing life significantly in most conditions.
Poor quality replacement bearings create new problems quickly. Use manufacturer-specified parts or high-quality aftermarket alternatives from reputable suppliers only.

4. What Battery and Electrical Issues Create Rattling?
Loose battery mounting allows the heavy battery pack to shift and rattle during riding. Check battery securing straps, brackets, and mounting hardware regularly for proper tightness and condition.
Battery weight distribution affects scooter handling and component stress. Improperly secured batteries can damage mounting points and create safety hazards during emergency maneuvers.
Internal battery cell movement creates rattling sounds when cell supports break down. This serious condition requires immediate battery replacement to prevent fire hazards and further damage.
Let me explain why electrical rattling demands urgent attention. Loose connections create heat, reduce performance, and pose fire risks. Never ignore electrical noises from your scooter.
Electrical arcing produces temperatures exceeding 3000 degrees Fahrenheit. These extreme temperatures can ignite surrounding materials and cause catastrophic fires in seconds.
Corroded battery terminals produce poor connections and electrical arcing sounds. Clean terminals with appropriate solvents and apply protective coatings to prevent future corrosion.
| Electrical Rattle Signs | Possible Causes | Action Required | Risk Level |
| Buzzing from battery | Loose connections | Immediate repair | High |
| Clicking during acceleration | Contactor issues | Professional service | Medium |
| Intermittent power loss | Wiring problems | Stop riding immediately | Critical |
| Burning smell | Overheating components | Emergency shutdown | Critical |
Damaged wiring harnesses create intermittent connections and electrical noise. Inspect all visible wiring for cuts, pinches, or wear damage that could cause problems.
Controller mounting issues allow the electronic speed controller to vibrate and rattle. Secure controller mounting prevents damage to sensitive electronic components inside.
5. How Do Motor Problems Manifest as Rattling Sounds?
Motor bearing wear creates grinding or rattling noises during acceleration or coasting. These internal bearings require professional replacement and motor disassembly in most cases.
Electric motor bearings operate at high speeds under significant loads. Heat from motor operation accelerates bearing wear. Contamination from road debris shortens bearing life dramatically.
Loose motor mounting bolts allow the entire motor assembly to vibrate against the frame. This is important because motor vibration damages other components and reduces power transfer efficiency significantly.
Motor torque creates reactive forces that stress mounting hardware. Proper mounting distributes these forces evenly across multiple attachment points. Loose mounts concentrate stress and cause failures.
Internal motor damage from overheating or impact creates various rattling and grinding sounds. Damaged motors often require complete replacement rather than repair due to cost factors.
Motor cooling fan problems create rattling when fan blades break or mounting hardware loosens. Overheating from fan failure causes permanent motor damage quickly.
| Motor Rattle Types | Likely Causes | Repair Complexity | Typical Cost |
| Grinding during use | Worn bearings | Professional | $100-200 |
| Vibration at idle | Loose mounts | DIY possible | $10-30 |
| Clicking acceleration | Internal damage | Replacement needed | $200-500 |
| Fan noise | Cooling issues | Moderate repair | $50-100 |
Gear reduction systems in some motors develop play and create rattling sounds. These precision components require exact tolerances and professional service for proper operation.
Magnetic sensor problems cause erratic motor behavior and unusual sounds. Sensor alignment issues need professional diagnosis and calibration for proper motor control.
6. What Brake System Issues Cause Rattling Noises?
Worn brake pads create rattling when they become loose in their mounting brackets. Want to know the secret? Regular brake pad inspection prevents most rattling and ensures safe stopping power.
Brake pad wear indicators produce squealing sounds when replacement becomes necessary. Ignoring these warnings leads to metal-on-metal contact that damages rotors and reduces braking effectiveness.
Loose brake cable housing allows cables to rattle against the frame during riding. Secure all cable routing with proper clips and ensure adequate cable tension for smooth operation.
Disc brake rotor warping creates pulsing and rattling during braking. Warped rotors require replacement or professional truing to restore smooth brake operation and eliminate noise.
Brake caliper mounting problems allow the entire brake assembly to shift and rattle. Loose calipers create dangerous braking conditions and require immediate attention and proper torque specifications.
| Brake Rattle Sources | Safety Impact | Repair Urgency | Expected Cost |
| Loose pads | Reduced stopping | High | $20-40 |
| Cable rattling | Minimal | Low | $5-15 |
| Warped rotor | Poor braking | High | $30-60 |
| Loose caliper | Brake failure risk | Critical | $40-80 |
Contaminated brake surfaces from oil or dirt create noise and reduce braking effectiveness. Clean brake components with appropriate solvents and replace contaminated pads immediately.
Brake lever adjustment affects cable tension and can create rattling in the brake system. Proper lever position and cable tension eliminate most brake-related rattling sounds.
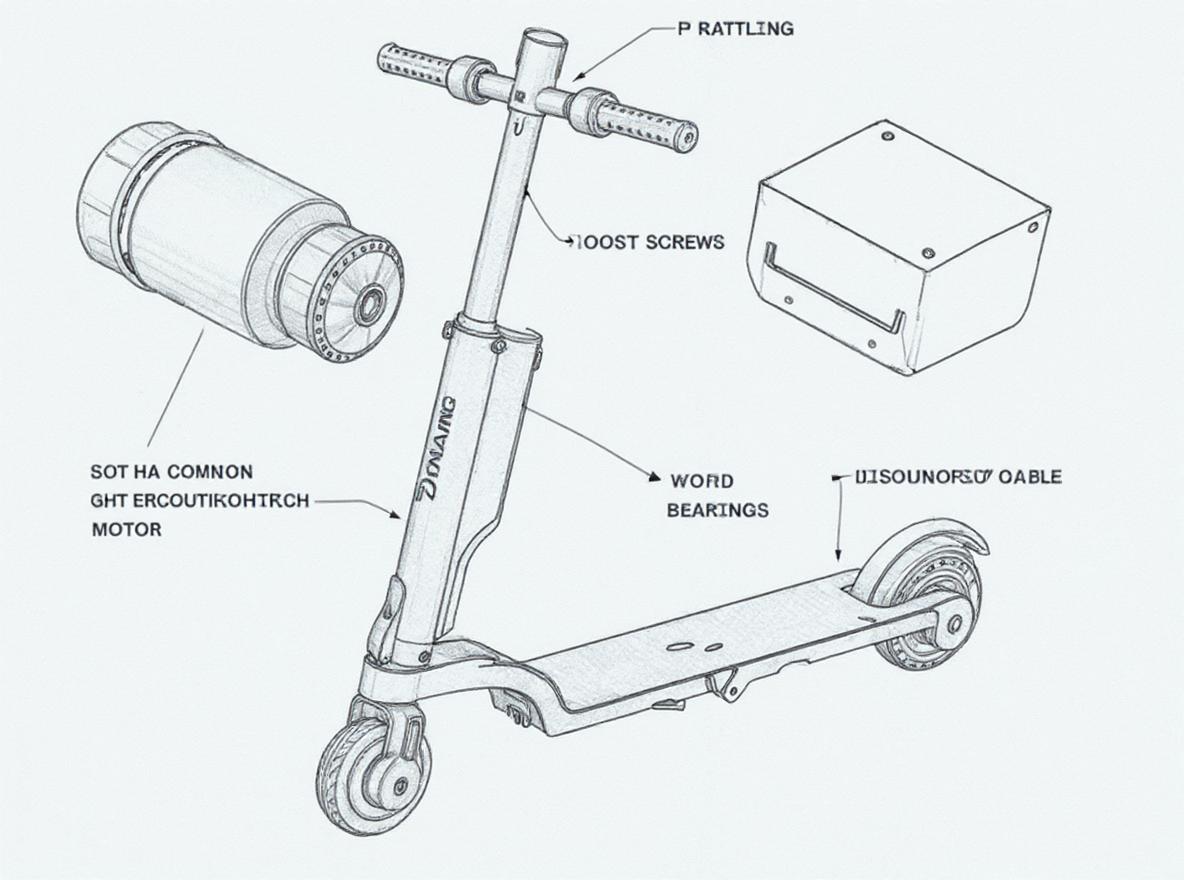
7. How Can You Prevent Future Rattling Problems?
Regular maintenance schedules prevent most rattling issues before they develop into serious problems. The bottom line? Preventive care costs far less than emergency repairs and keeps you riding safely.
Maintenance intervals depend on riding conditions and usage patterns. Daily commuters need more frequent service than occasional recreational riders. Harsh conditions accelerate wear and require shorter intervals.
Proper torque specifications ensure bolts stay tight without over-tightening and damaging threads. Use a torque wrench for critical fasteners and follow manufacturer recommendations exactly.
Quality replacement parts last longer and perform better than cheap alternatives. Invest in proper components from reputable suppliers to avoid repeated failures and safety issues.
Environmental protection keeps moisture and dirt away from sensitive components. Store your scooter in dry conditions and clean it regularly to prevent corrosion and wear.
| Maintenance Tasks | Frequency | Tools Required | Time Needed |
| Bolt tightening | Weekly | Allen keys | 15 minutes |
| Bearing lubrication | Monthly | Grease gun | 30 minutes |
| Electrical inspection | Monthly | Multimeter | 20 minutes |
| Deep cleaning | Quarterly | Cleaning supplies | 60 minutes |
Riding technique affects component wear and rattling development. Avoid rough terrain when possible and ride smoothly to reduce stress on all scooter components.
Professional service intervals catch problems early and maintain warranty coverage. Schedule regular checkups with qualified technicians who understand electric scooter systems completely.
Conclusion
Rattling sounds in your electric scooter are warning signs. They tell you something needs attention right away. If you ignore these sounds, you might face safety problems and costly repairs. Check your bolts, bearings, electrical parts, motor mounts, and brakes often. This helps you catch problems early before they get worse. Good maintenance, quality parts, and professional help when needed keep your scooter working well.
The bottom line? Fix rattling sounds quickly to save money and stay safe while riding. Dynamic Scooter has expert repair services and real replacement parts for your electric scooter. Our trained technicians can check your scooter and fix any problems. Contact us today to get your scooter running quietly and safely again.

FAQ
Q1: Can I continue riding my electric scooter if it’s making rattling noises?
Stop riding immediately if rattling comes from brakes, steering, or electrical components. Minor rattling from loose accessories may be safe temporarily, but all rattling should be diagnosed and repaired promptly to prevent safety hazards and component damage.
Q2: How much does it typically cost to fix rattling issues?
Simple bolt tightening costs nothing if you have basic tools. Bearing replacement ranges from 20−60perlocation.Majormotororelectricalrepairscancost20-60 per location. Major motor or electrical repairs can cost 20−60perlocation.Majormotororelectricalrepairscancost100-300 depending on the specific problem and parts needed for proper repair.
Q3: What tools do I need for basic rattling noise troubleshooting?
A basic Allen key set, adjustable wrench, and screwdriver handle most simple repairs. A torque wrench ensures proper bolt tightness. More complex issues require specialized tools and professional service from qualified technicians.
Q4: How often should I check my electric scooter for loose bolts?
Inspect critical bolts weekly, especially handlebar clamp, stem, and wheel axles. Perform monthly comprehensive checks of all visible fasteners. New scooters need more frequent checks as components settle during the break-in period.
Q5: When should I seek professional help for rattling problems?
Contact professionals for electrical rattling, motor noises, brake system problems, or any issue you cannot identify safely. Complex bearing replacement and motor work require specialized tools and expertise for proper repair and safety.