Wiring a 24V battery in your electric scooter might seem hard. One wrong move can break expensive parts or cause danger. Many people don’t know which wires to use or what tools they need. They also don’t know how to do it safely. If you make mistakes, you could get short circuits. Your scooter parts might break. Your scooter might not work well. You could even start a fire.
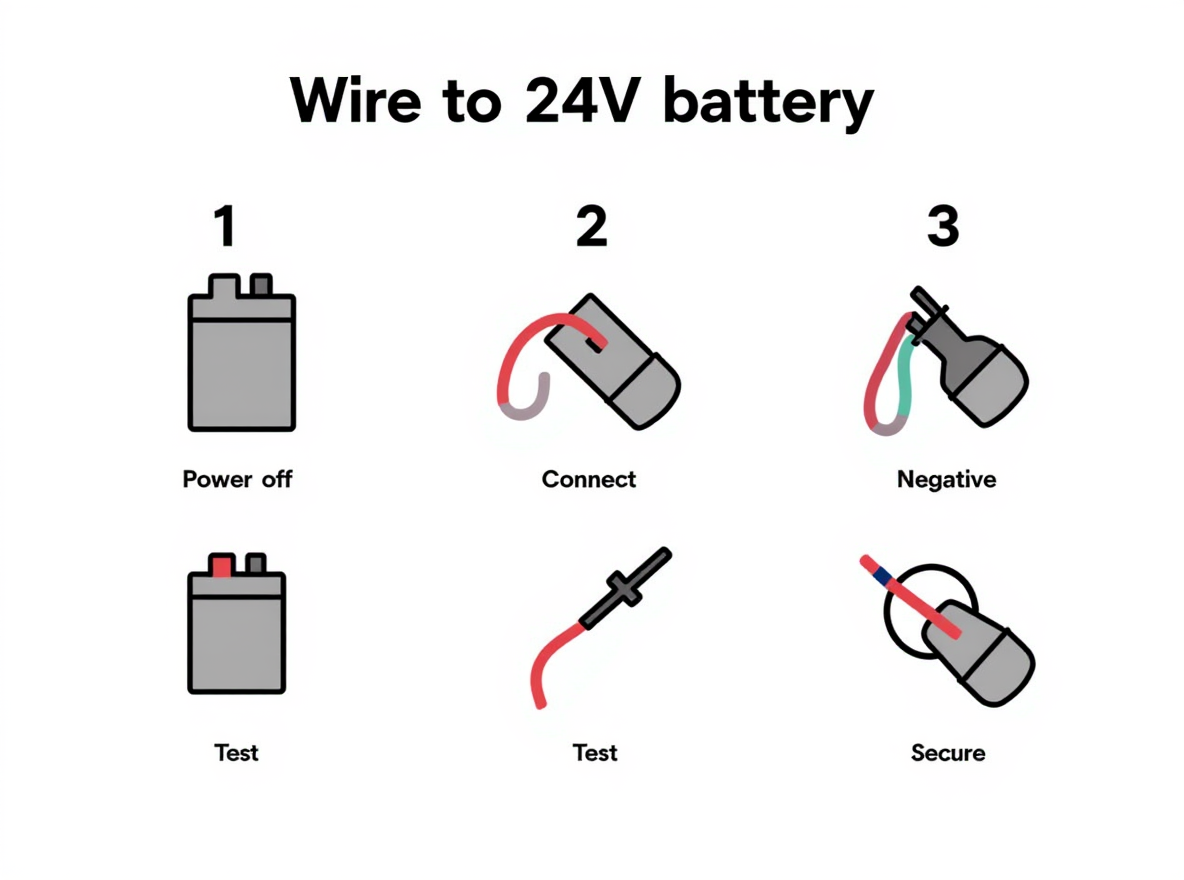
To wire a 24V battery in your electric scooter: Turn off power completely. Connect the red wire to the positive terminal (+) first, then black wire to negative terminal (-). Tighten connections snugly. Connect controller wires to matching connectors. Test all connections before riding. Always disconnect negative first for safety.
This guide will show you how to wire your 24V battery the right way. You will learn what tools you need and how to stay safe. You will see the right order to connect wires and how to test your work. You will also learn what mistakes to avoid and how to keep your system working well.
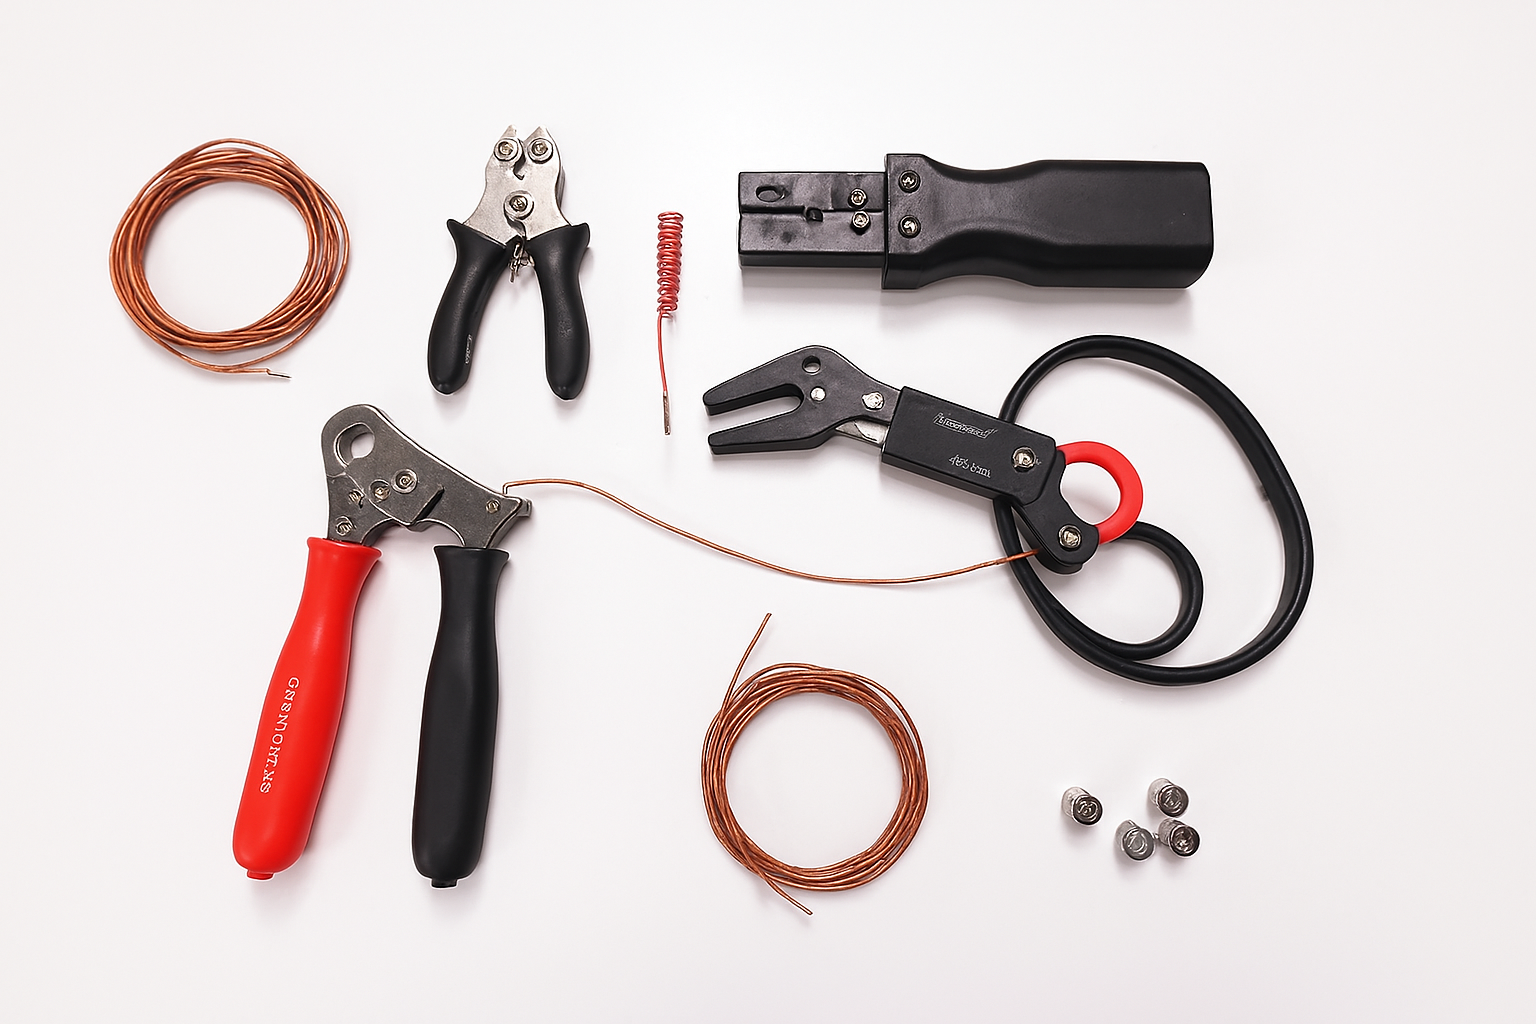
1. What Tools Do You Need to Wire a 24V Electric Scooter Battery?
Proper tools make the difference between a professional installation and a dangerous amateur job. You need specific equipment designed for electrical work to handle 24V systems safely and effectively.
Here’s why it matters: Using the wrong tools can strip wires, create loose connections, or cause injury during installation.
| Tool Category | Specific Tools | Purpose |
| Cutting Tools | Wire strippers, Cable cutters | Clean wire preparation |
| Connection Tools | Crimping tool, Soldering iron | Secure terminal connections |
| Testing Equipment | Digital multimeter, Voltage tester | Safety and performance verification |
Essential hand tools include wire strippers rated for 12-16 AWG wire, heavy-duty cable cutters for thick battery cables, and a quality crimping tool for terminal connections. These tools ensure clean cuts and secure connections that won’t fail under load.
Safety equipment protects you during installation. Safety glasses prevent wire fragments from entering your eyes. Insulated gloves protect against accidental contact with live wires. A non-conductive work mat prevents short circuits.
| Safety Equipment | Protection Level | Usage |
| Safety glasses | Eye protection | Always required |
| Insulated gloves | Electrical protection | When handling live circuits |
| Work mat | Surface protection | Prevents short circuits |
Testing equipment verifies your work quality. A digital multimeter measures voltage, current, and resistance to confirm proper connections. A voltage tester quickly identifies live wires before you touch them.
Wire specifications matter for safety and performance. Use 12 AWG wire for main battery connections and 14 AWG for accessory circuits. Stranded copper wire handles vibration better than solid wire in mobile applications.
2. How Do You Identify 24V Battery Components and Connections?
Understanding your scooter’s electrical system prevents costly mistakes and ensures proper connections. Each component has specific connection points that must be identified before starting work.
Battery terminals follow standard color coding. Red terminals and wires indicate positive connections, while black represents negative or ground connections. Some systems use blue or yellow for specific functions.
The best part? Most modern scooters have labeled connection points that make identification straightforward.
| Component | Positive Connection | Negative Connection | Function |
| Battery Pack | Red terminal | Black terminal | Power source |
| Controller | Red wire | Black wire | Power management |
| Motor | Red/Yellow wire | Black/Blue wire | Drive system |
Controller connections vary by manufacturer but follow common patterns. The main power input connects directly to battery positive and negative. Motor connections typically use three-phase wiring with specific color codes.
Motor wiring depends on your scooter type. Brushed motors use two wires (positive and negative), while brushless motors require three-phase connections. Check your manual for specific wire colors.
| Motor Type | Wire Count | Connection Method | Performance |
| Brushed DC | 2 wires | Direct connection | Simple, reliable |
| Brushless | 3 wires | Controller required | Higher efficiency |
Accessory connections include lights, displays, and charging ports. These typically use smaller gauge wires and may have inline fuses for protection. Label each connection before disconnecting to avoid confusion during reassembly.
Connector types vary between manufacturers. Some use bullet connectors, others prefer Anderson Powerpole or XT60 connectors. Match connector types when making repairs or modifications.
3. What Safety Precautions Should You Take Before Wiring?
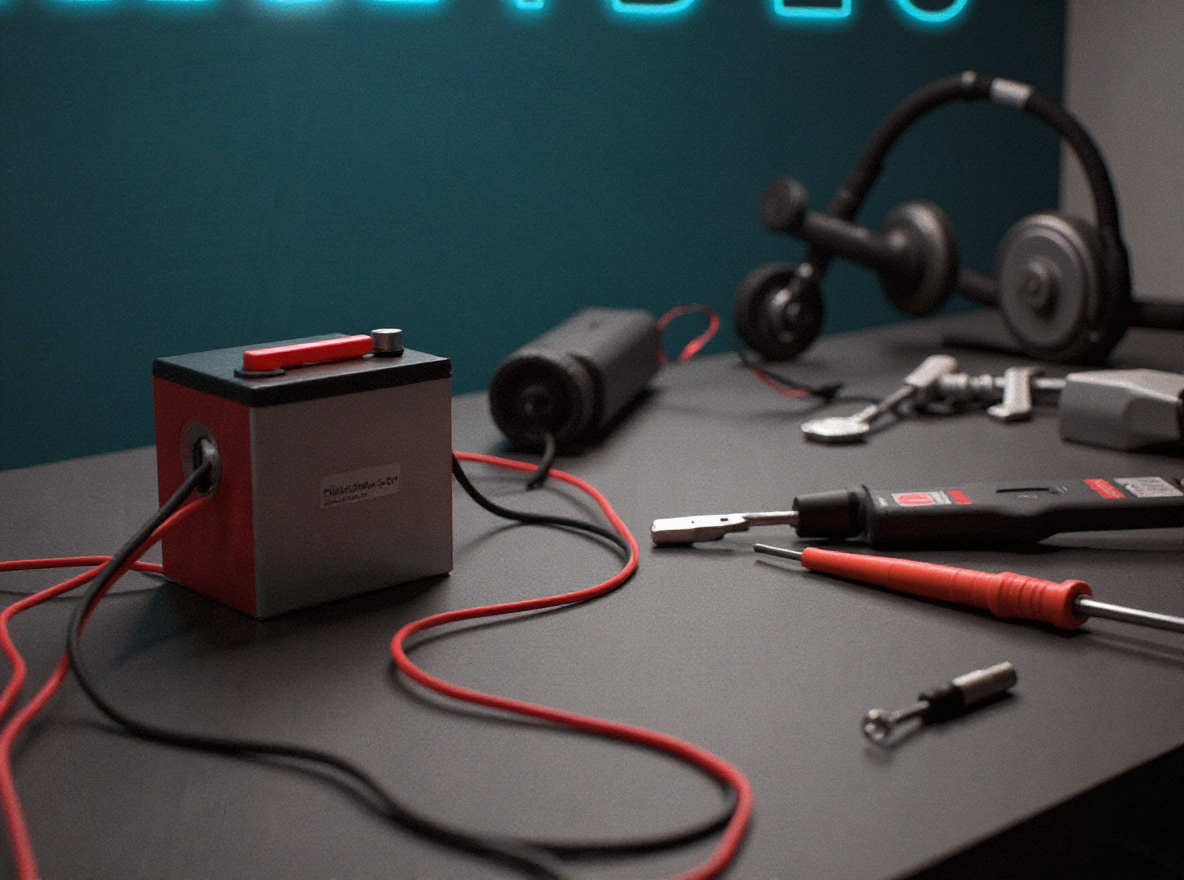
Safety protocols prevent accidents, equipment damage, and personal injury during battery installation. Following proper procedures protects both you and your expensive scooter components.
Power disconnection comes first in any electrical work. Remove the main fuse or disconnect the battery pack completely. Verify zero voltage with a multimeter before touching any wires.
But here’s the thing: Even “dead” batteries can hold residual charge that causes sparks or injury.
| Safety Step | Action Required | Verification Method |
| Power off | Remove main fuse | Visual confirmation |
| Disconnect battery | Unplug main connector | Multimeter test |
| Verify zero voltage | Test all circuits | Digital readout |
Personal protective equipment prevents injury from electrical hazards. Wear safety glasses to protect against wire fragments and sparks. Use insulated gloves rated for electrical work, not regular work gloves.
Work area preparation reduces accident risk. Choose a clean, dry location with good lighting. Remove metal jewelry that could cause short circuits. Keep a fire extinguisher nearby when working with batteries.
| Hazard Type | Prevention Method | Emergency Response |
| Electrical shock | Insulated tools | Turn off power immediately |
| Short circuit | Proper wire routing | Disconnect battery |
| Fire risk | Clean work area | Use Class C extinguisher |
Battery handling requires special care. Lithium batteries can be damaged by physical impact or extreme temperatures. Lead-acid batteries contain corrosive acid that damages skin and clothing.
Ventilation prevents gas buildup from charging batteries. Work in open areas or use fans to circulate air. Some battery types release hydrogen gas during charging, which is explosive in enclosed spaces.
4. How Do You Remove the Old Battery Wiring System?
Systematic removal prevents damage to reusable components and makes installation easier. Document connections before disconnecting anything to avoid confusion later.
Disconnection sequence prevents sparks and component damage. Always disconnect negative connections first, then positive connections. This prevents accidental short circuits if tools touch the frame.
Now, you might be wondering: Why does disconnection order matter so much?
| Step | Connection Type | Reason |
| 1 | Negative first | Prevents short circuits |
| 2 | Positive second | Reduces spark risk |
| 3 | Accessories last | Protects sensitive electronics |
Wire labeling saves time during reassembly. Use masking tape and permanent markers to label each wire before disconnecting. Include both the wire function and destination in your labels.
Component removal follows logical order. Start with accessories like lights and displays, then remove the controller, and finally disconnect the battery pack. This prevents damage to delicate components.
| Removal Order | Component | Special Considerations |
| 1 | Accessories | Note wire colors |
| 2 | Controller | Handle carefully |
| 3 | Motor connections | Mark phase wires |
| 4 | Battery pack | Heavy lifting required |
Troubleshooting common issues speeds up the process. Corroded connections may require penetrating oil or gentle heat. Stuck connectors often release with gentle rocking motions rather than force.
Wire condition assessment determines what can be reused. Look for cracked insulation, corrosion, or heat damage. Replace any questionable wires rather than risk future failures.
5. What Is the Correct 24V Battery Wiring Sequence?
Proper installation sequence ensures safe, reliable connections that perform well under load. Following the correct order prevents damage and reduces troubleshooting time.
Connection sequence reverses the removal process. Install the battery pack first, then connect the controller, motor, and finally accessories. This builds the system from the power source outward.
Let me explain: Starting with the main power connections provides a stable foundation for the entire system.
| Installation Step | Component | Connection Points |
| 1 | Battery pack | Secure mounting first |
| 2 | Main power cables | Positive and negative |
| 3 | Controller | Power and signal wires |
| 4 | Motor connections | Phase wires |
| 5 | Accessories | Lights, display, etc. |
Wire routing prevents damage and interference. Route power cables away from signal wires to prevent electrical noise. Secure cables with zip ties or clamps to prevent chafing against sharp edges.
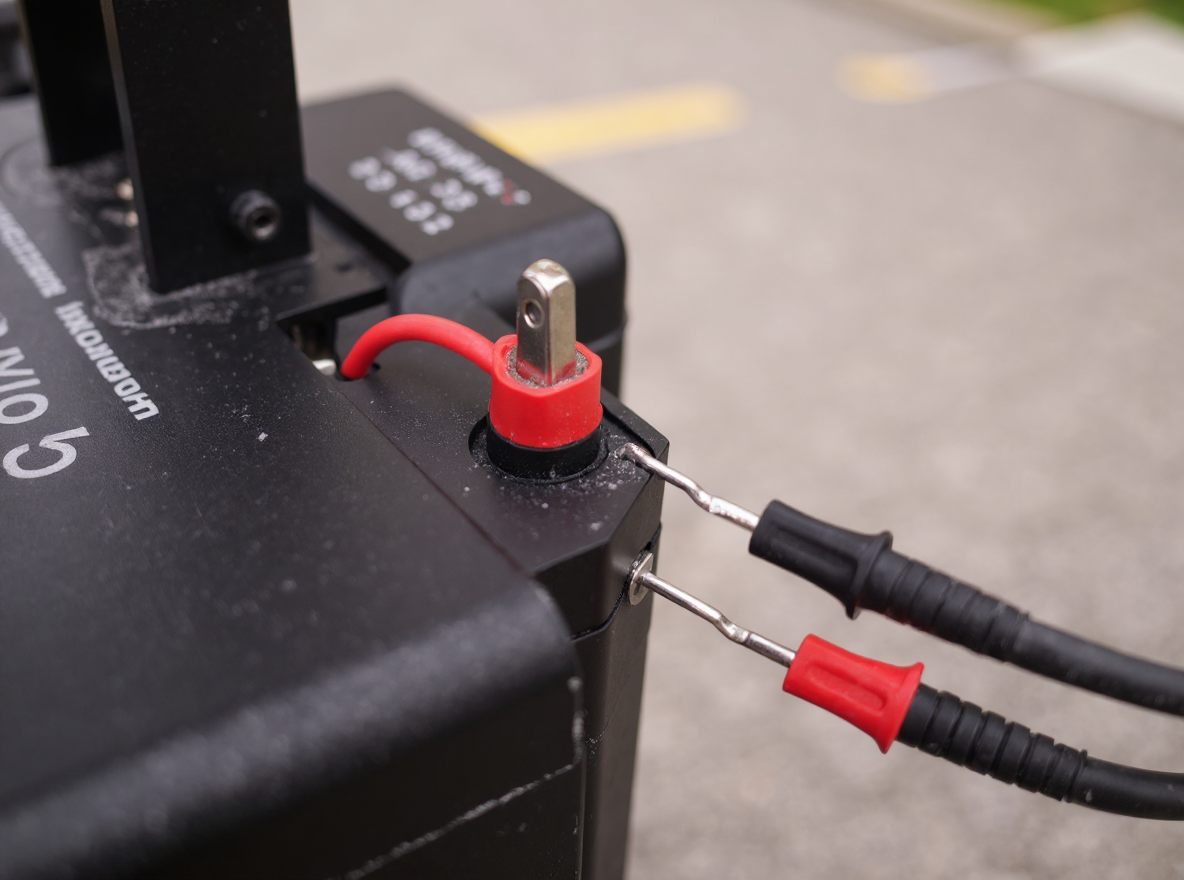
Terminal connection techniques ensure reliable performance. Clean all terminals with fine sandpaper before connecting. Apply dielectric grease to prevent corrosion. Tighten connections to manufacturer specifications.
| Connection Type | Torque Specification | Tools Required |
| Battery terminals | 10-15 ft-lbs | Torque wrench |
| Controller connections | Hand tight + 1/4 turn | Pliers |
| Motor connections | 5-8 ft-lbs | Small torque wrench |
Securing connections prevents vibration damage. Use heat shrink tubing over soldered joints. Apply thread locker to threaded connections. Route wires to avoid stress points.
Quality control checks verify proper installation. Wiggle test all connections to ensure they’re secure. Visual inspection confirms proper wire routing and no pinched cables.
6. Step-by-Step Battery Connection Guide
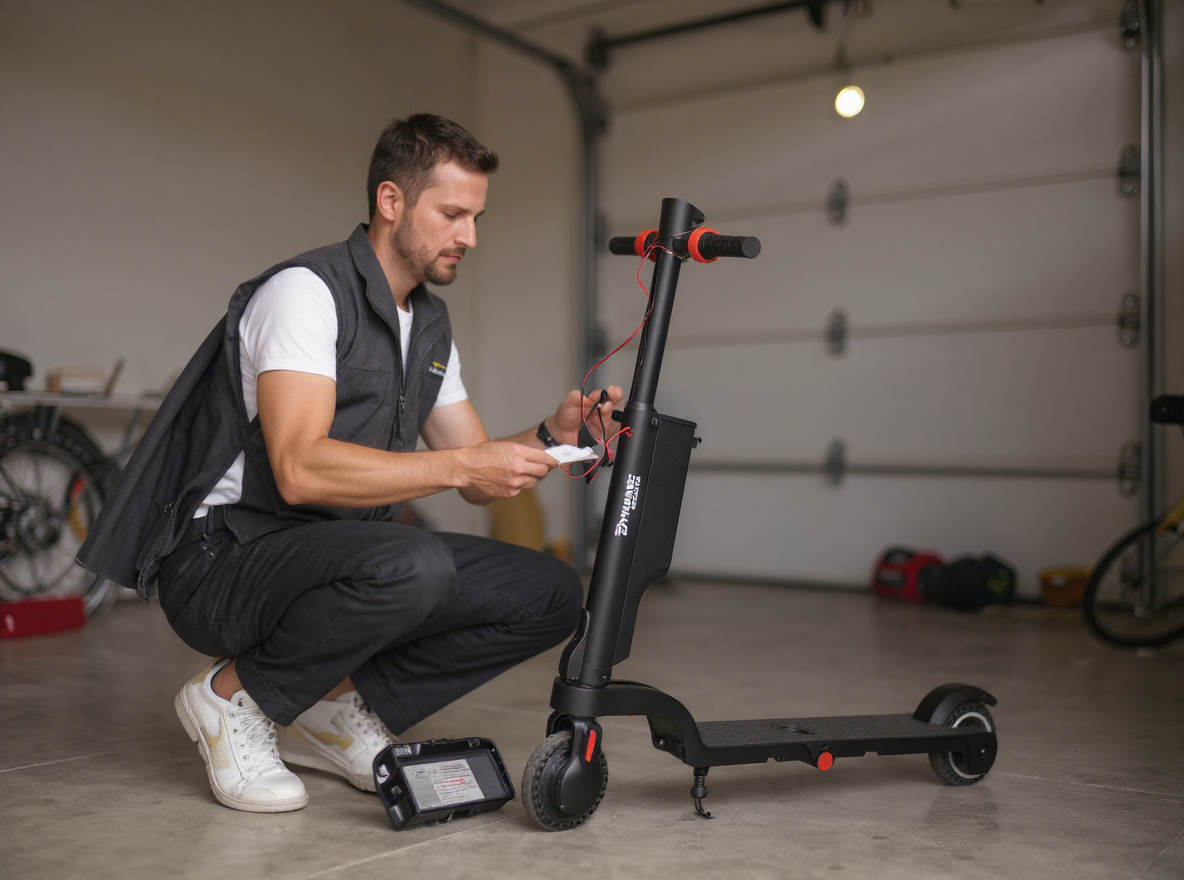
This detailed guide walks you through each connection step. Follow these steps in order for safe, reliable results. Take your time and double-check each step before moving to the next one.
Want to know the secret? Following the exact sequence prevents mistakes that could damage your scooter.
Step 1: Prepare Your Work Area
Turn off your scooter completely. Find a clean, dry place to work with good light. Put on safety glasses and gloves.
If your battery is connected, disconnect the negative wire first, then the positive wire. This prevents sparks.
Step 2: Mount the Battery Pack
Place the battery pack in its holder. Make sure it sits flat and secure. Tighten the battery clamps to hold it in place.
Check that the battery doesn’t move when you shake it gently.
| Battery Mounting Check | What to Look For | Action if Wrong |
| Position | Battery sits flat | Adjust mounting |
| Security | No movement when shaken | Tighten clamps |
| Terminal access | Easy to reach | Reposition if needed |
Step 3: Connect the Main Power Wires
Start with the positive connection. Take the thick red wire from your controller. Connect it to the positive terminal on your battery (marked with “+” or red color).
Tighten the connection with a wrench. Make it snug but don’t over-tighten.
Next, connect the negative wire. Take the thick black wire and connect it to the negative terminal (marked with “-” or black color).
Tighten this connection the same way. Make sure both connections are secure.
| Connection Step | Wire Color | Terminal | Tightness |
| First | Red (positive) | + terminal | Snug, not over-tight |
| Second | Black (negative) | – terminal | Same as positive |
Step 4: Connect the Controller
Find the smaller wires from the controller. These go to the throttle, brakes, and display. Each wire has a connector that matches your scooter.
Connect each wire to its matching connector. Push them together until you hear a click.
Step 5: Connect the Motor Wires
Find the motor wires from your controller. Brushed motors have two wires. Brushless motors have three wires.
Match each wire to its connector on the motor. Push the connectors together firmly.
For brushless motors, if your scooter goes backward, swap any two of the three motor wires.
Step 6: Connect Accessories
Connect your throttle, brake levers, display, and lights to their matching connectors. Push each connector in until it clicks.
Step 7: Final Checks
Check all connections are tight and secure. Make sure wires don’t touch moving parts or sharp edges. Use zip ties to secure loose wires.
Make sure your battery is fully charged before testing.
7. How Do You Test Your 24V Battery Wiring Installation?
Testing procedures verify safe operation before putting your scooter back in service. Proper testing prevents component damage and identifies problems early.
Voltage testing confirms proper connections and battery condition. Use a digital multimeter to measure voltage at key points throughout the system. A fully charged 24V system should read 25.2-29.4 volts depending on battery type.
This is important because: Voltage drops indicate poor connections or component problems that could cause failures.
| Test Point | Expected Voltage | Troubleshooting |
| Battery terminals | 25.2-29.4V | Check battery condition |
| Controller input | Within 0.2V of battery | Check main connections |
| Motor connections | Varies with throttle | Check controller output |
Connection integrity checks prevent future failures. Perform a “wiggle test” on all connections while monitoring voltage. Any voltage fluctuation indicates a loose connection that needs attention.
Performance testing verifies system operation under load. Test throttle response, braking function, and accessory operation. Monitor voltage under load to identify weak connections.
| Performance Test | Normal Response | Problem Indicators |
| Throttle response | Smooth acceleration | Jerky or delayed response |
| Brake function | Immediate stopping | Delayed or weak braking |
| Voltage under load | Less than 2V drop | Excessive voltage drop |
Common problem diagnosis helps identify issues quickly. Low voltage under load indicates poor connections or weak batteries. Intermittent operation suggests loose connections or damaged wires.
System integration testing ensures all components work together properly. Test all functions simultaneously to verify adequate power capacity and proper system operation.
8. What Common Wiring Mistakes Should You Avoid?
Learning from common errors prevents costly damage and safety hazards. These mistakes can save you time, money, and frustration.
Incorrect polarity connections cause immediate component damage. Reversing positive and negative connections can destroy controllers and motors instantly. Always double-check polarity before applying power.
Here’s the deal: One reversed connection can cost hundreds of dollars in replacement parts.
Loose connection problems create heat and voltage drops. Vibration loosens connections over time. Use proper torque specifications and thread locker.
Wire gauge selection errors cause overheating. Undersized wires can’t carry required current safely. Follow manufacturer specifications for wire sizing.
Routing mistakes cause wire damage. Avoid sharp edges, moving parts, and heat sources when routing wires.

9. How Do You Maintain Your 24V Battery Wiring System?
Regular maintenance prevents failures and extends system life. Proactive care costs less than emergency repairs.
Check connections monthly for looseness, corrosion, or damage. Look for signs of overheating like discolored wires.
What does this mean for you? Catching problems early prevents expensive failures and safety hazards.
Clean battery terminals with baking soda solution. Use electrical contact cleaner for other connections. Apply dielectric grease after cleaning.
Check connection tightness monthly. Use proper torque specifications to avoid over-tightening.
Replace wires with cracked insulation, green corrosion, or heat damage immediately.
Use dielectric grease on connections and secure wires properly. Quality components cost more but last longer.
Conclusion
Good 24V battery wiring keeps your scooter safe and working well. It also stops expensive parts from breaking. When you use the right tools and follow safety rules, you get good results. When you install wires in the right order and test everything, your work will be like a pro. Checking your system often helps you find problems early. This makes your system last longer. The bottom line? Taking time to wire things right saves you money later. You won’t need as many repairs and your scooter will work for years.
If you want a great electric scooter with a good 24V system, Dynamic Scooter Model B has what you need. We make reliable scooters with full warranties and help when you need it. Check out our website to see high-quality scooters with good parts and wiring that won’t give you problems.

FAQ
Q1: Can I use any type of wire for 24V battery connections?
No, you need specific gauge wire rated for your scooter’s amperage. Using incorrect wire can cause overheating, voltage drops, and safety hazards.
Q2: What happens if I connect the battery wires backwards?
Reverse polarity can damage your controller, motor, and other electronic components. Always double-check positive and negative connections before powering on.
Q3: How often should I check my battery wiring connections?
Inspect connections monthly for looseness, corrosion, or damage. Tighten connections as needed and replace worn wires immediately.
Q4: Why does my scooter lose power even with a full battery?
Poor wiring connections, corroded terminals, or undersized wires can cause voltage drops and power loss. Check all connections and wire conditions.
Q5: Do I need special tools to wire a 24V scooter battery?
Basic tools include wire strippers, crimping tool, multimeter, and appropriate connectors. Quality tools ensure safe, reliable connections.