If your electric scooter handlebar is loose, you must immediately stop riding, park on a flat surface, inspect the stem’s folding mechanism and bolts, and tighten any worn or loose fasteners using an Allen key to restore structural stability.
Picture this: you are cruising smoothly on your morning commute when you suddenly feel an unsettling, shaky wobble under your hands. Your heart drops as you realize your steering is no longer responding precisely, leaving you incredibly vulnerable amidst busy city traffic. This sudden panic is exactly what happens when your connection to the road is compromised.
Ignoring a loose electric scooter handlebar is a recipe for disaster on any daily ride. What starts as a minor, annoying vibration can rapidly escalate into full mechanical steering failure at high speeds. A sudden collapse of your stem could throw you over the front wheels, leading to serious injury and costly repairs. Fortunately, this definitive step-by-step guide will show you how to easily diagnose, fix, and prevent steering wobble right at home.
Is your loose electric scooter handlebar safe to ride?
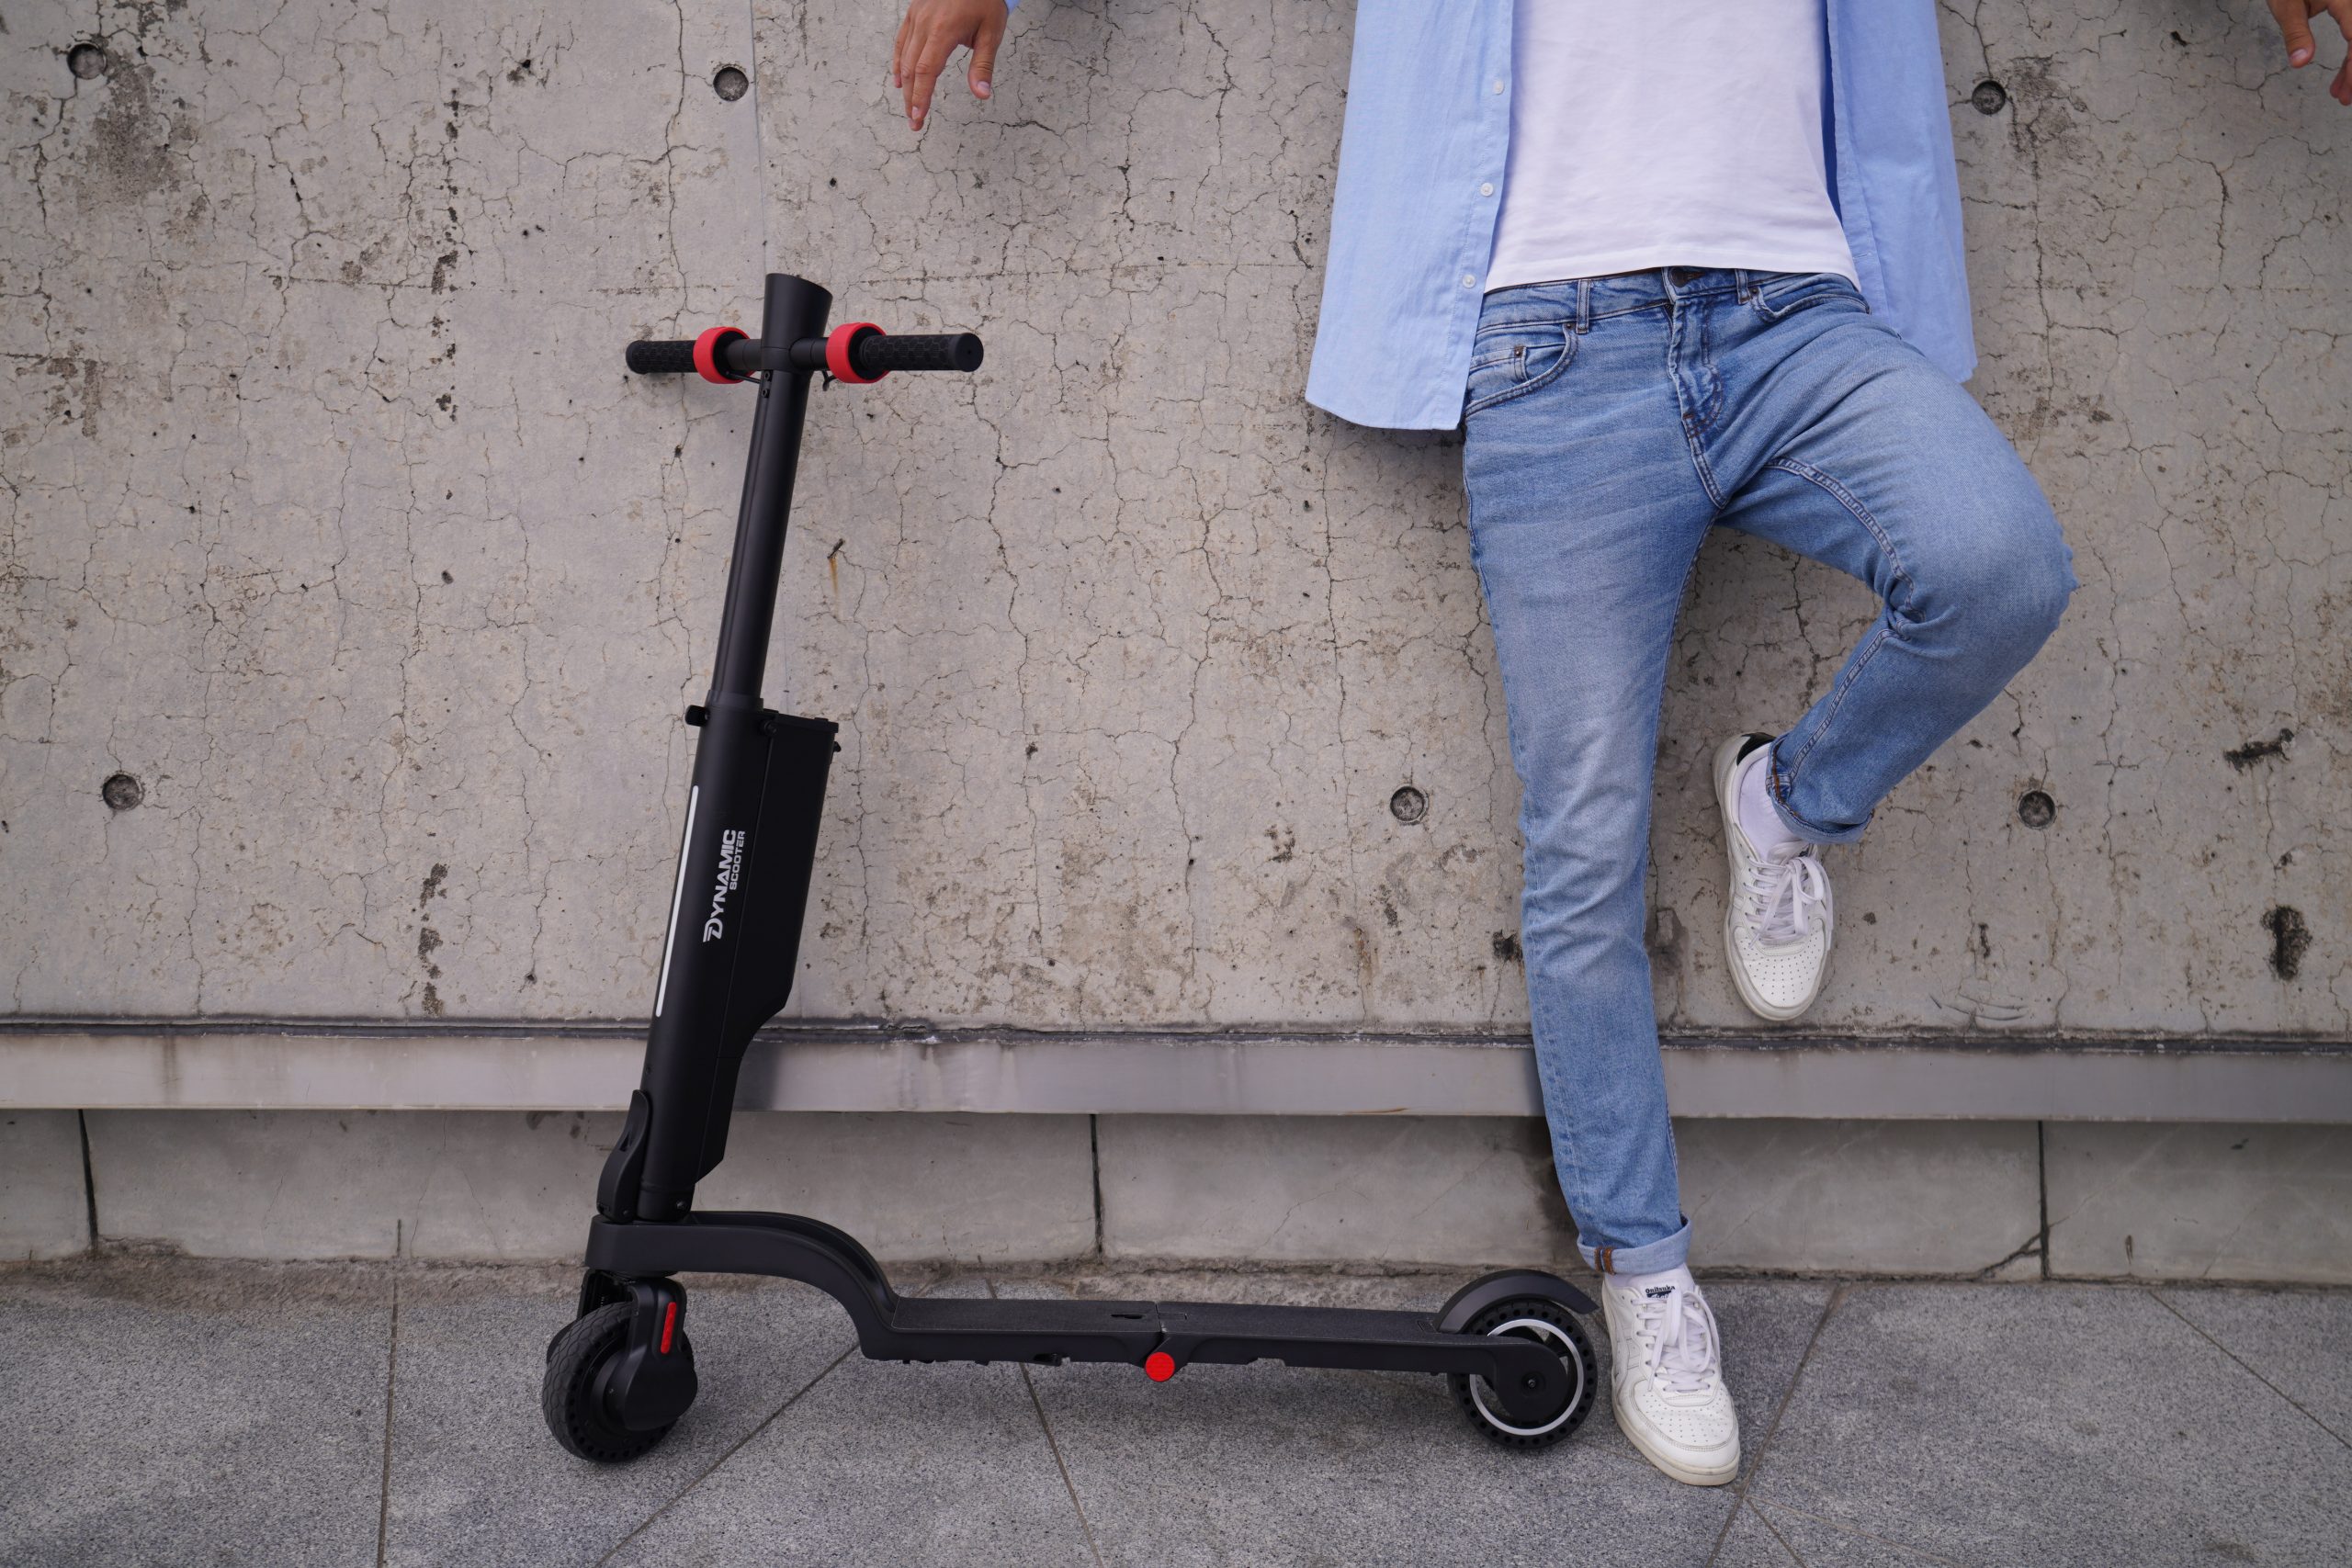
Riding with a loose electric scooter handlebar is highly unsafe because it drastically reduces your steering responsiveness and increases the risk of a catastrophic crash. When your steering column has physical play, your tires cannot react accurately to sudden movements. Even a minor millimeter of slack can amplify dramatically when you travel at speeds over fifteen miles per hour. Therefore, securing this connection immediately is your absolute first priority before resuming any ride.
What are the immediate risks of wobbly steering?
Think about it: when your controls are unstable, your physical reaction times are severely delayed. If you have to swerve suddenly to avoid an obstacle, a wobbly handlebar can cause you to overcorrect and lose balance. This risk is even higher when navigating wet roads or steep declines. A loose setup also places immense stress on the folding latch, which can snap under sudden pressure.
- Severe loss of high-speed steering precision.
- Increased wear and tear on adjacent folding joints.
- Higher risk of throwing the rider over the front wheel.
How to perform an emergency road test?
Look: before you head out on your next commute, you should perform a quick physical safety check. Stand over your deck, squeeze the front brake, and gently rock the handlebars forward and back. If you feel any play or hear clicking sounds, your stem requires immediate attention. This simple habit keeps you ahead of potential road failures before they happen.
- Hold the front wheel firmly between your knees.
- Gently twist the handlebars left and right to feel for internal slack.
- Listen closely for metal-on-metal clicking or grinding noises.
Key Takeaway: Never ignore any level of steering instability. A minor wobble is a clear warning sign of loose hardware that can quickly lead to complete structural failure on the road.
| Risk Level | Steering Play (mm) | Recommended Action | Safe to Ride? |
|---|---|---|---|
| Low | < 1mm | Tighten collar clamp | Yes (with caution) |
| Medium | 1mm – 5mm | Adjust folding latch & stem bolts | No |
| High | > 5mm | Inspect headset bearings / Professional repair | Absolutely No |
The table above categorizes different severities of steering play to help you quickly assess the safety of your ride before commuting.
Why is your loose electric scooter handlebar so wobbly?

Your handlebar is wobbly because the constant vibrations from daily riding gradually back out the structural screws and loosen the quick-release latch tension. This mechanical degradation accelerates rapidly when you travel over bumpy city streets, brick paths, or gravel roads. These endless micro-impacts slowly break the friction seal of your fasteners. To keep your ride stable, you must address this persistent issue on your loose electric scooter handlebar by restoring proper clamp tension.
How riding vibrations loosen hardware
Here is the deal: every bump you hit sends a shockwave directly up the steering column. Over time, these microscopic vibrations break the friction bond between your bolts and the metal stem threads. Without preventative maintenance, these fasteners will slowly unwind until the assembly shifts. This natural process can turn a perfectly solid ride into a wobbly safety hazard within a few weeks.
- Rough pavement transfers energy directly to the stem joints.
- Micro-movements widen the tolerances inside the folding mechanism.
- Standard steel screws naturally back out of aluminum threads over time.
What parts wear down over time?
But wait, there’s more: it is not just about loose screws; mechanical parts also experience physical wear and tear. Plastic spacer bushings can crack, and metallic folding pins can slowly bend under heavy physical pressure. You must regularly inspect these wear-prone areas to ensure your system remains rigid. Replacing worn bushings is often the cheapest way to restore that tight, brand-new feeling.
- Internal nylon bushings and rubber vibration dampeners.
- Hardened steel locking pins inside folding hinges.
- Thread channels that can strip under heavy riding loads.
Key Takeaway: Road vibration is the primary enemy of a secure stem, meaning routine inspections of high-wear parts are essential to stop play before it starts.
| Wear Component | Lifespan (Months) | Primary Symptom of Failure | Replacement Cost |
|---|---|---|---|
| Rubber Dampeners | 6 – 12 | Soft forward/back handlebar drift | Very Low |
| Stem Locking Pin | 12 – 24 | Sudden popping noises when braking | Low |
| Threaded Bolts | 12 – 18 | Continuous backing out after tightening | Very Low |
Review this component wear guide to understand which parts might need physical replacement rather than simple tightening.
How to fix a loose electric scooter handlebar fast?

To fix the wobble quickly, you must locate the primary locking collar or stem bolts, realign the handlebars with the front tire, and tighten each fastener in an alternating pattern. Taking care of a loose electric scooter handlebar takes less than ten minutes with the right approach. By applying even pressure across all bolts, you prevent the clamping collar from warping. This simple DIY method restores steering control and makes your daily trips instantly safer.
Step-by-step tightening process
By the way: you do not need to be a professional mechanic to perform this repair. Start by cleaning any dirt out of the bolt heads so your tools seat fully inside them. Tighten each screw a quarter-turn at a time to ensure even clamping pressure across the stem. This gradual method protects the soft aluminum threads from stripping under heavy torque.
- Clean the hex heads with a dry brush.
- Insert your Allen key completely to prevent stripping the metal.
- Tighten each opposing screw incrementally to balance the clamping force.
How to check correct wheel alignment?
Here is why: a secure handlebar is useless if it is pointed five degrees to the left. You should always double-check your alignment by looking straight down the front of the steering column. Adjust the collar clamp position until the grips are perfectly perpendicular to your tire. Taking your time here ensures a comfortable and straight riding posture on every commute.
- Align the crossbar with the front wheel axle.
- Verify that the folding latch faces directly forward.
- Torque down the final alignment clamp bolts securely.
Key Takeaway: Always use balanced, incremental tightening when securing your stem to avoid stripping the hardware or misaligning your front wheel.
| Step | Action | Tools Required | Time Needed |
|---|---|---|---|
| 1 | Clean and inspect hex heads | Wire brush / rag | 1 Min |
| 2 | Align handlebars with wheel | Visual alignment | 1 Min |
| 3 | Torque bolts in star pattern | Metric Allen keys | 3 Mins |
Follow these basic steps to quickly restore steering integrity and alignment before your next ride.
Which tools fix a loose electric scooter handlebar?

Fixing a loose stem typically requires a high-quality set of metric Allen keys, a crescent wrench, and a bottle of medium-strength blue threadlocking fluid. Using proper tools is essential when dealing with a loose electric scooter handlebar to avoid stripping soft fastener heads. Cheap, loose-fitting wrenches will quickly round out the socket, turning a simple adjustment into a nightmare. Investing in a sturdy toolkit saves you time and protects your valuable commuter vehicle.
The essential Allen key set
Think about it: most manufacturers use metric hex-head screws to assemble their steering columns. Using the wrong tool size, like an imperial wrench on a metric screw, will quickly round out the head. You must invest in a hardened steel set to protect your hardware. A standard folding multi-tool is handy to carry in your backpack for quick on-the-road adjustments.
- Metric hex keys (sizes 3mm, 4mm, 5mm, and 6mm are standard).
- High-torque T-handle wrenches for optimal leverage.
- Hardened chrome vanadium steel tool steel construction.
Should you use threadlocker fluids?
Best of all: a liquid threadlocker is the ultimate secret weapon against road vibrations. Applying a single drop of blue threadlocker to your clean bolt threads will prevent them from backing out on rough pavement. It keeps everything locked in place while still allowing you to disassemble the parts later. This inexpensive step provides incredible peace of mind during bumpy high-speed commutes.
- Blue threadlocker (medium strength, removable with hand tools).
- Avoid red threadlocker (permanent, requires heat to remove).
- Clean old thread residues with rubbing alcohol before application.
Key Takeaway: Using precise, hardened metric tools and medium-strength threadlocker is the only way to perform a lasting, damage-free repair.
| Tool | Recommended Type | Primary Function | Necessity |
|---|---|---|---|
| Hex Wrenches | Metric (3mm – 6mm) | Tightening structural fasteners | Mandatory |
| Threadlocker | Medium Strength (Blue) | Vibrational screw backup prevention | Highly Recommended |
| Torque Wrench | 2Nm – 15Nm Range | Preventing overtightened, stripped threads | Optional |
Stocking these items in your home workshop ensures you are always prepared to handle any sudden steering play.
Does folding cause a loose electric scooter handlebar?

Yes, the folding mechanism is the most common failure point for steering play because its moving joints are subject to constant mechanical leverage during every acceleration and braking cycle. Every time you fold and unfold your device, the locking pins experience micro-abrasions. This frequent friction slowly expands the tolerances, creating a loose electric scooter handlebar. Fortunately, simple adjustments to the folding clamp can eliminate this play completely.
Why folding joints develop play
Think about it: when you pull back on the handlebars to accelerate, or push forward to brake, you act like a giant lever on that tiny folding joint. Over hundreds of miles, this back-and-forth force slowly compresses the internal metal surfaces. This creates microscopic gaps that you feel as steering slack. Unchecked play will wear down the locking teeth, making the latch unsafe.
- Acceleration and braking forces stress the central hinge pin.
- Folding locks naturally lose their factory clamping tension over time.
- Metal-on-metal wear creates physical gaps inside the folding block.
How to adjust the folding latch tension?
What is the solution? Most folding designs feature an adjustable tension bolt hidden within the latch itself. You can easily restore that solid, click-into-place feel by tightening this locknut by a fraction of a turn. Be careful not to make it so tight that you cannot close the latch. Finding the sweet spot keeps the stem rock-solid without straining your hands.
- Locate the small internal adjustment screw near the locking arm hook.
- Turn the screw clockwise in very small increments.
- Test the physical force required to close and lock the mechanism.
Key Takeaway: The folding joint is a wear item that requires regular adjustment to compensate for the natural leverage of accelerating and braking.
| Joint Type | Common Issue | Adjustment Method | Maintenance Interval |
|---|---|---|---|
| Quick-Release Latch | Low clamping pressure | Turn internal tension bolt clockwise | Monthly |
| Collar-Style Ring | Ring sliding down stem | Tighten secondary collar clamp bolts | Bi-Weekly |
| Pin Lock System | Lock pin clicking | Replace worn pin or apply spacer pad | As Needed |
Checking the folding tension regularly keeps your mechanism secure and prevents premature wear on the locking teeth.
Can collar clamps cure a loose electric scooter handlebar?
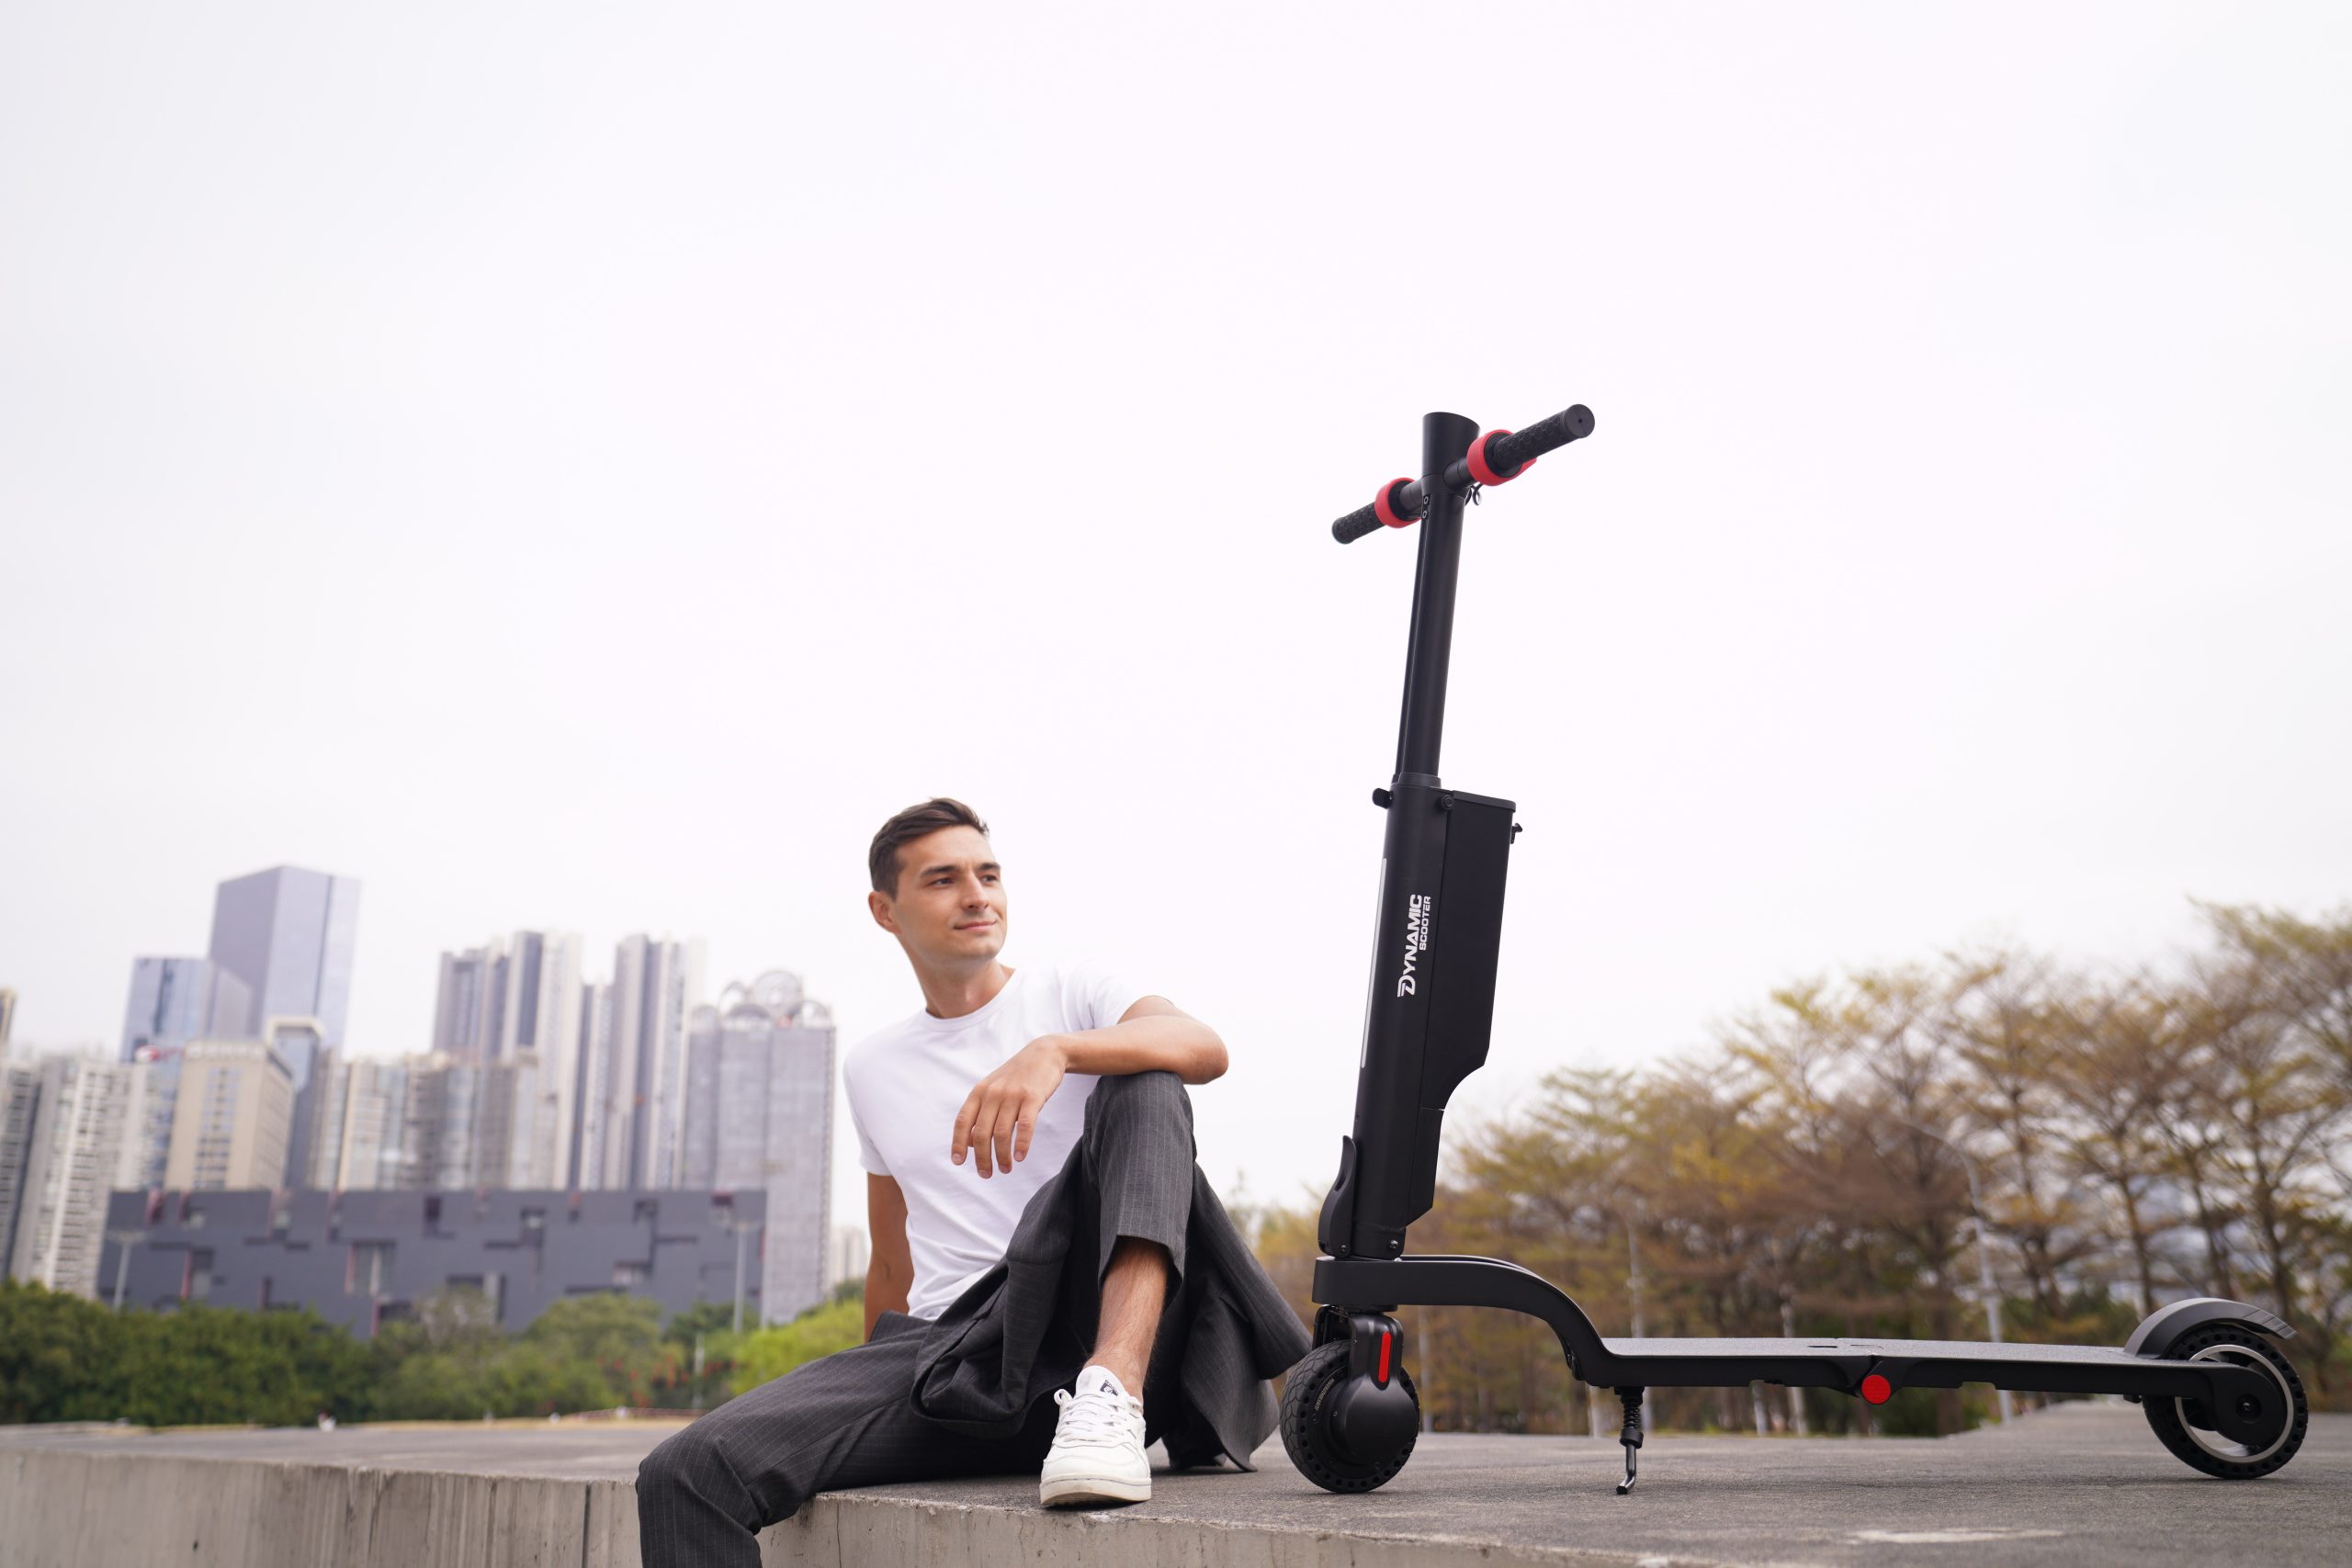
Yes, a properly torqued collar clamp is highly effective at curing steering play because it wraps around the main stem joint, compressing the overlapping metal tubes into a single, rigid unit. These external sleeves reinforce the weakest points of your steering assembly. If you regularly struggle with a loose electric scooter handlebar, upgrading to a dual-bolt or triple-bolt clamp can offer permanent stability. This structural reinforcement minimizes the lateral leverage that degrades your folding assembly.
Understanding collar clamp mechanics
Look: a collar clamp works by reducing the inner diameter of the outer tube until it grips the inner fork tube. If the clamp bolts are loose, the inner tube can slide and twist independently. You will immediately feel this as a loose, unstable handlebar that wanders off-center. Keeping this clamp tight is critical for precise tracking on the asphalt.
- Dual or triple bolt configurations provide the best grip.
- Even pressure distribution prevents warping the steering tube.
- High-tensile steel bolts prevent clamp slippage under load.
How to torque collar clamp bolts?
Here is the step-by-step: you must avoid the temptation to simply crank down on one bolt as hard as you can. Doing so will warp the aluminum collar and leave the other bolts loose. Instead, tighten them in a back-and-forth pattern until they are all evenly snug. This method ensures the clamping force is perfectly balanced around the tube.
- Start with the top bolt, turning it until you feel resistance.
- Move to the bottom bolt and tighten it to the same level.
- Repeat this sequence until all bolts are tightened to spec.
Key Takeaway: Proper, alternating bolt tightening on your collar clamp is critical to achieving maximum clamping force without damaging your steering tube.
| Clamp Bolt Count | Best Torquing Order | Common Torque Spec (Nm) | Advantage |
|---|---|---|---|
| Double Bolt | Top, Bottom, Top, Bottom | 8 – 10 Nm | Lightweight, simple |
| Triple Bolt | Middle, Top, Bottom, Middle | 9 – 12 Nm | Balanced pressure distribution |
| Quad Bolt | Middle-inner, Outer, Alternate | 10 – 14 Nm | Maximum holding power |
Refer to this torque layout guide to secure your clamp assembly safely without stripping the thread channels.
Should you replace a loose electric scooter handlebar?

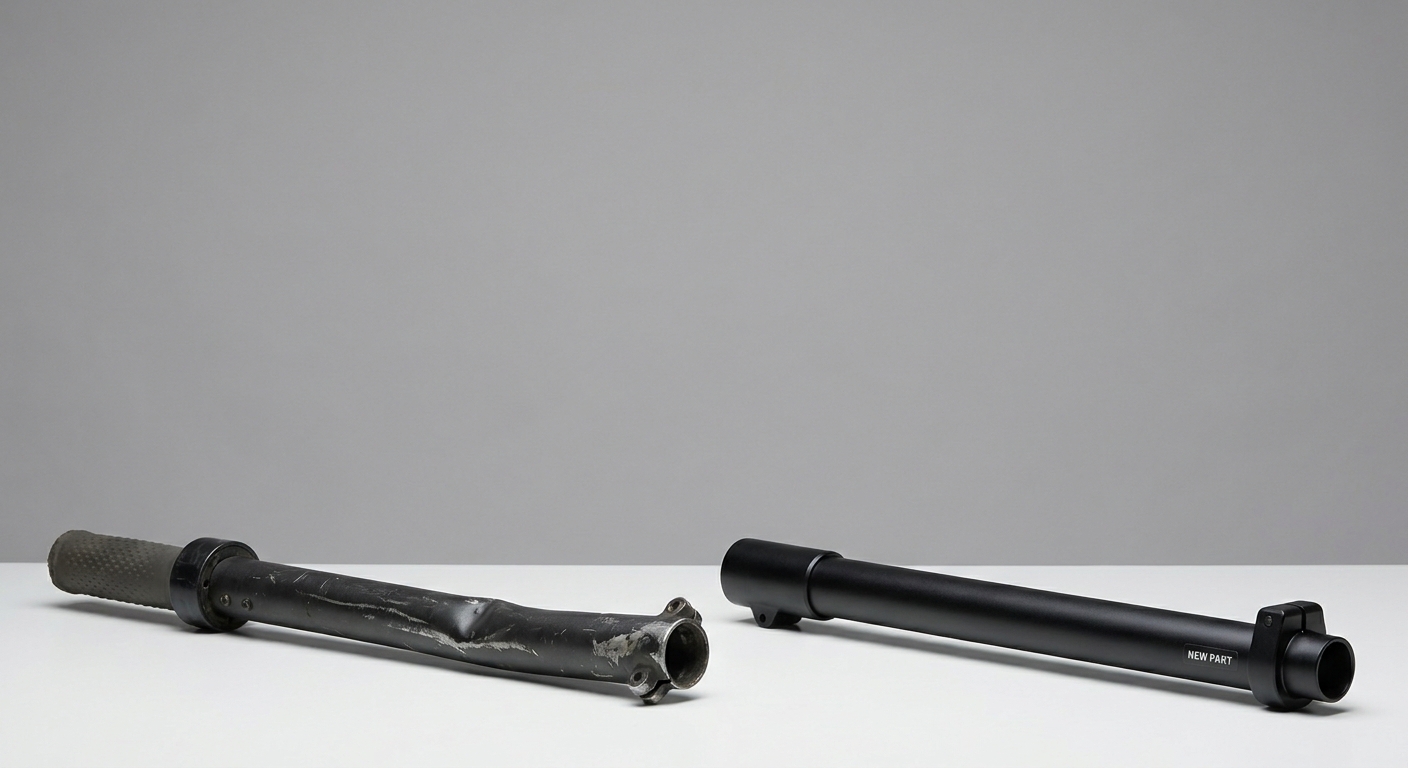
You should only replace the handlebar assembly if the metal components show visible cracks, stripped internal threads, or severe deformation that cannot be corrected by tightening. While most wobble issues can be easily fixed at home, true structural failure is irreversible. Riding with a cracked or severely fatigued loose electric scooter handlebar is extremely hazardous. Knowing when to install fresh components protects both your safety and your financial investment.
When metal fatigue sets in
Here is the truth: over years of riding, aluminum stems can experience metal fatigue from repetitive stress. If you notice thin, hairline cracks forming near the welds or bolt holes, the metal has been compromised. You must replace the part immediately, as compromised aluminum can snap without warning. Regular visual inspections under bright light are the best way to catch these subtle threats.
- Micro-cracks around weld joints or high-stress bolt areas.
- Ovalized bolt holes that can no longer hold a screw tight.
- Deep gouges from previous crashes that weaken the metal wall.
How to choose matching replacement parts?
But wait: if you must buy replacement parts, make sure they are fully compatible with your specific steering column diameter. Using off-brand components can cause fitment issues that leave you with even more steering wobble than before. You should stick to OEM parts whenever possible. Matching the exact thread pitches and locking pins ensures your new setup is completely secure.
- Measure the precise outer diameter of your steering tube using calipers.
- Verify matching locking mechanisms and bolt layouts.
- Prioritize original equipment manufacturer parts for perfect fitment.
Key Takeaway: Hairline cracks or warped bolt holes mean the metal is fatigued, making a full component replacement mandatory for your riding safety.
| Damage Type | Safe to Repair? | Recommended Action | Risk Level |
|---|---|---|---|
| Stripped Threads | Yes (with helicoil) | Install thread insert or replace collar | Medium |
| Bent Stem Tube | No | Replace steering tube immediately | Extremely High |
| Hairline Weld Crack | No | Replace complete handlebar stem | Catastrophic |
Use this diagnostic table to determine if your wobbly handlebar needs a simple adjustment or a full replacement part.
Are headset bearings causing your loose electric scooter handlebar?

Yes, worn, dry, or loose headset bearings are a major cause of stem play, allowing the entire steering column to rock back and forth inside the frame’s headtube. This issue mimics folding hinge play but originates from the base pivot joint. Leaving this unresolved creates a highly dangerous loose electric scooter handlebar and can permanently ruin your deck frame. Properly tightening the preload ring stabilizes this critical rotation point instantly.
Signs of a loose stem headset
Think about it: when your headset bearings are loose, the wobble does not come from the handlebars or the folding joint. Instead, you will feel the entire steering tube shifting forward and backward right where it enters the frame. You will also notice a rough, grinding sensation when you turn. This distinct rocking motion under heavy front braking is a classic symptom of bearing slack.
- Shifting movement at the base of the stem during braking.
- Grinding, clicking, or friction felt when turning left or right.
- Uneven resistance when trying to rotate the handlebars smoothly.
How to adjust headset preload tension?
Here is how you do it: to fix headset play, you must adjust the preload bolt located inside the top of the steering column. This bolt pulls the fork up, compressing the bearings into their cups. You want to tighten it just enough to remove the play without binding the steering. Always adjust in micro-steps, turning your hex key only a few degrees at a time.
- Loosen the side clamping bolts on the stem first.
- Tighten the top cap preload screw in small increments.
- Verify that the handlebars still spin freely from side to side.
Key Takeaway: Adjusting your headset requires balancing bearing preload; it must be tight enough to eliminate stem play, but loose enough to steer smoothly.
| Symptom | Probable Cause | Adjusting Step | Difficulty |
|---|---|---|---|
| Stem rocks at frame joint | Loose headset preload | Tighten top cap tension screw | Medium |
| Rough, notch-like steering | Damaged, dry bearings | Clean, grease, or replace bearings | High |
| Loose stem after adjusting | Stripped compression nut | Replace star nut or compression bolt | High |
This guide helps you identify and correct headset bearing issues, preventing costly damage to your frame’s headtube.
How to prevent a loose electric scooter handlebar?

You can prevent steering looseness by performing quick weekly bolt checks, using medium-strength threadlocking liquid, and avoiding rough, uneven riding surfaces. Being proactive with your machine saves you from sudden roadside emergencies. Stopping a loose electric scooter handlebar before it begins keeps your daily commutes smooth and predictable. Developing a simple checkup routine is the single best investment you can make in your scooter.
Your weekly maintenance checklist
Here is the deal: spending just two minutes on maintenance every Sunday can save you hours of repairs later. You should make it a habit to check the tightness of your main stem bolts and folding latch before your first ride of the week. This keeps minor issues from turning into major safety hazards. A quick physical wiggle is all it takes to confirm your hardware is ready for work.
- Check collar clamp bolts for even tension.
- Inspect the folding hinge pin for wear or play.
- Wipe down the stem to spot any new hairline cracks.
How to ride defensively on rough roads?
Think about it: your riding style has a massive impact on the lifespan of your steering components. If you ride stiff-legged over bumps, all that impact energy travels straight into your stem. You should bend your knees slightly to absorb shocks and avoid pulling hard on the handlebars. Treating your legs as active suspension components preserves the entire chassis.
- Keep your knees slightly bent to act as natural shock absorbers.
- Avoid pulling back forcefully on the handlebars during acceleration.
- Slow down before crossing train tracks, curbs, or deep potholes.
Key Takeaway: Consistent preventative maintenance and a relaxed riding style are the most effective ways to keep your steering system solid and extend your scooter’s lifespan.
| Frequency | Checkpoint | Focus Area | Goal |
|---|---|---|---|
| Every Ride | Quick physical shake | Handlebar stem and grips | Verify basic safety |
| Weekly | Bolt torque check | Collar clamp and latch pin | Stop bolts backing out |
| Monthly | Headset and lube | Bearings and folding hinge | Maintain smooth rotation |
Implement this schedule to protect your steering components and ensure a smooth, worry-free ride every day.
You should take your scooter to a professional technician if the steering play persists after tightening, if you discover stripped thread channels, or if there is structural damage to the folding hinge. Some complex steering issues require industrial presses or specialized thread-tapping tools. Trying to force a repair on a compromised, loose electric scooter handlebar can lead to sudden component failure while riding. Relying on professional expertise ensures your vehicle remains safe and fully compliant with warranty standards.
Why does it still wobble after tightening?
Here is why: if you have tightened every bolt to spec and your stem still wobbles, the issue is likely a worn internal component. Hidden issues, like a cracked bearing cup or an ovalized internal sleeve, require specialized tools to diagnose and replace. You should let an expert handle these complex internal repairs. Attempting to dismantle these core structural pivots without experience can render your frame completely unusable.
- Play remains after torquing all external fasteners.
- Internal structural elements show signs of warping.
- Special proprietary tools are required to access worn parts.
Look: when seeking professional help, you should always look for shops that specialize in personal electric vehicles. These technicians have the proper experience, diagnostic tools, and access to genuine manufacturer replacement parts. This ensures your repair is completed safely and your warranty is preserved. A certified shop can also identify secondary issues like tire wear or brake alignment problems.
- Prioritize manufacturer-authorized repair centers.
- Look for shops with dedicated electric vehicle specialists.
- Ensure the repair facility uses genuine OEM replacement hardware.
Key Takeaway: If simple tightening doesn’t fix the play, or if you find stripped threads, stop riding and consult an authorized repair specialist immediately.
| Issue | DIY Friendly? | Professional Tooling Required | Recommended Path |
|---|---|---|---|
| Loose Collar Bolt | Yes | Standard Hex Wrench | Tighten at home |
| Stripped Stem Thread | No | Thread Tap / Helicoil Kit | Professional Repair |
| Cracked Frame Hinge | No | Specialized Welder / Press | Full replacement |
Use this guide to determine when you can safely perform a home repair and when it is time to call in the experts.
Conclusion
By staying ahead of loose bolts, caring for your folding mechanism, and checking your headset bearings, you ensure your urban journeys remain safe, efficient, and incredibly fun. At Dynamic Scooter, we prioritize rider-centric engineering, designing sturdy commuter vehicles equipped with robust double-locking systems to minimize wear. Our durable, commuter-first frames are purpose-built to withstand the heavy vibrations of city life without breaking a sweat.
If you have followed these steps and still feel uncertain about your steering stability, do not take any unnecessary risks on the road. Our dedicated support team is always standing by to provide replacement parts, manual schematics, or expert diagnostic guidance. Feel free to contact us today to chat with a friendly technician who can help secure your ride. Keep your hardware locked, your wheels straight, and enjoy the ultimate freedom of a perfectly tuned ride!
FAQ Section
Can I use superglue instead of blue threadlocker on my stem bolts?
No, you should never use superglue on your stem fasteners. Superglue is highly brittle and will quickly shatter under the intense vibrations of daily riding. It also lacks the specific chemical makeup needed to fill the gaps between metal threads, making future disassembly nearly impossible without stripping the hardware.
What’s the best way to clean my steering stem before adjusting it?
The best method is using a dry microfiber cloth and a soft-bristled brush with isopropyl alcohol. This combination allows you to remove road grit, grease, and old threadlocker residue from the screw heads without introducing moisture to your delicate bearings. Keeping these areas clean ensures your tools seat fully inside the bolt heads, preventing stripping during tightening.
How do I know if my folding latch is adjusted to the correct tension?
You will know it is correct when the latch requires firm, deliberate hand pressure to close and locks with a solid, audible click. If the latch closes too easily without resistance, the tension is too low, causing the stem to wobble. Conversely, if you must force the latch closed with your full body weight, it is too tight, which can warp structural pins.
Can I replace my wobbly folding stem with a solid, non-folding one?
Yes, on some models, you can convert to a rigid stem system. This conversion eliminates the folding joint entirely, removing the most common source of steering play. While this upgrade significantly improves stem rigidity, you will lose the ability to fold your scooter for compact storage.
How do I know if the play is in my handlebars or my headset?
You can tell by holding the front wheel still and checking where the physical movement originates. If the movement is concentrated where the handlebars slide into the stem, the play is in the handlebar clamps. If the entire steering column moves forward and backward inside the frame tube during front braking, the play is coming from your headset bearings.