Dirty electric scooters break down faster and look terrible. Many owners skip regular cleaning and face expensive repairs later. Proper cleaning extends your scooter’s life and keeps it running smoothly.
Electric scooter cleaning requires specific supplies, careful preparation, and safe techniques to avoid electrical damage. Use mild soap, soft brushes, and minimal water around electrical components. Always power off completely and protect charging ports before cleaning. Clean the frame first, then wheels, avoiding pressure washers and harsh chemicals. Dry thoroughly before reassembly and test all functions afterward. Regular cleaning every 2-4 weeks prevents dirt buildup, extends component life, and maintains optimal performance. Proper maintenance during cleaning catches problems early and saves money on repairs.
This guide covers safe cleaning methods, required supplies, and maintenance tips to keep your scooter in perfect condition.
1. What Cleaning Supplies Do You Need for Electric Scooters?
Having the right cleaning supplies makes scooter maintenance safe and effective. Wrong products can damage electrical components or void your warranty. Here’s the deal… investing in proper cleaning supplies costs less than replacing damaged parts from improper cleaning methods.
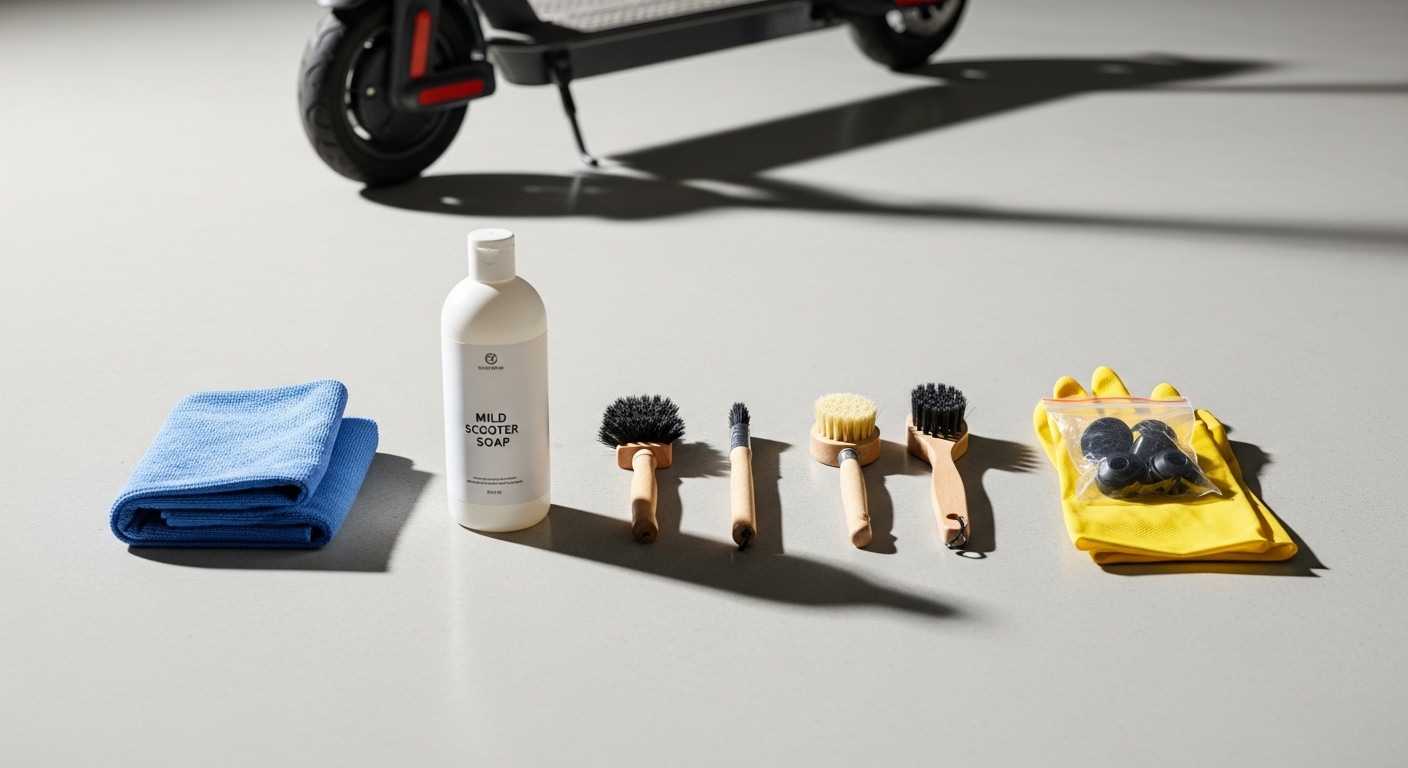
Essential cleaning tools include soft-bristled brushes, microfiber cloths, and spray bottles for controlled water application. Avoid stiff brushes that scratch surfaces or damage seals. Use different brush sizes for various components. Microfiber cloths clean without scratching and absorb water effectively.
Safe cleaning products for electrical components include mild dish soap, specialized electronics cleaners, and distilled water. Harsh chemicals damage plastic, rubber, and metal finishes. Electronics cleaners evaporate quickly and leave no residue. Distilled water prevents mineral deposits that tap water creates.
Protective gear includes rubber gloves, safety glasses, and old clothes for messy cleaning tasks. Gloves protect hands from cleaning chemicals and dirty components. Safety glasses prevent splashing chemicals from reaching eyes. Old clothes allow freedom of movement without worry about stains.
Specialized brushes and accessories include wheel brushes, detail brushes, and compressed air for hard-to-reach areas. Wheel brushes clean tire treads and brake components effectively. Detail brushes reach small spaces around controls and connections. Compressed air removes debris without water contact.
| Supply Category | Recommended Items | Purpose | Safety Notes |
| Cleaning Tools | Soft brushes, microfiber cloths | Surface cleaning | Avoid stiff bristles |
| Cleaning Products | Mild soap, electronics cleaner | Safe component cleaning | No harsh chemicals |
| Protective Gear | Gloves, safety glasses | Personal protection | Always wear during cleaning |
| Specialized Tools | Detail brushes, compressed air | Hard-to-reach areas | Use appropriate pressure |
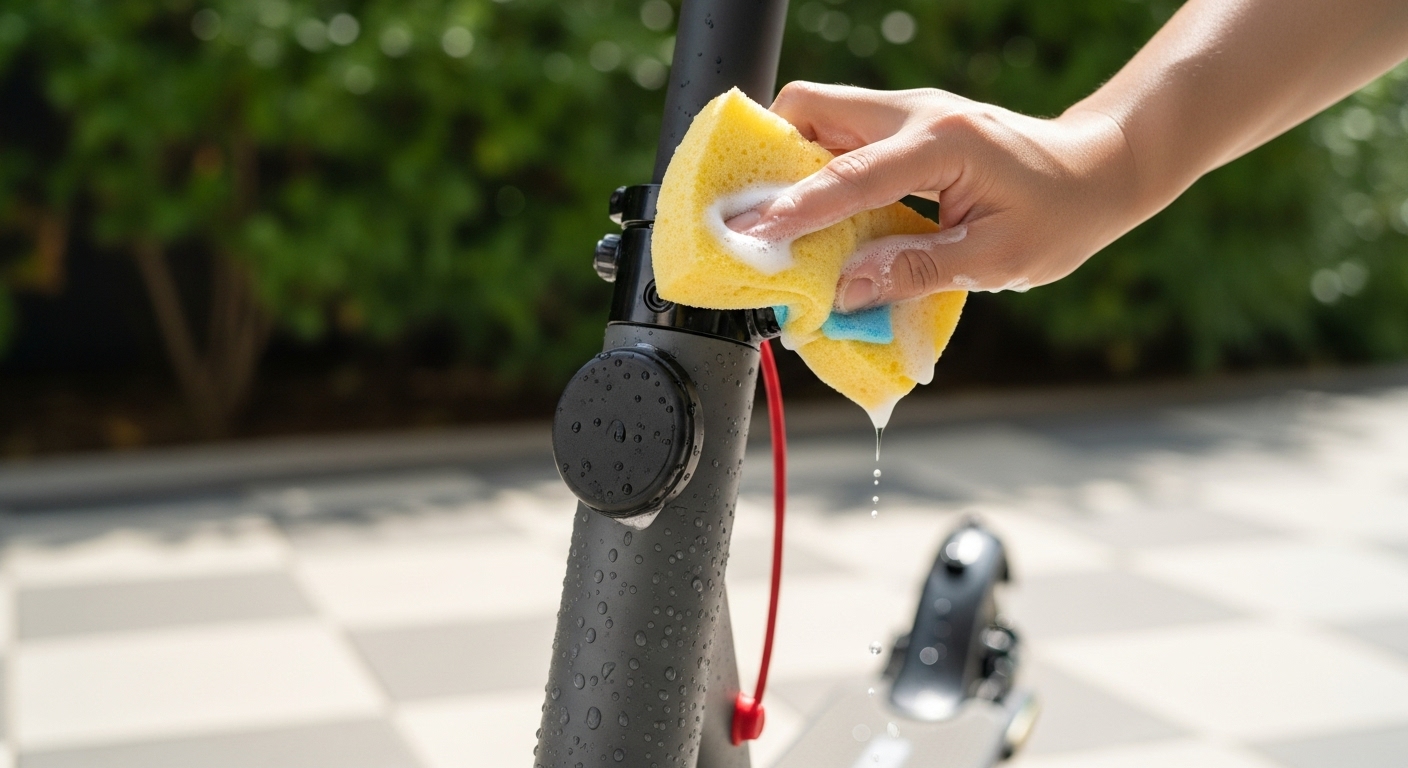
2. How Do You Prepare Your Scooter for Safe Cleaning?
Proper preparation prevents electrical damage and ensures thorough cleaning access. Skipping preparation steps can cause expensive damage to sensitive components. This is important because… electrical damage from improper cleaning often voids warranties and requires costly repairs.
Power-off procedures start with turning off the scooter completely and removing the key if equipped. Check that all lights and displays are off before proceeding. Allow hot components to cool for at least 30 minutes after riding. Hot surfaces can crack when exposed to cold water.
Removing detachable parts provides better cleaning access and protects sensitive components. Take off removable fenders, lights, and accessories according to your manual. Store small parts in containers to prevent loss. Label or photograph complex assemblies before disassembly.
Protecting electrical components requires covering charging ports, displays, and control panels with plastic bags or tape. Water in electrical connections causes corrosion and failures. Use waterproof tape that removes cleanly without residue. Double-check all electrical areas are protected before starting.
Setting up proper workspace includes choosing a shaded area with good drainage and ventilation. Direct sunlight causes cleaning products to dry too quickly and leave streaks. Good drainage prevents water from pooling around electrical components. Adequate ventilation helps components dry faster after cleaning.
| Preparation Step | Time Required | Critical Points | Common Mistakes |
| Power Off | 2 minutes | Complete shutdown, cooling time | Rushing while components are hot |
| Remove Parts | 5-10 minutes | Follow manual, organize parts | Losing small components |
| Protect Electronics | 3-5 minutes | Waterproof covering | Incomplete protection |
| Setup Workspace | 5 minutes | Shade, drainage, ventilation | Cleaning in direct sun |
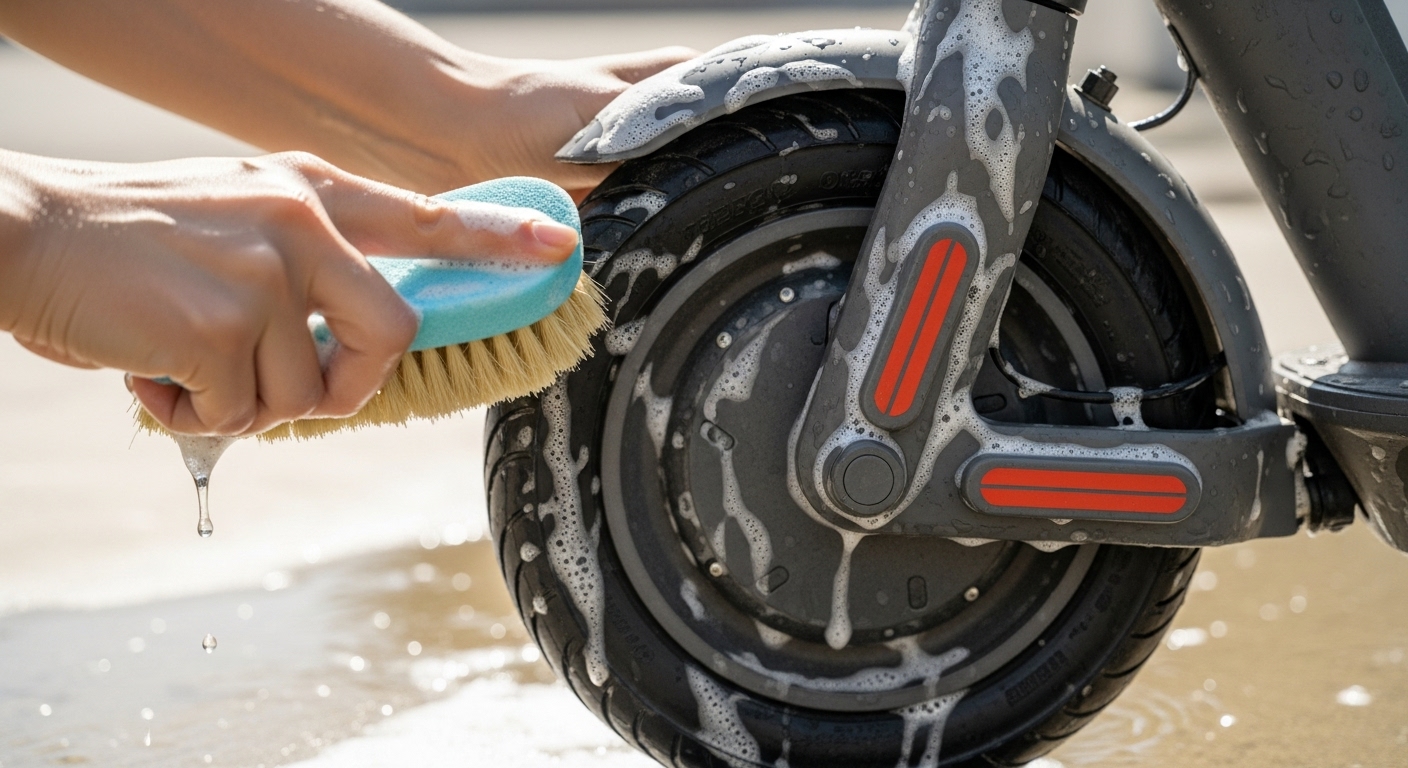
3. What Is the Best Way to Clean the Scooter Frame and Body?
Frame cleaning requires systematic approach to remove dirt without damaging finishes or electrical components. Different materials need specific cleaning methods for best results. Now, you might be wondering… how do you clean effectively while protecting sensitive areas? The answer involves proper technique and patience.
Step-by-step frame cleaning starts with rinsing loose dirt with low-pressure water. Work from top to bottom to prevent recontaminating clean areas. Use spray bottles for controlled water application near electrical components. Avoid directing water streams at seals, joints, or electrical connections.
Removing dirt and road grime requires gentle scrubbing with soapy water and soft brushes. Mix mild dish soap with warm water in a bucket. Dip brushes in soapy water and scrub in circular motions. Rinse brushes frequently to prevent spreading dirt around surfaces.
Cleaning different frame materials safely depends on identifying aluminum, steel, or plastic components. Aluminum frames resist corrosion but scratch easily with abrasive cleaners. Steel frames need thorough drying to prevent rust. Plastic components can crack from harsh chemicals or extreme temperatures.
Dealing with stubborn stains requires patience and appropriate products for each stain type. Oil stains respond to degreasing dish soap and warm water. Rust stains need specialized rust removers safe for your frame material. Road salt requires thorough rinsing with distilled water to prevent corrosion.
| Frame Material | Cleaning Method | Special Considerations | Products to Avoid |
| Aluminum | Mild soap, soft brush | Scratches easily | Abrasive cleaners |
| Steel | Soap, immediate drying | Rust prevention | Extended water exposure |
| Plastic | Gentle cleaners | Temperature sensitivity | Harsh chemicals |
| Painted Surfaces | pH-neutral cleaners | Finish protection | Acidic or basic cleaners |

4. How Should You Clean Electric Scooter Wheels and Tires?
Wheel and tire cleaning improves performance and extends component life. Dirty wheels affect braking and handling while hiding potential problems. Want to know the secret? clean wheels reveal wear patterns and damage that dirty wheels conceal, helping prevent accidents and costly repairs.
Tire cleaning techniques vary by tire type and tread pattern. Solid tires clean easily with soap and water but show wear more obviously when clean. Pneumatic tires need careful cleaning around valve stems and sidewalls. Use tire brushes to clean tread patterns thoroughly without damaging rubber compounds.
Removing debris from wheel wells prevents damage to moving parts and improves performance. Small stones and debris can jam brakes or damage bearings. Use compressed air or small brushes to remove packed dirt and debris. Check for sharp objects that could puncture tires or damage components.
Cleaning brake components safely requires understanding your brake type and avoiding contamination. Disc brakes need clean rotors and pads for proper function. Avoid getting soap or oil on brake surfaces as this reduces braking power dangerously. Use brake cleaner specifically designed for your brake type.
Maintaining wheel bearings during cleaning prevents premature wear and expensive replacements. Avoid forcing water into bearing seals during cleaning. Wipe bearing areas dry immediately after cleaning. Apply appropriate lubricant to exposed bearing surfaces according to manufacturer specifications.
| Wheel Component | Cleaning Method | Safety Concerns | Maintenance Notes |
| Tires | Soap, water, tire brush | Check for damage | Monitor wear patterns |
| Wheel Wells | Compressed air, brushes | Remove sharp debris | Prevent bearing damage |
| Brake Components | Brake cleaner only | No soap on brake surfaces | Critical safety component |
| Bearings | Dry cleaning, lubrication | Avoid water intrusion | Regular lubrication needed |
5. What Special Care Do Electrical Components Need?
Electrical components require careful cleaning to prevent damage and maintain functionality. Water damage to electronics is expensive and often not covered by warranties. Let me explain… electrical components need moisture protection during cleaning but also need cleaning to prevent corrosion and connection problems.
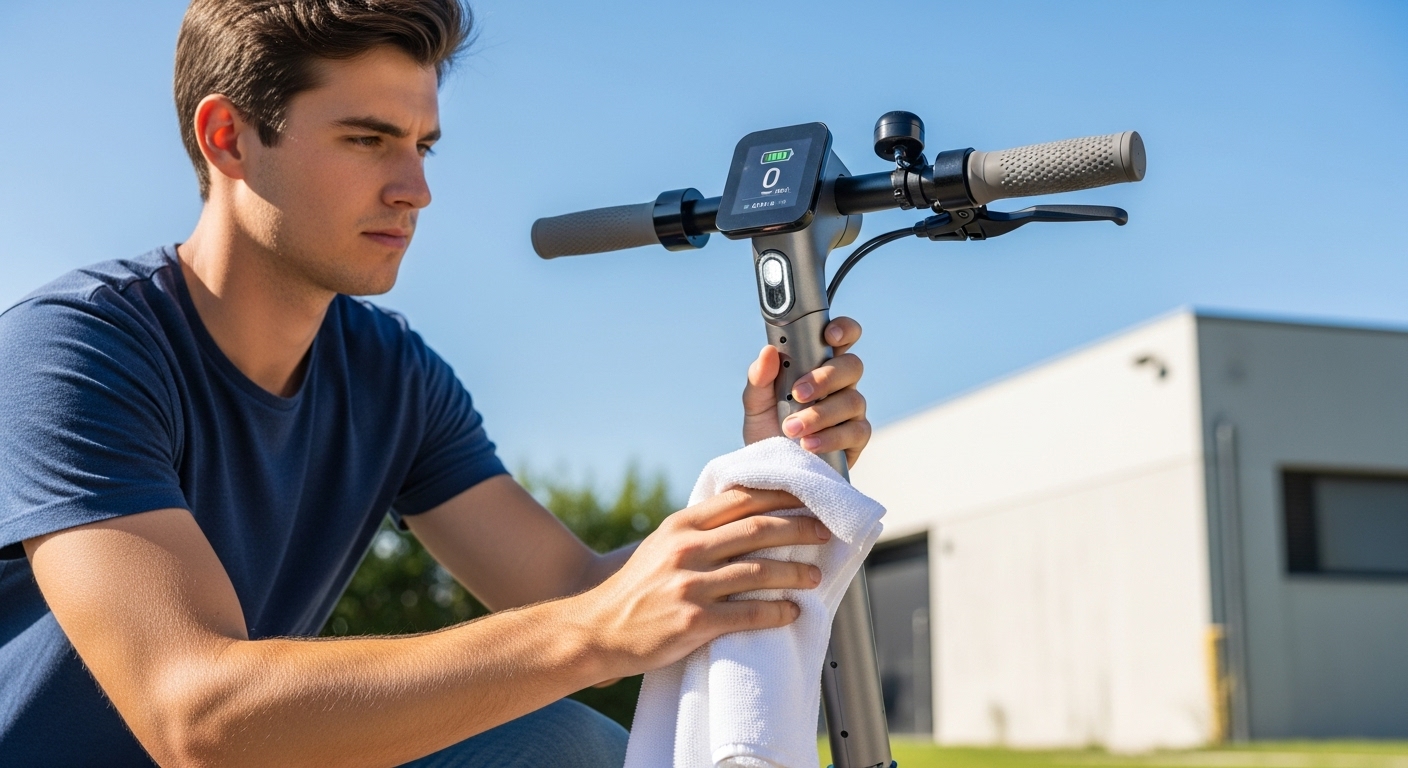
Safe cleaning methods for displays and controls involve using electronics cleaners and dry cloths only. Never spray liquids directly on displays or control panels. Apply cleaners to cloths first, then wipe surfaces gently. Use cotton swabs for detailed cleaning around buttons and crevices.
Protecting charging ports and connections prevents corrosion that causes charging problems. Keep protective covers in place during cleaning. If ports get wet, dry immediately with compressed air and allow complete drying before use. Corrosion in charging ports requires professional repair or replacement.
Cleaning battery compartments properly extends battery life and prevents dangerous conditions. Remove batteries if possible before cleaning compartments. Clean terminals with dry brushes to remove corrosion. Apply terminal protectant to prevent future corrosion. Never allow water into battery compartments.
Avoiding water damage requires constant vigilance during cleaning process. Check protective coverings frequently during cleaning. Stop immediately if water enters electrical areas. Allow complete drying before removing protective coverings. Test all electrical functions before normal use.
| Electrical Component | Cleaning Method | Protection Required | Damage Prevention |
| Displays | Electronics cleaner, dry cloth | Waterproof covering | No direct liquid application |
| Charging Ports | Dry cleaning only | Keep covers closed | Immediate drying if wet |
| Battery Areas | Dry brushes, terminal cleaner | Remove batteries if possible | No water contact |
| Control Panels | Damp cloth, electronics cleaner | Plastic covering | Gentle pressure only |
6. How Do You Dry and Reassemble Your Scooter After Cleaning?
Proper drying prevents corrosion and electrical problems while ensuring safe operation. Rushing the drying process can cause expensive damage. The best part? thorough drying actually improves your scooter’s performance by removing moisture that causes problems over time.
Proper drying techniques include air drying in shaded, ventilated areas for at least 2-4 hours. Direct sunlight can crack plastic components and fade colors. Good air circulation speeds drying without heat damage. Use compressed air to remove water from hard-to-reach areas and crevices.
Drying timeframes depend on weather conditions and component materials. Humid conditions require longer drying times. Metal components dry faster than plastic or rubber parts. Electrical components need complete drying before power restoration. Allow extra drying time rather than risk moisture damage.
Reassembling removed components requires following disassembly notes and photos. Install parts in reverse order of removal. Check that all connections are secure and properly aligned. Use appropriate torque specifications for bolts and screws. Missing or loose components create safety hazards.
Testing functionality after cleaning ensures all systems work properly before riding. Check all electrical functions including lights, displays, and controls. Test brakes for proper operation and feel. Verify that all mechanical components move freely. Take a short test ride in a safe area before normal use.
| Drying Stage | Time Required | Key Checkpoints | Safety Considerations |
| Initial Air Dry | 1-2 hours | Surface moisture removal | Shaded area, good ventilation |
| Deep Drying | 2-4 additional hours | Internal moisture removal | Check electrical areas |
| Reassembly | 15-30 minutes | Proper component installation | Follow torque specifications |
| Function Testing | 10-15 minutes | All systems operational | Safe area testing only |
7. What Maintenance Should You Do While Cleaning?
Cleaning provides excellent opportunities for maintenance and inspection that prevent problems. Regular maintenance during cleaning saves money and prevents breakdowns. Here’s why it matters… catching problems early during cleaning prevents expensive repairs and dangerous failures later.
Inspection checklist during cleaning includes checking for loose bolts, worn components, and damage. Look for cracks in the frame or plastic components. Check tire wear patterns and remaining tread depth. Inspect brake pads and cables for wear. Document any problems for future reference.
Lubrication points need attention during cleaning when components are accessible and clean. Chain drives need regular lubrication with appropriate chain oil. Brake and throttle cables benefit from light lubrication at pivot points. Folding mechanisms require periodic lubrication for smooth operation.
Identifying wear and damage early prevents expensive failures and safety hazards. Worn brake pads reduce stopping power dangerously. Loose bolts can cause component failure during riding. Damaged wiring can cause electrical fires. Address problems immediately rather than hoping they improve.
Preventive maintenance opportunities during cleaning include tightening bolts, adjusting brakes, and replacing worn parts. Keep maintenance records to track component life and replacement schedules. Order replacement parts before current parts fail completely. Schedule professional service for complex problems beyond your skills.
| Maintenance Task | Frequency | Tools Needed | Professional Service Required |
| Bolt Tightening | Every cleaning | Appropriate wrenches | For critical safety bolts |
| Lubrication | Monthly | Chain oil, light grease | For internal mechanisms |
| Brake Adjustment | As needed | Allen keys, cable tools | For hydraulic systems |
| Component Replacement | When worn | Basic tools | For electrical components |
Conclusion
Electric scooter cleaning requires proper supplies, careful preparation, and safe techniques. Protect electrical components from water damage during cleaning. Use mild soap and soft brushes for frame cleaning. Clean wheels and tires thoroughly to maintain performance. Dry completely before reassembly and test all functions. Regular cleaning every 2-4 weeks prevents problems and extends scooter life. Combine cleaning with maintenance inspections to catch issues early.
Dynamic Scooter designs easy-to-clean scooters with accessible components and clear maintenance instructions. Choose Dynamic Scooter for reliable performance and simple maintenance that keeps your investment protected.
FAQ
Q1: Can I use a pressure washer to clean my electric scooter?
No, pressure washers can force water into electrical components and damage seals. Use low-pressure water from a garden hose or spray bottle instead. Always avoid direct water contact with electrical parts.
Q2: How often should I clean my electric scooter?
Clean your scooter every 2-4 weeks with regular use, or immediately after riding in muddy or dusty conditions. More frequent cleaning extends component life and maintains performance.
Q3: Is it safe to submerge parts of my scooter in water?
Never submerge electrical components, battery areas, or the main body in water. Only removable, non-electrical parts like some fenders or accessories can be safely washed separately.
Q4: What cleaning products should I avoid on electric scooters?
Avoid harsh chemicals, degreasers, bleach, and abrasive cleaners that can damage paint, plastic, and rubber components. Stick to mild soap, water, and specialized electronics cleaners.
Q5: Can I clean my scooter immediately after riding?
Wait for the motor and battery to cool down before cleaning, especially after long rides. Hot components can be damaged by cold water, and you risk burns from heated surfaces.