Electric Scooter Throttle: A Complete Guide 2026
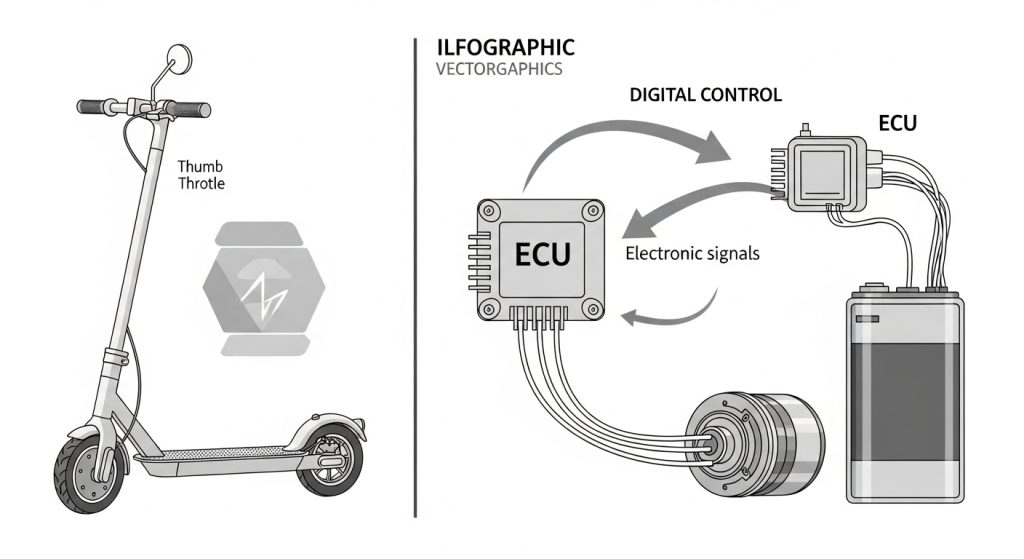
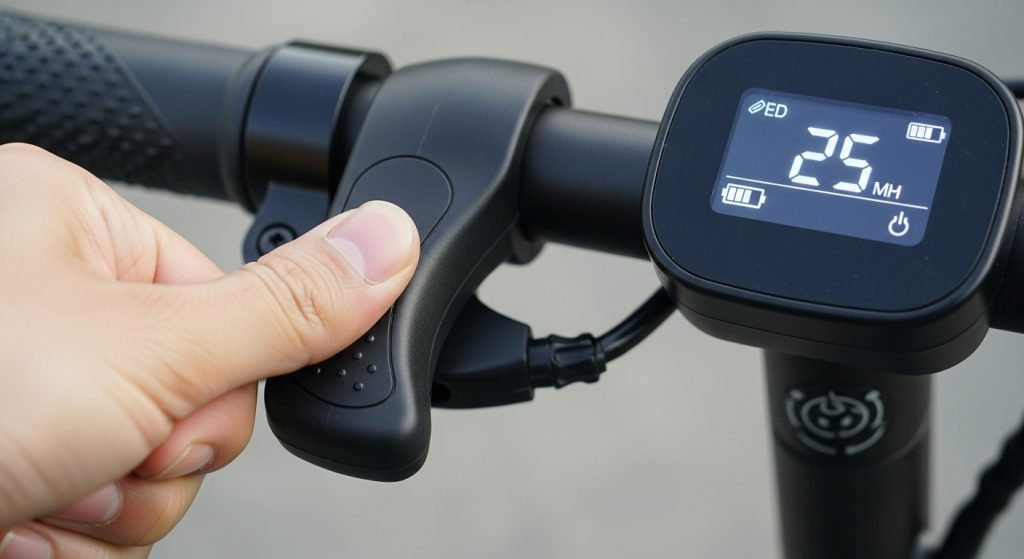
Understanding electric scooter throttles is essential for safe and effective riding. The throttle controls your scooter’s acceleration and speed. Different throttle types offer different riding experiences. Proper throttle technique improves safety and control. Mastering throttle operation enhances your riding skills. This comprehensive guide explores throttle systems in detail. You’ll learn how different throttles work and function. You’ll discover throttle types and their characteristics. Electric scooter throttles come in two main types: twist throttles and thumb throttles. Dynamic Scooter Model B feature responsive, intuitive throttle systems. Smooth acceleration control improves safety. Precise throttle response enhances riding experience. Understanding throttle operation is fundamental to scooter mastery. Ready to master throttle control? Here’s the deal… 1. What Are the Main Types of Throttles? Electric scooters use two primary throttle types. Understanding these differences helps you choose the right scooter. Throttle type significantly affects riding experience. Different types suit different riders. Personal preference matters when choosing. Throttle selection is important for satisfaction. Twist throttles resemble motorcycle throttles. Riders twist the handlebar grip to accelerate. Twist throttles provide intuitive control. Many riders prefer twist throttles. Twist throttles are common on quality scooters. This is important because throttle type affects riding experience. Twist throttles feel natural to motorcycle riders. Intuitive control improves confidence. Confidence improves safety. Twist throttles are preferred by experienced riders. Thumb throttles use a button or lever. Riders press with their thumb to accelerate. Thumb throttles are compact and simple. Some riders prefer thumb throttles. Thumb throttles are common on budget scooters. Thumb throttles offer different ergonomics than twist throttles. Thumb throttles are easier to operate for some riders. Compact design saves space. Simple operation reduces learning curve. Simplicity improves accessibility. Budget scooters often use thumb throttles. Twist throttles require wrist rotation. Wrist rotation can cause fatigue on long rides. Twist throttles provide smooth, progressive acceleration. Smooth acceleration improves control. Progressive acceleration is safer. Twist throttles are preferred by experienced riders. Extended wrist rotation can be tiring. Fatigue affects control negatively. However, smooth acceleration prevents accidents. Progressive control is essential for safety. Experienced riders accept fatigue for better control. Thumb throttles require thumb pressure. Thumb pressure is less fatiguing than wrist rotation. Thumb throttles provide on-off acceleration. On-off acceleration is less smooth. Less smooth acceleration is less safe. Thumb throttles are simpler but less refined. Thumb pressure is minimal and easy. Fatigue is rarely an issue. However, on-off control is jerky. Jerky acceleration reduces safety. Simplicity comes at the cost of refinement. Hybrid throttles combine both systems. Some scooters offer switchable throttles. Switchable throttles provide flexibility. Flexibility allows rider preference. Hybrid systems are rare and expensive. Most scooters use one throttle type. Hybrid systems offer best of both worlds. Riders can choose based on situation. Flexibility improves satisfaction. However, complexity increases cost. Most riders prefer single systems. Electronic throttles use digital sensors. Digital sensors provide precise control. Electronic throttles enable advanced features. Advanced features improve performance. Electronic throttles are becoming standard. Electronic systems are more reliable than mechanical systems. Digital sensors are extremely accurate. Precision improves control significantly. Advanced features enable customization. Customization improves satisfaction. Electronic systems are increasingly common. Reliability improves with electronic systems. Throttle Type Mechanism Fatigue Level Control Quality Twist Throttle Wrist rotation Medium Excellent Thumb Throttle Thumb pressure Low Good Hybrid Throttle Both systems Low Excellent Electronic Digital sensors Low Excellent Mechanical Direct connection Medium Good Proportional Variable response Low Excellent 2. How Do Throttle Systems Work Technically? Understanding throttle mechanics helps you appreciate scooter engineering. Technical knowledge improves troubleshooting ability. Technical understanding enables better maintenance. Better maintenance improves reliability. Reliability is essential for safety. Throttle input sends signals to controllers. Controllers receive throttle information. Controllers adjust motor power accordingly. Power adjustment happens instantly. Instant adjustment provides responsive control. Here’s why it matters… Responsive control improves safety significantly. Instant response prevents accidents. Quick adjustment maintains control. Control is essential for safety. Potentiometers measure throttle position. Potentiometers are variable resistors. Resistor values change with throttle position. Changing values create proportional signals. Proportional signals enable smooth acceleration. Smooth acceleration is safer than jerky acceleration. Precise measurement ensures accuracy. Accuracy improves control. Smooth acceleration prevents accidents. Proportional response is ideal. Potentiometers are reliable sensors. Hall sensors detect throttle movement. Hall sensors use magnetic fields. Magnetic fields change with throttle position. Changing fields create digital signals. Digital signals enable precise control. Precise control improves riding experience. Hall sensors are very accurate. Accuracy improves safety. Digital signals are reliable. Reliability improves confidence. Hall sensors are increasingly common. PWM controllers regulate motor power. PWM stands for pulse-width modulation. Modulation adjusts power delivery. Power delivery is smooth and responsive. Smooth delivery improves control. Responsive delivery improves safety. PWM is highly efficient. Efficiency improves range. Smooth power prevents jerking. Responsive power improves handling. PWM is the industry standard. Acceleration curves shape throttle response. Curves determine how quickly power increases. Aggressive curves provide rapid acceleration. Gentle curves provide smooth acceleration. Smooth curves are safer for beginners. Aggressive curves suit experienced riders. Customizable curves improve satisfaction. Different curves suit different situations. Programmable curves are valuable. Flexibility improves experience. Curve customization is increasingly available. Throttle calibration ensures accuracy. Calibration aligns throttle position with motor power. Proper calibration provides consistent response. Consistent response improves control. Improper calibration creates safety issues. Calibration is essential for safety. Regular calibration maintains accuracy. Accuracy improves reliability. Consistent response prevents surprises. Surprises cause accidents. Calibration should be checked regularly. Technical Component Function Importance Potentiometer Measure throttle position High Hall Sensor Detect throttle movement High PWM Controller Regulate motor power Critical Acceleration Curve Shape throttle response High Calibration Ensure accuracy Critical Signal Processing Convert signals to power Critical 3. What Throttle Techniques Improve Safety? Proper throttle technique prevents accidents and improves control. Mastering technique takes practice and patience. Smooth acceleration prevents loss of control. Gradual throttle increase maintains balance. Balance is essential for safety. Sudden acceleration causes instability. Instability leads to accidents. Smooth acceleration is fundamental safety technique. Progressive throttle use improves stability. Progressive means gradual and measured. Gradual throttle increases maintain traction. Traction prevents slipping. […]
Electric Scooter Throttle: A Complete Guide 2026 Read More »