What you should wear when riding an electric scooter? A Beginner’s Safety Guide
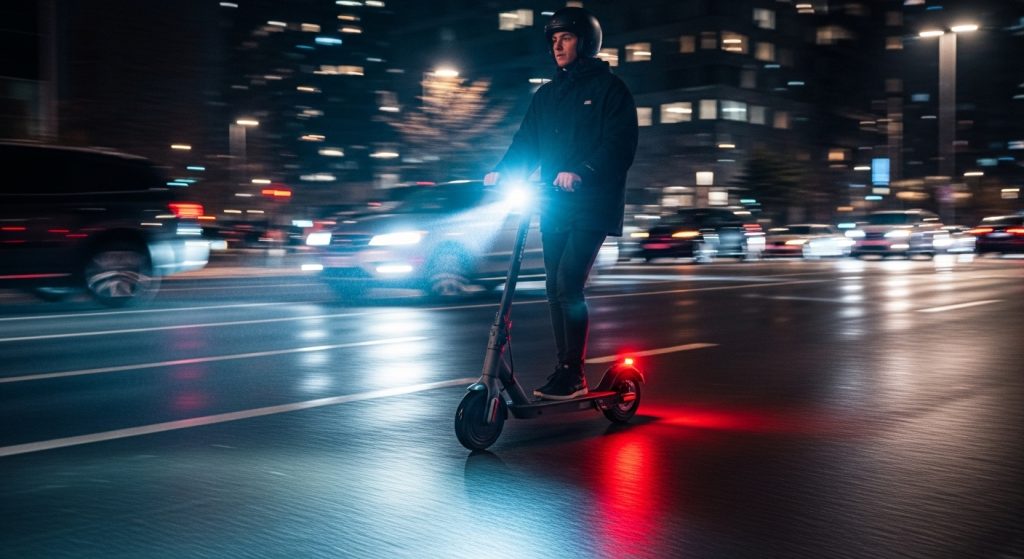
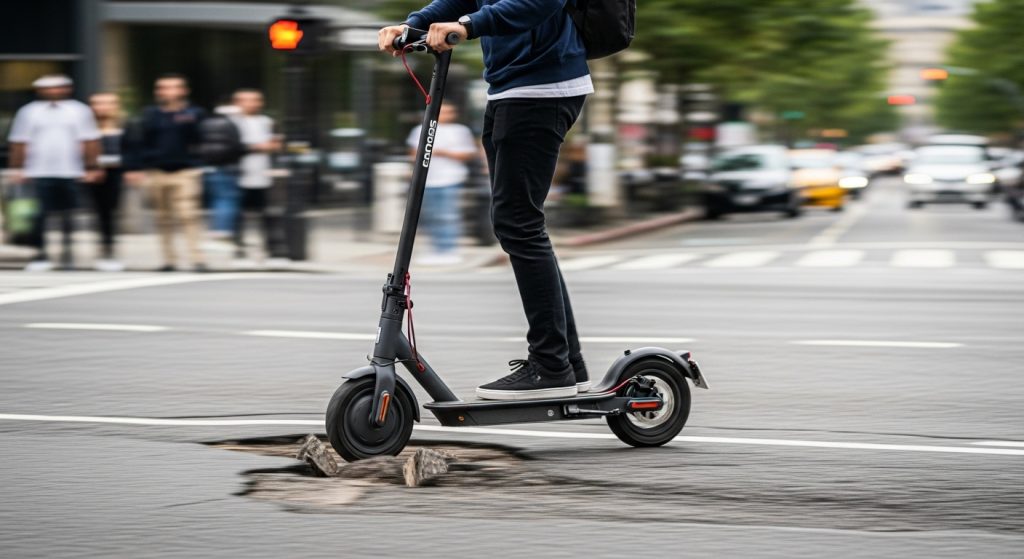
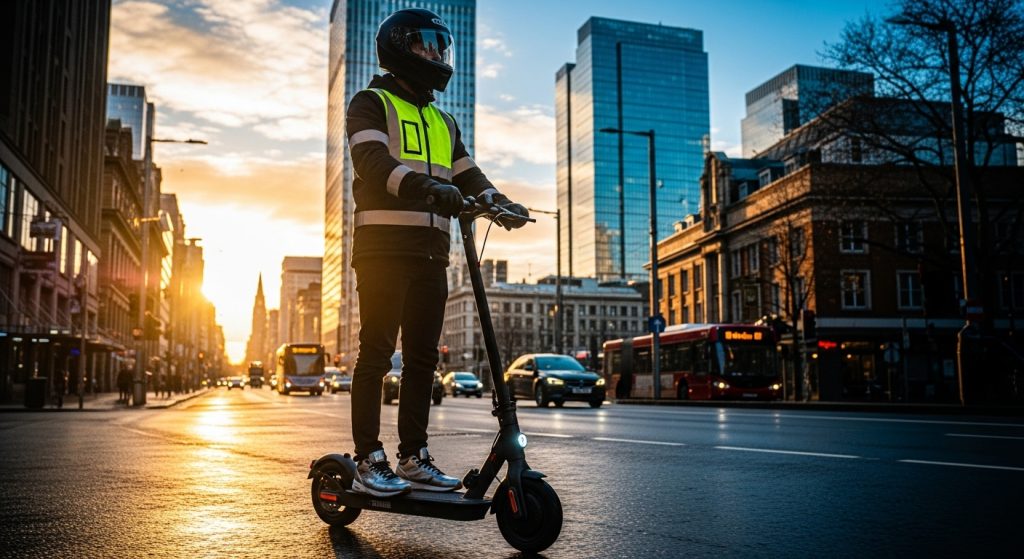
Riding an electric scooter is a fun and convenient way to get around. But before you head out, it’s critical to think about what you’re wearing. Your safety depends on it. The right gear can make a huge difference in your safety and comfort. A fall at even a moderate speed can cause serious injuries if you’re not properly protected. Don’t let a preventable injury ruin your ride. Wearing the right gear, including a helmet, protective clothing, and proper footwear, is critical for a safe and enjoyable electric scooter ride. This gear protects you from injuries, improves your visibility to others, and keeps you comfortable in different weather conditions. The Dynamic Scooter Model B is a great choice for safety-conscious riders, with a stable platform and responsive brakes that complement your protective gear. Ready to gear up for a safe ride? Here’s what you need to know. 1. Why Does Your Clothing Matter When Riding? What you wear when riding an electric scooter is about more than just style. It’s a critical safety decision. It’s a critical part of your safety. The right clothing can protect you from serious injuries in a fall. Road rash, a painful skin abrasion caused by sliding on pavement, is a common injury for scooter riders. Protective clothing, like a durable jacket and pants, can provide a barrier between your skin and the road. Your clothing also plays a big role in your visibility to others. Brightly colored or reflective clothing makes you more visible to drivers, cyclists, and pedestrians, especially at night or in low-light conditions. Here’s why it matters… being seen is one of the best ways to avoid a collision. If others can see you, they are less likely to pull out in front of you or cut you off. Weather is another key consideration. Dressing in layers allows you to adjust to changing temperatures. A waterproof outer layer will keep you dry in the rain, while breathable fabrics will help you stay cool in the heat. Being comfortable allows you to focus on the road and ride more safely. Ultimately, dressing for the ride is about taking responsibility for your own safety. It’s a simple but effective way to reduce your risk of injury and make every ride a good one. Clothing Factor Why It Matters Protection Prevents road rash and other injuries. Visibility Helps others see you on the road. Weather Keeps you comfortable and focused. Safety Reduces your overall risk of an accident. 2. What Type of Helmet Should You Wear? If you only wear one piece of protective gear when riding an electric scooter, make it a helmet. A helmet is the single most critical piece of safety equipment for an electric scooter rider. It protects your head from serious injury in a fall. There are several types of helmets to choose from, but the most critical thing is to choose one that is certified for safety. Look for a helmet with a certification from the CPSC (Consumer Product Safety Commission) or ASTM (American Society for Testing and Materials). These certifications mean the helmet has been tested and meets specific safety standards. A bicycle helmet is a good starting point for most scooter riders. For higher speeds, you might consider a motorcycle or moped helmet for more protection. The best part? A good helmet can literally save your life. A proper fit is also crucial. A helmet that is too loose can come off in a crash, and one that is too tight will be uncomfortable. To find the right size, measure the circumference of your head and compare it to the manufacturer’s sizing chart. The helmet should sit level on your head and should not move around when you shake your head. There are two main styles of helmets: full-face and half-shell. A full-face helmet offers the most protection, covering your entire head and chin. A half-shell helmet is lighter and more breathable but leaves your face and chin exposed. The right choice for you depends on your speed and risk tolerance. Helmet Type Protection Level Best For Bicycle Helmet Good Casual riding, lower speeds. Skateboard Helmet Better Urban commuting, more side protection. Full-Face Helmet Best High speeds, maximum protection. 3. What Should You Wear on Your Upper Body? When it comes to your upper body while riding an electric scooter, a good jacket is your best friend. A jacket not only protects you from the elements but also provides a crucial layer of protection in a fall. Look for a jacket made from a durable, abrasion-resistant material like leather, denim, or a synthetic textile like Cordura. For added safety, choose a jacket with built-in armor. This armor is typically made from a high-density foam or a more advanced material like D3O, which is soft and flexible until it’s impacted. The armor is placed in key areas like the shoulders, elbows, and back to absorb the force of a crash. But here’s the thing… even a jacket without armor is better than no jacket at all. Layering is a smart strategy for all-weather riding. A base layer can wick away sweat, a mid-layer can provide insulation, and an outer shell can protect you from wind and rain. This allows you to add or remove layers as the temperature changes. Look for a jacket with zippered vents to help you regulate your temperature. Visibility is also key. A brightly colored jacket will make you more visible during the day, while reflective panels will help you stand out at night. Many motorcycle and scooter jackets are designed with visibility in mind, so you don’t have to sacrifice style for safety. Jacket Material Abrasion Resistance Best For Leather Excellent Maximum protection, classic style. Denim Good Casual riding, moderate protection. Textile (Cordura) Very Good All-weather riding, versatile. 4. What Are the Best Pants for Scooter Riding? Your legs are also vulnerable in a fall when riding an electric scooter. It’s a good idea to wear more than just a pair […]
What you should wear when riding an electric scooter? A Beginner’s Safety Guide Read More »