Considering a homemade electric scooter? Many face the challenge of finding a personal transport solution that balances cost, performance, and convenience. The frustration of limited options or high prices for pre-built models can lead you to wonder if a DIY approach is viable. This path often involves complex technical hurdles and the risk of creating an unsafe or inefficient vehicle.
However, building your own scooter offers unparalleled customization and a deep understanding of its mechanics, potentially saving money and perfectly meeting your needs.
This article will guide you through the process, from selecting components to ensuring safety and optimizing performance.
1. What Tools and Materials Do You Need to Build an Electric Scooter?
Building an electric scooter from scratch requires a specific set of tools and materials. You will need basic hand tools like wrenches, screwdrivers, and pliers for assembly. A soldering iron is essential for electrical connections. For more advanced fabrication, consider a drill press and possibly a welding machine, depending on your frame design. Here’s why it matters… having the right tools makes the build process smoother and safer.
Key components include the motor, battery, controller, and frame. The motor provides power, the battery stores energy, and the controller manages power flow. The frame forms the scooter’s structure. You can source parts from online retailers specializing in e-bike or scooter components, or even repurpose parts from old electronics. Always prioritize quality and compatibility when selecting components.

2. How Do You Choose the Right Motor for Your DIY Scooter?
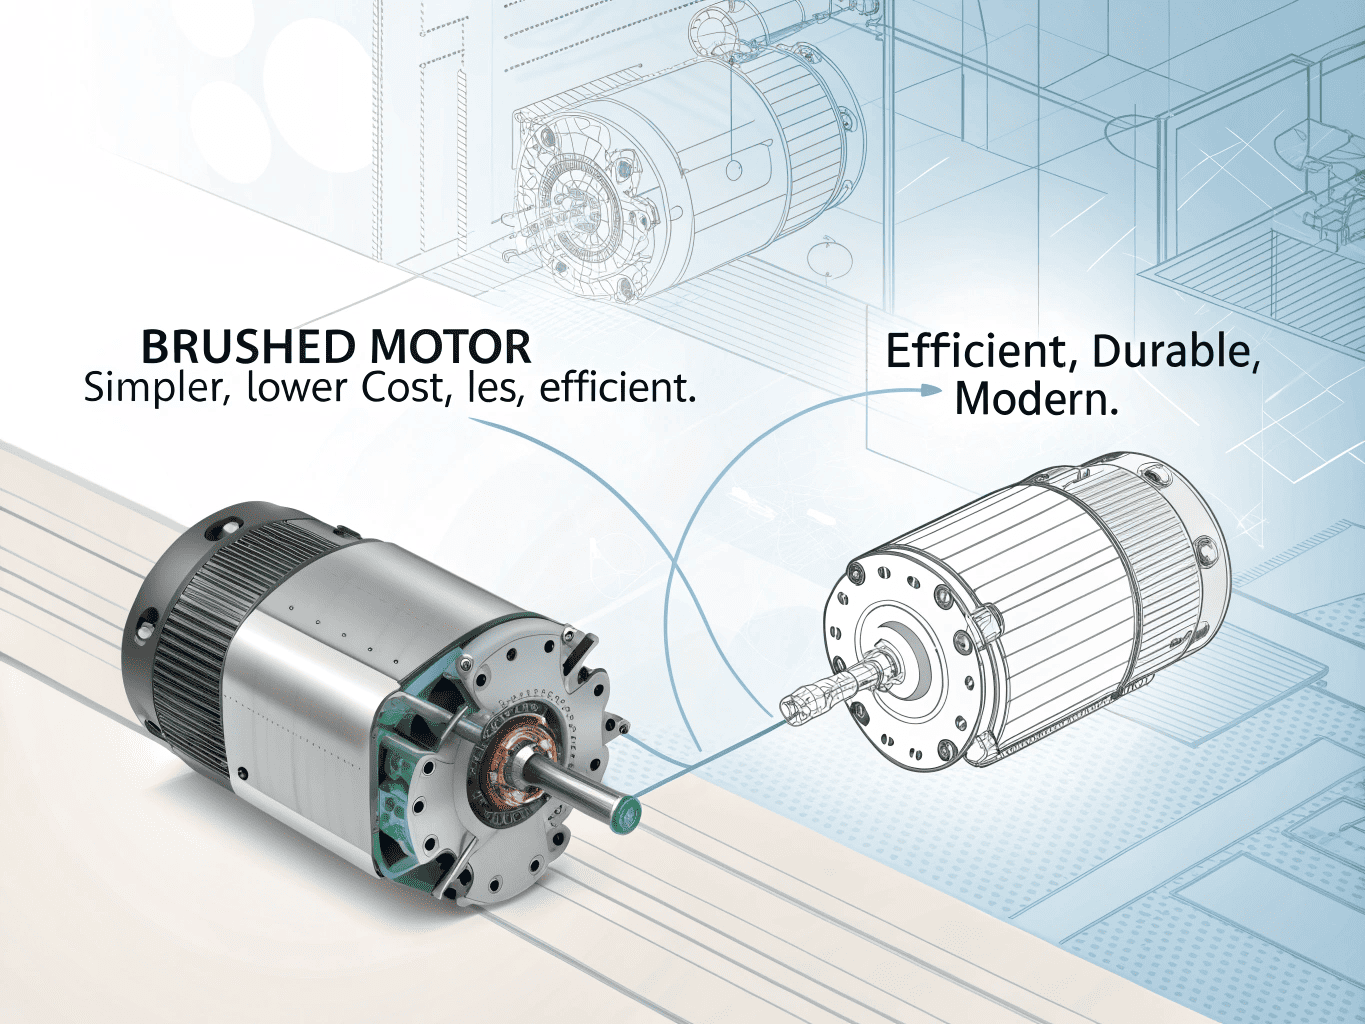
Selecting the correct motor is a critical step for your DIY electric scooter. Two main types exist: brushed and brushless motors. Brushless motors (BLDC) are more efficient, durable, and common in modern electric scooters. Brushed motors are simpler and cheaper but less efficient. Consider the motor’s power output, measured in watts. Higher wattage generally means more speed and climbing ability. For urban commuting, a 250W to 500W motor is often sufficient. But here’s the thing… matching the motor to your intended use is key.
Power and speed considerations go hand-in-hand. A motor’s continuous power rating indicates its sustained output, while peak power shows its maximum burst capability. For example, a 350W continuous motor might have a 700W peak. This affects acceleration and hill climbing. Voltage and wattage matching are also vital. Your motor’s voltage rating must match your battery and controller voltage. Mismatched components can lead to damage or poor performance. Always check the specifications carefully before purchasing. Here is a comparison of common motor types:
| Motor Type | Pros | Cons |
| Brushed DC | Simple, low cost | Less efficient, shorter lifespan |
| Brushless DC (BLDC) | High efficiency, long lifespan | More complex, higher cost |
| Hub Motor | Compact, direct drive | Less torque, harder to repair |
| Chain Drive Motor | High torque, easy to repair | Noisier, more moving parts |

3. What Battery Specifications Are Best for a Custom Electric Scooter?
The battery is the heart of your electric scooter, dictating its range and overall performance. Lithium-ion (Li-ion) and Lithium Iron Phosphate (LiFePO4) are common battery chemistries. Li-ion offers high energy density, meaning more power in a smaller package. LiFePO4 batteries are known for their longer lifespan and improved safety. Now, you might be wondering… which one is right for you?
Voltage and capacity (Ah) directly impact your scooter’s range. A higher voltage (e.g., 36V, 48V) generally means more speed and power. Capacity, measured in Ampere-hours (Ah), determines how long your scooter can run. For example, a 10Ah battery will provide more range than a 5Ah battery at the same voltage. Always consider the rider’s weight, as it influences the scooter’s speed and range. Safety features are paramount. Look for batteries with a Smart Battery Management System (BMS). This protects against short circuits, over-discharging, overcurrent, and overcharging. It also includes temperature protection and low voltage auto sleep protection. Here is a table comparing battery types:
| Battery Type | Pros | Cons |
| Lithium-ion (Li-ion) | High energy density, lightweight | More sensitive to temperature, higher cost |
| Lithium Iron Phosphate (LiFePO4) | Longer lifespan, safer, stable | Lower energy density, heavier |
4. How Do You Design and Construct the Scooter Frame?
The frame is the structural backbone of your electric scooter, providing stability and housing all components. Common frame materials include aluminum, steel, and carbon fiber. Aluminum is lightweight and corrosion-resistant, making it a popular choice. Steel offers superior strength and durability but is heavier. Carbon fiber is the lightest and strongest but also the most expensive and difficult to work with. Let me explain… material choice impacts both performance and ease of build.
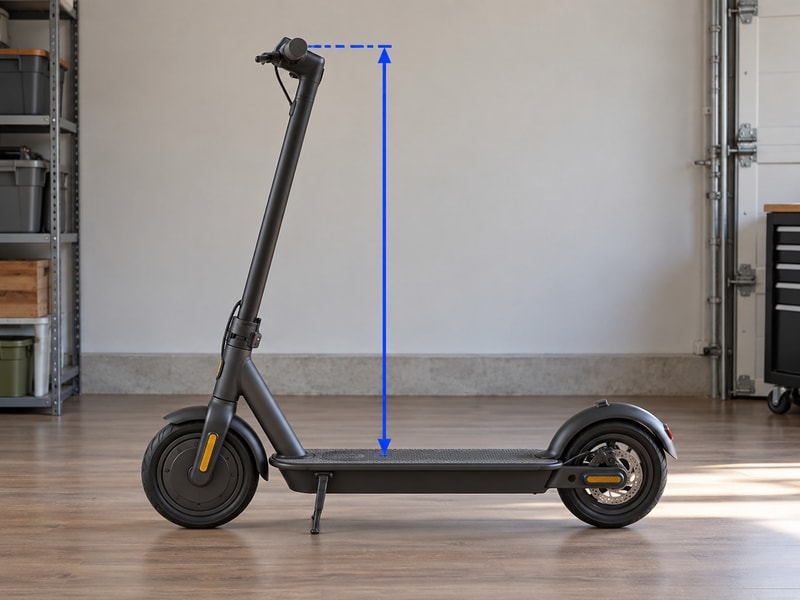
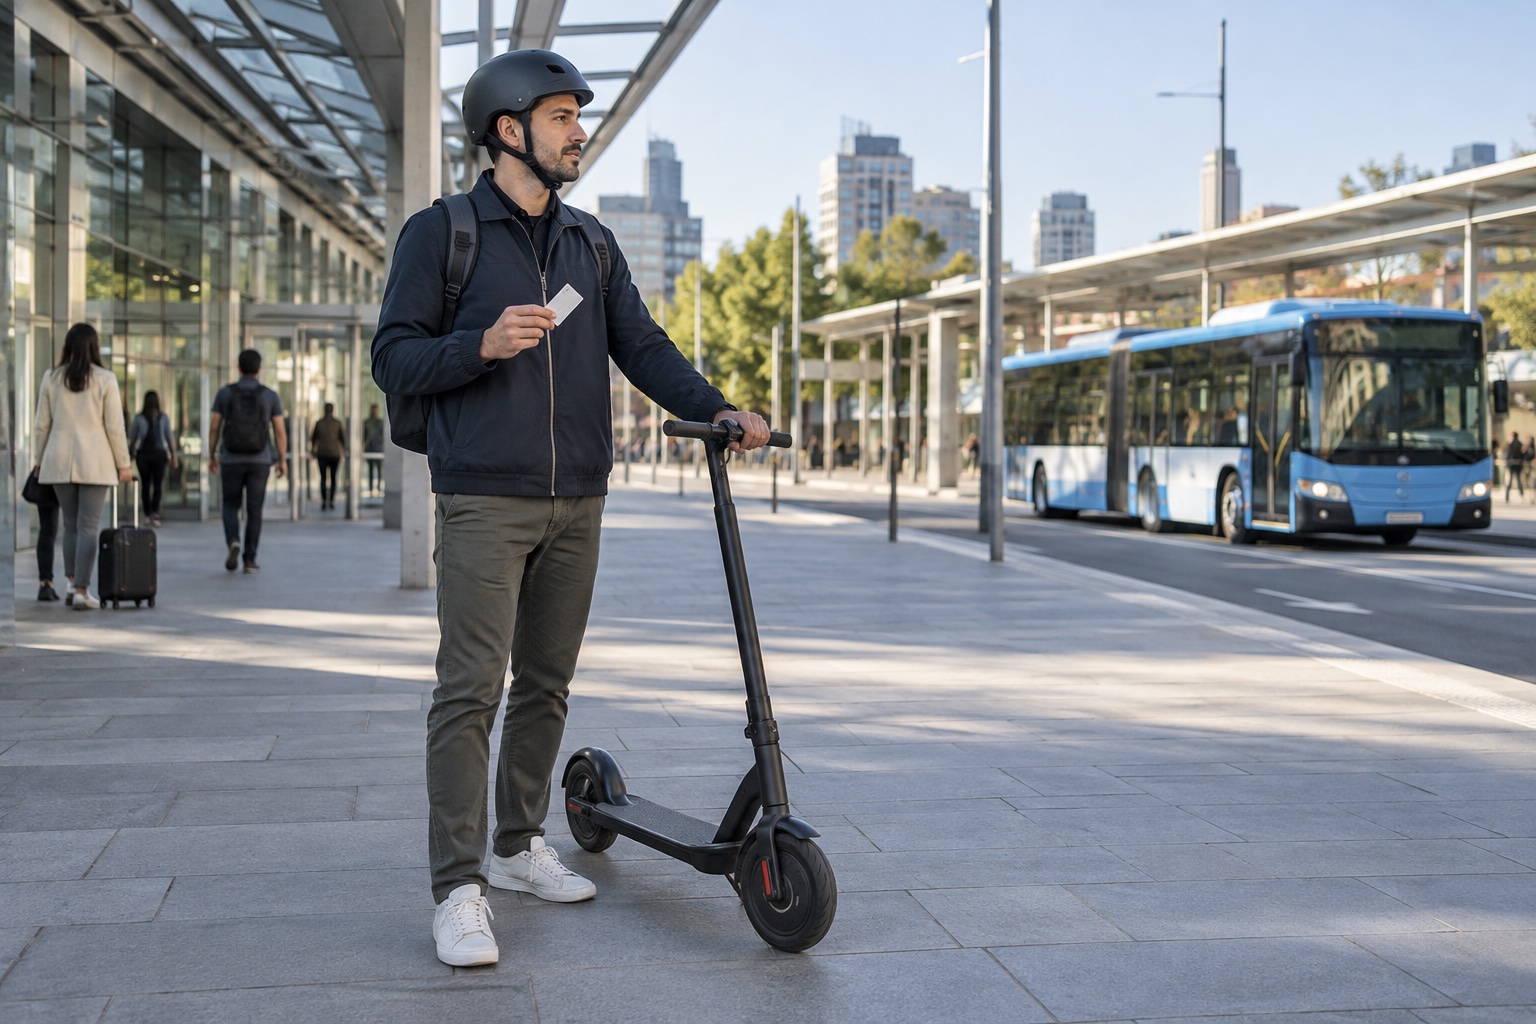
Ergonomics and rider comfort are crucial for a pleasant riding experience. Consider handlebar height, deck width, and overall balance. A comfortable riding position reduces fatigue on longer rides. Portability and folding mechanisms are also important, especially if you plan to carry your scooter on public transport or store it in small spaces. A portable and foldable design, like those found in many commercial scooters, allows for easy transport and storage. Ensure your design can accommodate the weight of the rider, up to 100Kg (220Ibs) payload, and a 10° climbing angle. Here is a comparison of frame materials:
| Material | Pros | Cons |
| Aluminum | Lightweight, corrosion-resistant | Can be harder to weld, less strong than steel |
| Steel | Strong, durable, easy to weld | Heavier, prone to rust if not treated |
| Carbon Fiber | Very lightweight, very strong | Expensive, difficult to repair, brittle |

5. What Are the Key Steps for Wiring and Electronics Assembly?
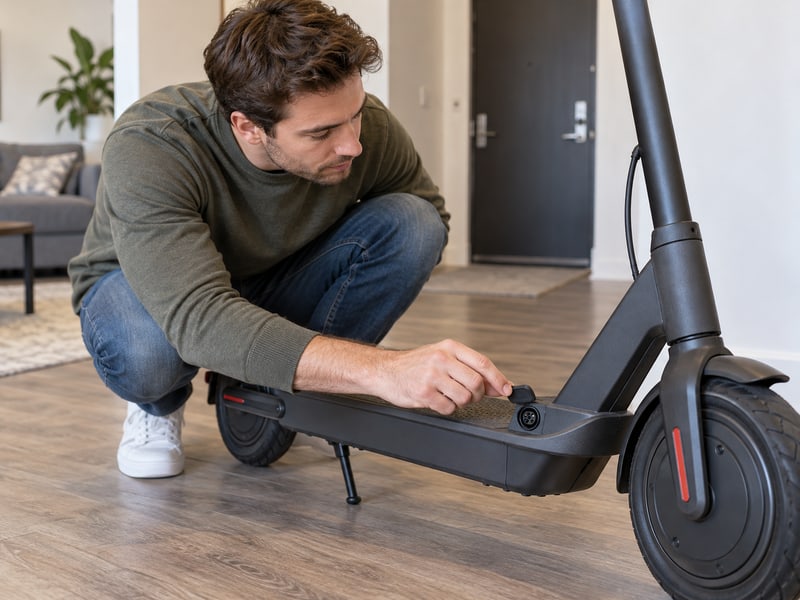
Wiring and electronics assembly are critical for your scooter to function safely and correctly. This involves connecting the motor, battery, and controller. The controller acts as the brain, regulating power from the battery to the motor based on your throttle input. Always follow a clear wiring diagram specific to your components. Incorrect wiring can damage components or pose a fire risk. This is important because… proper connections ensure safe operation.
Safety precautions during wiring cannot be overstated. Disconnect the battery before making any connections. Use appropriate wire gauges for the current your system will draw. Insulate all connections properly to prevent short circuits. Integrating the display and lighting adds functionality and safety. A large high-definition LED screen display can show speed, battery level, and other vital information. Headlights and taillights are essential for visibility, especially when riding at night. Consider a DC charging interface for convenient power input. Here is a table outlining key wiring steps:
| Step | Description | Safety Tip |
| 1. Plan Layout | Map out component placement and wire routes. | Ensure wires are not pinched or exposed. |
| 2. Connect Controller | Link controller to motor, battery, and throttle. | Double-check polarity before connecting power. |
| 3. Integrate Display | Connect LED screen and other accessories. | Use heat shrink tubing for secure connections. |
| 4. Test Circuits | Perform continuity and voltage checks. | Start with low power tests. |
6. How Do You Ensure Safety and Braking Performance?
Safety is paramount when building an electric scooter. A robust braking system is non-negotiable. Dual-brake systems offer superior stopping power and control. This typically involves a combination of disc brakes, drum brakes, or electronic regenerative braking. Disc brakes provide strong, consistent stopping in various conditions. Drum brakes are low maintenance and enclosed, protecting them from elements. Want to know the secret? A well-designed dual-brake system can prevent accidents.
Regenerative braking systems convert kinetic energy back into electrical energy, recharging the battery slightly while slowing down. This adds efficiency and extends range. Beyond braking, consider other safety features. An IP54 waterproof level protects your scooter from splashes and dust, making it suitable for various weather conditions. A safe accelerator with zero start and non-zero start modes prevents accidental acceleration. Ergonomic grip design, with non-slip silicone and aluminum-magnesium alloy, ensures comfortable and secure handling. Here is a table on braking systems:
| Brake Type | Advantages | Disadvantages |
| Disc Brake | Strong stopping power, good in wet conditions | Can be noisy, requires more maintenance |
| Drum Brake | Low maintenance, enclosed, durable | Less stopping power than disc, can overheat |
| Regenerative Brake | Recharges battery, smooth deceleration | Less effective at low speeds, not a primary brake |
7. What Are the Legal and Regulatory Considerations for DIY Scooters?
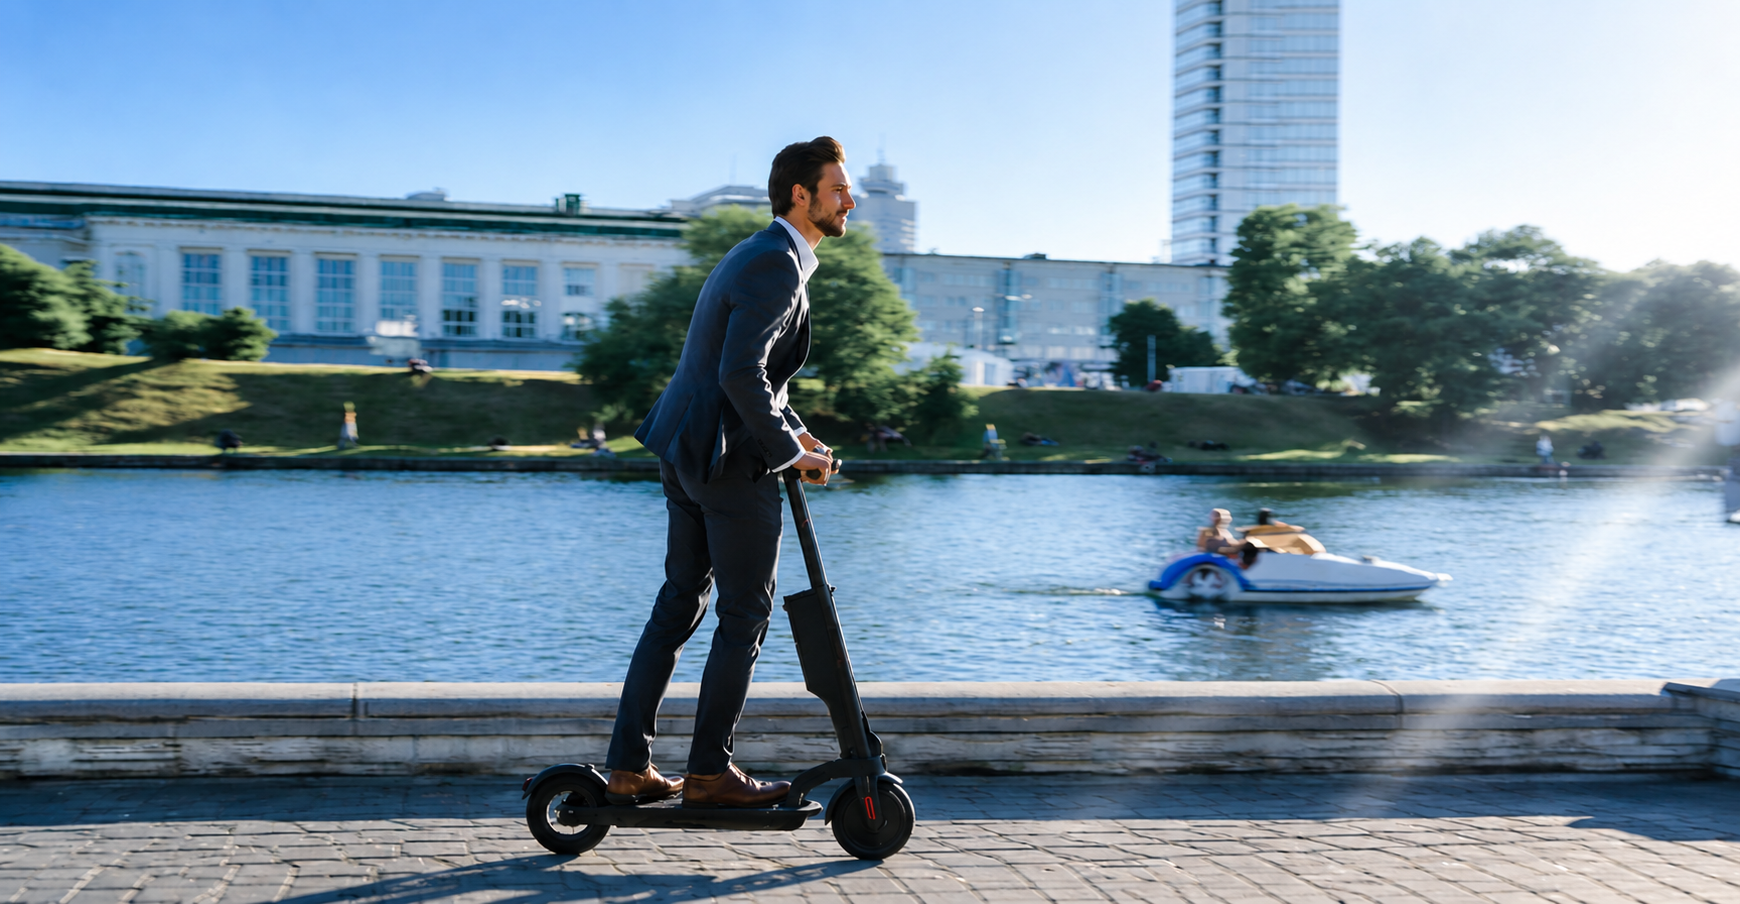
Before riding your custom-built electric scooter, understand the local laws and regulations. These vary significantly by country, state, and even city. Many areas have speed limits for electric scooters, often around 25 kph (15 mph). Some jurisdictions may require specific lighting, reflectors, or bells. The bottom line? Ignorance of the law is no excuse.
Registration and insurance requirements are also important. While some regions treat electric scooters like bicycles, others classify them as motor vehicles, requiring registration, license plates, and insurance. Always check with your local Department of Motor Vehicles or equivalent authority. Adhering to safety standards and certifications, even for a DIY build, can help ensure your scooter is roadworthy and safe for public use. This includes standards for components like batteries and brakes. Here is a table summarizing common regulations:
| Regulation Aspect | Common Requirements | Varies By |
| Speed Limit | 20-25 kph (12-15 mph) | Country, State, City |
| Age Restriction | 16+ years old | Country, State, City |
| Helmet Use | Often mandatory | Country, State, City |
| Lane Usage | Bike lanes, roads | Country, State, City |
8. How Can You Optimize Your Scooter for Performance and Range?
Optimizing your DIY electric scooter involves several factors beyond just component selection. Weight reduction techniques can significantly improve both speed and range. Using lighter materials for the frame, such as aluminum or carbon fiber, helps. Removing unnecessary accessories also contributes. Every kilogram saved translates to better performance. What does this mean for you? A lighter scooter is a more efficient scooter.
Choosing the right tires and maintaining proper tire pressure are crucial. Pneumatic (air-filled) tires offer better shock absorption and grip than solid tires. Keep them inflated to the recommended pressure for optimal rolling resistance and efficiency. Riding habits also play a big role. Smooth acceleration, avoiding sudden stops, and maintaining a consistent speed can extend your range. The rider’s weight may influence the scooter’s speed and range, so lighter riders will naturally get more out of their scooter. Here is a table on optimization tips:
| Optimization Area | Tips | Impact |
| Weight | Use lightweight materials, remove excess parts | Increased speed, extended range |
| Tires | Pneumatic tires, proper inflation | Better grip, shock absorption, efficiency |
| Riding Style | Smooth acceleration, consistent speed | Extended battery life, improved range |
| Maintenance | Regular checks, clean components | Longevity, consistent performance |

9. What Are the Common Challenges in Building a Scooter and How Do You Overcome Them?
Building an electric scooter can present various challenges, from electrical issues to mechanical assembly. Troubleshooting electrical problems often involves checking connections, testing components with a multimeter, and reviewing wiring diagrams. Common issues include loose wires, faulty controllers, or dead batteries. Patience and systematic testing are key. Here’s the deal… most problems have a solution if you approach them methodically.
Mechanical assembly difficulties might arise from misaligned parts, stripped screws, or improper fitment. Precision in measurements and careful assembly can prevent many of these issues. Sourcing quality parts can also be a hurdle. Cheap, unreliable components can lead to frequent breakdowns and safety risks. Invest in reputable suppliers and read reviews before purchasing. A 6-month warranty on parts and a 12-month battery warranty can offer peace of mind. Here is a table of common challenges and solutions:
| Challenge | Solution | Benefit |
| Electrical Issues | Check connections, test components | Ensures reliable operation |
| Mechanical Assembly | Measure precisely, assemble carefully | Prevents breakdowns, improves safety |
| Part Sourcing | Buy from reputable suppliers | Ensures quality, extends lifespan |
| Cost Management | Compare prices, consider DIY vs. pre-built | Saves money, customizes to budget |
10. Is Building Your Own Electric Scooter Cost-Effective?
The cost-effectiveness of building your own electric scooter versus buying a pre-built one is a common question. Component costs can add up quickly. Motors, batteries, and controllers are the most expensive parts. While you might save on labor costs by doing it yourself, the total material cost can sometimes approach or even exceed the price of an entry-level commercial scooter. The best part? You get a custom machine tailored to your exact needs.
Time investment and labor costs are significant factors. Building a scooter requires research, planning, assembly, and troubleshooting. This can take many hours, which has an inherent value. However, long-term maintenance and repair savings can offset initial costs. You will understand every part of your scooter, making repairs and upgrades simpler and cheaper. A 7-day return policy on parts can also help mitigate risks. Here is a table comparing DIY vs. Pre-built costs:
| Aspect | DIY Scooter | Pre-built Scooter |
| Initial Cost | Varies, can be high | Fixed, often lower for basic models |
| Customization | High | Limited |
| Repair Cost | Lower (DIY labor) | Higher (professional labor) |
| Knowledge | High (learn as you build) | Low (ready to ride) |

Conclusion
Building your own electric scooter offers a unique blend of customization, learning, and potential cost savings. You gain an intimate understanding of every component, from motor selection to braking systems, ensuring a ride perfectly suited to your needs. This hands-on approach empowers you to troubleshoot and maintain your scooter with confidence, extending its lifespan and reducing long-term expenses.
For those seeking a reliable, high-performance solution without the DIY effort, Dynamic Scooter offers models like the Dynamic Scooter Model B, providing up to 25kph top speed and 20km max range, backed by a 6-month warranty. Visit our website today to explore our range of electric scooters and find the perfect fit for your short-distance transportation needs.

FAQ
•Q1: What is the typical top speed of a DIY electric scooter?
The typical top speed of a DIY electric scooter can vary widely based on the motor’s power, battery voltage, and rider’s weight. Many DIY builds aim for speeds up to 25 kph (15 mph) to comply with common regulations, though higher speeds are achievable with more powerful components.
•Q2: How far can a custom-built electric scooter travel on a single charge?
The range of a custom-built electric scooter depends primarily on the battery’s capacity (Ah) and voltage, motor efficiency, and rider’s weight. A well-designed scooter with a good battery can travel up to 20km (12 miles) or more on a single charge.
•Q3: Are DIY electric scooters safe to ride?
DIY electric scooters can be safe if built with proper components, careful assembly, and adherence to safety standards. Critical safety features include a reliable dual-brake system, proper wiring, and a robust frame. Always wear appropriate safety gear.
•Q4: What kind of warranty can I expect for parts used in a DIY scooter?
Warranties for DIY scooter parts depend on the individual component manufacturers and sellers. Many reputable suppliers offer a 6-month warranty on parts and a 12-month battery warranty. Always check the warranty information before purchasing components.
•Q5: Can a DIY electric scooter be easily folded and carried?
Whether a DIY electric scooter can be easily folded and carried depends on its design. Many builders incorporate portable and foldable designs, similar to commercial models, to enhance convenience. This makes them compact and easy to transport, fitting even in a backpack.