How Much Is an Electric Scooter for Elderly? Price Range Explained
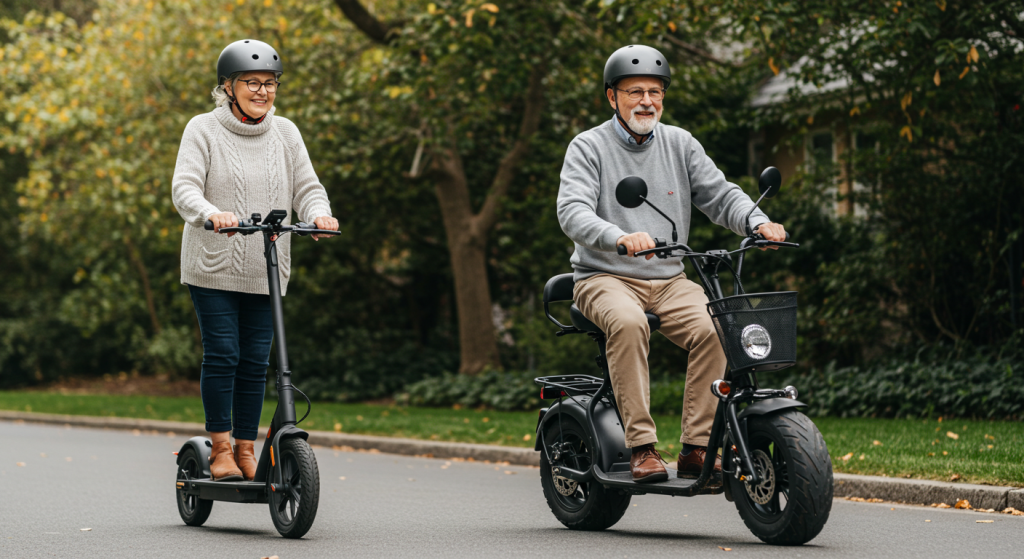
Choosing an electric scooter as a senior can feel hard. Prices range from hundreds to thousands of dollars. Without proper help, you might spend too much on features you don’t need. You might also buy a cheap model that breaks quickly. This guide answers “how much is an electric scooter for elderly” users. It helps you make the right choice for your needs and budget. When asking how much is an electric scooter for elderly users, expect to pay between $300 and $3,000. Most quality models cost $500-$1,500. Budget options under $500 work for basic needs. Premium models over $1,500 offer better safety features and longer warranties. The cost depends on your mobility needs, how often you use it, and what features you want. Here’s what you need to know about electric scooter pricing to make a smart buy. 1. What Factors Affect Electric Scooter Prices for Elderly Users? Several key factors decide how much is an electric scooter for elderly users. Battery size plays a big role in pricing. Longer-range models cost more. A scooter with a 20-mile range costs $200-$500 more than one with a 10-mile range. Battery type varies a lot between price points. Lithium-ion batteries cost more than lead-acid options. But they last longer and weigh less. Weight capacity affects both price and safety. Models that support 300+ pounds cost more than those rated for 250 pounds. The frame materials needed for higher weight limits cost more to make. Heavy-duty models often have stronger chassis, bigger motors, and better suspension. Safety features add to the price. But they give peace of mind for seniors and families. Anti-tip wheels, LED lights, and better brakes can add $100-$300 to the base price. Here’s why it matters – these features prevent accidents that could cause costly medical bills and serious injuries. Price Factor Budget Impact Cost Increase Benefit Longer Battery Range High $200-$500 15-25 mile range Higher Weight Capacity Medium $150-$300 300-400 lb support Better Safety Features Medium $100-$300 Accident prevention Premium Brand Name High $300-$800 Warranty & support Brand name affects how much is an electric scooter for elderly buyers. Well-known medical equipment makers charge more for their reputation. They often give better warranty coverage and parts. They also have better customer service. Lesser-known brands may offer similar features for less money. But they have limited warranty support. 2. How Much Do Budget Electric Scooters for Seniors Cost? Budget electric scooters for elderly users cost $300 to $500. This makes them affordable for seniors on fixed incomes. These basic models work for short trips. They typically go 5-10 miles per charge. They work well for grocery shopping, doctor visits, and neighborhood trips. Most budget scooters support 250-300 pounds. They reach speeds of 4-6 mph. This meets most local rules for sidewalk use. The seats are basic but work fine. They usually have vinyl covers and light padding. Controls are simple to use. Basic throttle and brake systems are easy for seniors to learn. Battery life ranges from 8-15 miles. This depends on terrain, rider weight, and weather. Lead-acid batteries are standard in this price range. They need 6-8 hours for full charging. They weigh more than lithium batteries. But they work well and cost less. The best part? Budget models often have the same basic safety features as expensive ones. This includes front and rear lights, reflectors, and good brakes. You don’t give up safety for low cost with good budget brands. Budget Features Specs Price Range Best Use Range per Charge 8-15 miles $300-$400 Short trips Weight Capacity 250-300 lbs $350-$450 Average users Top Speed 4-6 mph $300-$500 Sidewalk travel Basic Safety Lights, brakes, horn $320-$480 Standard safety Budget scooters work best for elderly users who need help sometimes. They’re perfect for people who walk most of the time. But they need help with longer distances or carrying groceries. Many users like them for shopping centers and medical visits. 3. What Do Mid-Range Electric Scooters Offer Elderly Riders? Mid-range electric scooters cost $500-$1,500. They offer the best mix of features and value for most elderly users. These models go 15-25 miles per charge. They have comfortable padded seats and better suspension. This makes rides smoother over different terrain types. Build quality gets much better in this price range. Frames use stronger materials like aluminum. Wheels are bigger for better stability. Electrical parts last longer with proper care. Many have adjustable seats, armrests, and storage areas. Battery technology gets better in mid-range models. Lithium batteries replace lead-acid ones. This cuts weight by 30-50% and makes them last 3-5 years. Charging times drop from 8-10 hours to 4-6 hours. This makes daily use easier for active seniors. Comfort features become standard at this price. Padded seats with back support help reduce fatigue. Adjustable armrests and easy controls make longer trips better. Suspension systems smooth out bumps in sidewalks. This helps elderly users with joint problems. But here’s the thing – mid-range scooters often have smartphone features. GPS tracking and theft protection come with many models. These modern features appeal to tech-savvy seniors. They also give peace of mind to family members. Mid-Range Features Performance Boost Added Value User Benefit Lithium Battery 50% longer life $200-$300 Less replacement Comfort Seating Padded, adjustable $100-$200 Less fatigue Smart Features GPS, connectivity $150-$250 Modern convenience Extended Warranty 2-3 years coverage $100-$150 Peace of mind Mid-range scooters suit elderly users who use mobility aids daily. They work for work, social activities, and regular errands. They give reliable transportation without the high price of luxury models. Better range and comfort make them good for longer outings. 4. Are Premium Electric Scooters Worth the Investment for Seniors? Premium electric scooters cost $1,500-$3,000. They target elderly users who want the best features and performance. These models offer 25-40 mile ranges. They work on all terrain types. Luxury comfort features include heated seats, advanced suspension, and premium materials. Build quality reaches car-level standards with premium models. Frames use aircraft-grade aluminum or carbon fiber. Wheels have puncture-resistant tires […]
How Much Is an Electric Scooter for Elderly? Price Range Explained Read More »